Redirect customers to another URL
North America—United States and Canada
When you request a Hosted Checkout session using the Create checkout endpoint, you can include the redirectUrls parameter. This parameter redirects customers to another link (URL) after payment. You can:
- Set more than one redirect location or secure HTTP(S) URLs.
- Include redirect URLs for the following status in the
redirectUrlsobject:
| Status | Description | Redirect URL example |
|---|---|---|
success | Status indicates a successful payment. After a successful payment, redirect users to a confirmation page. Note: By default, a Clover-hosted confirmation page appears after a successful payment. | https://checkout-example.com/success?session_id={CHECKOUT_SESSION_ID} |
failure | Status indicates a payment is attempted but not completed. If a payment fails, redirect users to a page that explains the failure and offers next steps. | https://checkout-example.com/failure?error_code={ERROR_CODE} |
Prerequisite
Use a secure HTTPS redirect URL as an unencrypted (HTTP) URL will not work.
Option 1: Set redirectUrls parameters in the Create checkout endpoint
redirectUrls parameters in the Create checkout endpoint- Create a checkout session request along with the customer details.
- In the
redirectUrlsparameter, enter the redirect URLs.
Example–Set a redirect URL when payment is successfully completed
redirect URL when payment is successfully completedapp.route('/redirects', methods = ['POST'])
def redirects(): #if request.method == 'POST':
url = "https://apisandbox.dev.clover.com/invoicingcheckoutservice/v1/checkouts"
payload = {
"customer": {
"firstName": "Alex",
"lastName": "Doe",
"email": "[email protected]"
},
"redirectUrls": {
"success": "https://www.checkout-example.com/",
"failure": "https://www.checkout-example.com/"
},
"shoppingCart": {
"lineItems": [{
"name": "itemA",
"price": 500,
"unitQty": 1
}]
}
}
headers = {
"accept": "application/json",
"X-Clover-Merchant-Id": "6CQXXXXXXXYE1",
"content-type": "application/json",
"authorization": "80e0****-****-****-********3f4a"
}
response = requests.request("POST", url, headers = headers, json = payload)
print(response.text)
return render_template("redirect.html")
Option 2: Set redirect URLs on the Merchant Dashboard
If you set the redirect URLs on the Clover Merchant Dashboard, these URLs are used instead of the URLs set in the Create checkout endpoint.
- Log in to the Global Developer Dashboard.
- Click the Sandbox toggle icon to go to either the sandbox or the production environment.
- From the left navigation menu, click Test Merchants. The Test Merchants page lists the default test merchant account.
- Click the Launch Dashboard icon. The Test Merchant Dashboard appears.
- From the top-right menu, click Settings. The Settings side panel appears.
- Go to View all settings > Ecommerce section > Hosted Checkout. The Hosted Checkout page appears.
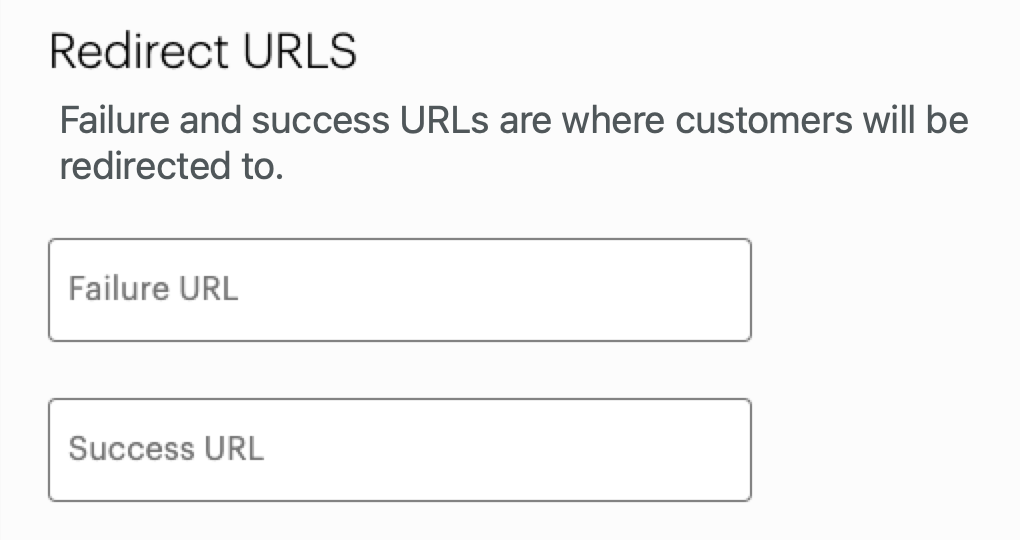
- In the Redirect URLs section, enter the URLs for each of the status—
successorfailure.

Hosted Checkout—Redirect URLs section
- Click Save.
Related topics
Updated 3 months ago
