Add Google Pay button to the Clover iframe
North America—United States and Canada
Your merchants can accept payments through Google Pay™ using the Clover iframe integrations on their ecommerce websites.
Prerequisites
- Follow the Google Pay Web Brand Guidelines for all Google Pay assets and button designs.
- Agree to the Google Pay API Terms of Service to use Google Pay integrations.
Add a button for Google Pay transactions
- On the Clover iframe, use the
paymentRequestButtonelement to add a button for Google Pay transactions.
Note: When creating a new paymentRequestButton, the payment amount (in cents) is required. - Use specific size properties for the Google Pay payment button:
- Default width:
90px(min-width: 90px;) - Default height:
40px(min-height: 40px;) - Values for
max-widthandmax-heightare set by the width and height of the<div>container you use for mounting thepaymentRequestButton(<div id="payment-request-button"></div>).
// Sample payment amount
const paymentReqData = {
  total: {
    label: 'Demo total',
    amount: 1099,
  },
  // Default buttonType is 'long' for button with card brand & last 4 digits
  options: {
    button: {
      buttonType: 'short' // For button without additional text
    }
  }
};

// Create paymentRequestButton & mount to <div> container
const paymentRequestButton = elements.create('PAYMENT_REQUEST_BUTTON', {
  paymentReqData
 });

paymentRequestButton.mount('#payment-request-button');

// Handle validation errors after tokenization
paymentRequestButton.addEventListener('paymentMethod', function(tokenData) {
  console.log(tokenData);
});

// Add event listeners to manage the payment flow
paymentRequestButton.addEventListener('paymentMethodStart', () => {});
paymentRequestButton.addEventListener('paymentMethod', paymentMethodCallback);
paymentRequestButton.addEventListener('paymentMethodEnd', () => {});
The addEventListener method supports the following events:
- paymentMethodStart: Fires when the Google Pay wallet appears.
- paymentMethod: Fires when the customer approves the payment and provides their payment information. This event indicates the transaction was successful.
- paymentMethodEnd: Fires when the Google Pay wallet closes for any reason, such as a successful payment or a cancellation.
When you click GPay, a new window displays for the Google Pay flow. The size of the button is rendered based on the width and height of the payment-request-button element.
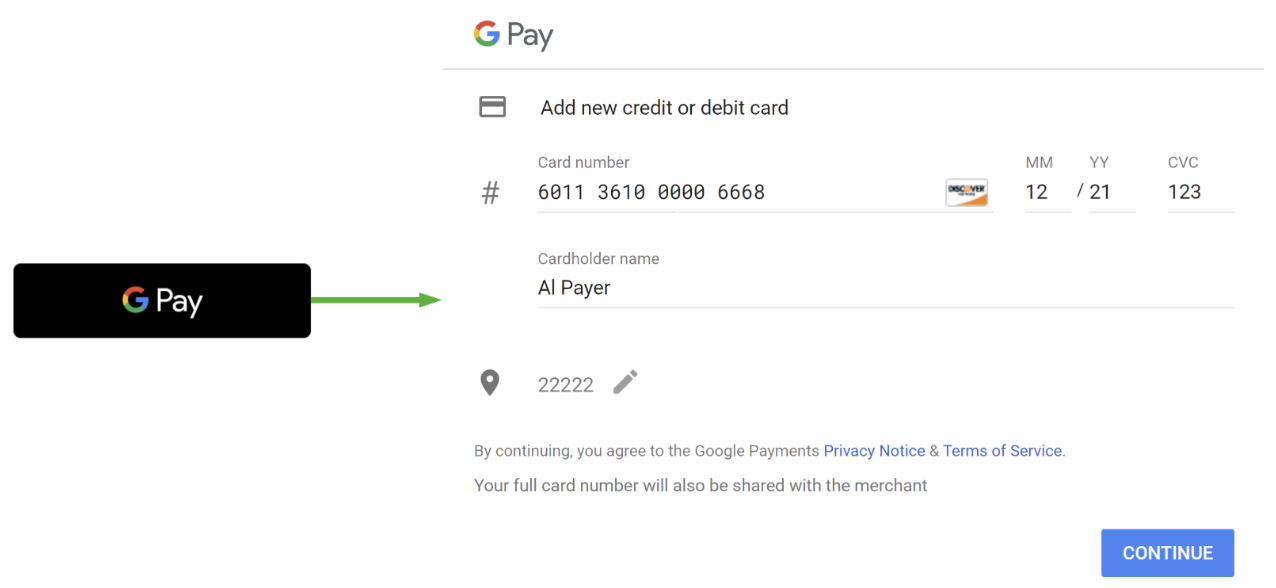
Default button that displays if the customer does not have a saved payment method

Default button that displays if the customer has a saved payment method
Updated 4 months ago
Did this page help you?