Manage global developer roles
Before you begin
See Manage developer account for an overview of the terms and functions related to different developer roles.
Invite members
As a developer with an owner role, you can invite members to join your team. The invite is sent as an email with a link to access the member developer account.
- Log in to the Global Developer Dashboard with your owner account details.
- From the top-right menu, click the Account icon > Developer Settings. The Developer Settings page appears.
- Select the Members tab. The Members page appears.
- Click Invite Members. The Invite Members To Your Developer Account pop-up appears.
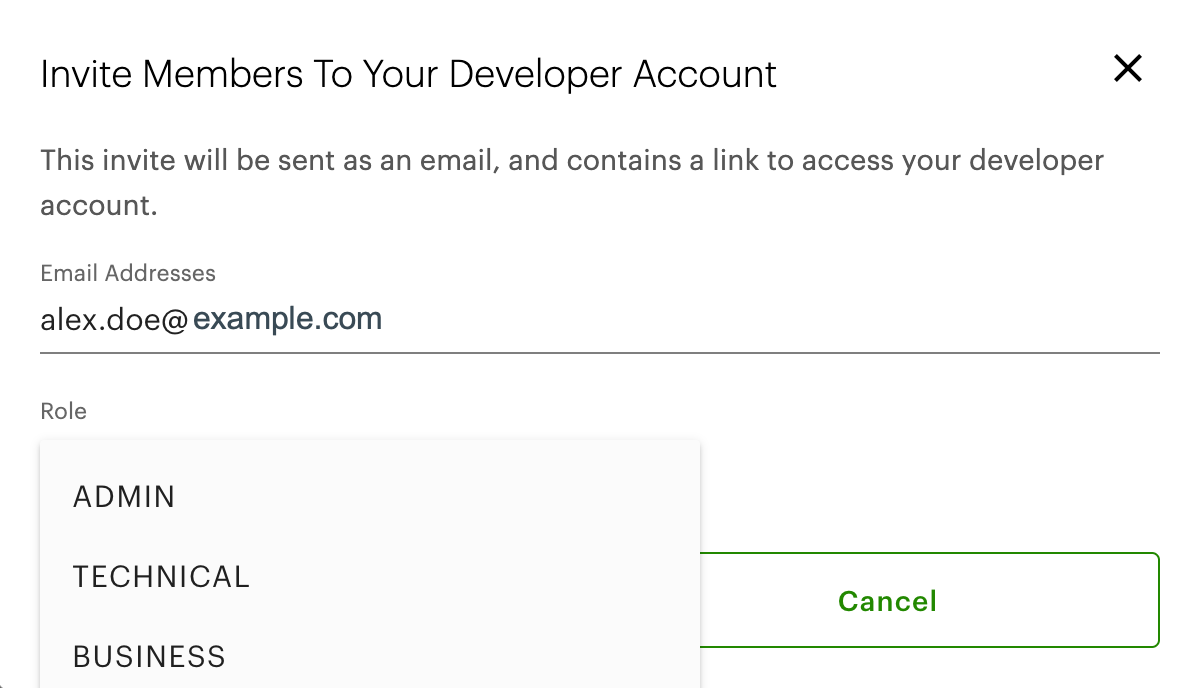
Invite Members To Your Developer Account pop-up
- Enter the email address of the user you want to invite as a member. If needed, enter a list of email addresses separated by commas.
- From the Role drop-down list, select a member role—Admin, Business, or Technical.
- Click Invite. The invited member receives an email with instructions to access their developer account. See Accept the invitation to join a developer account as a member.
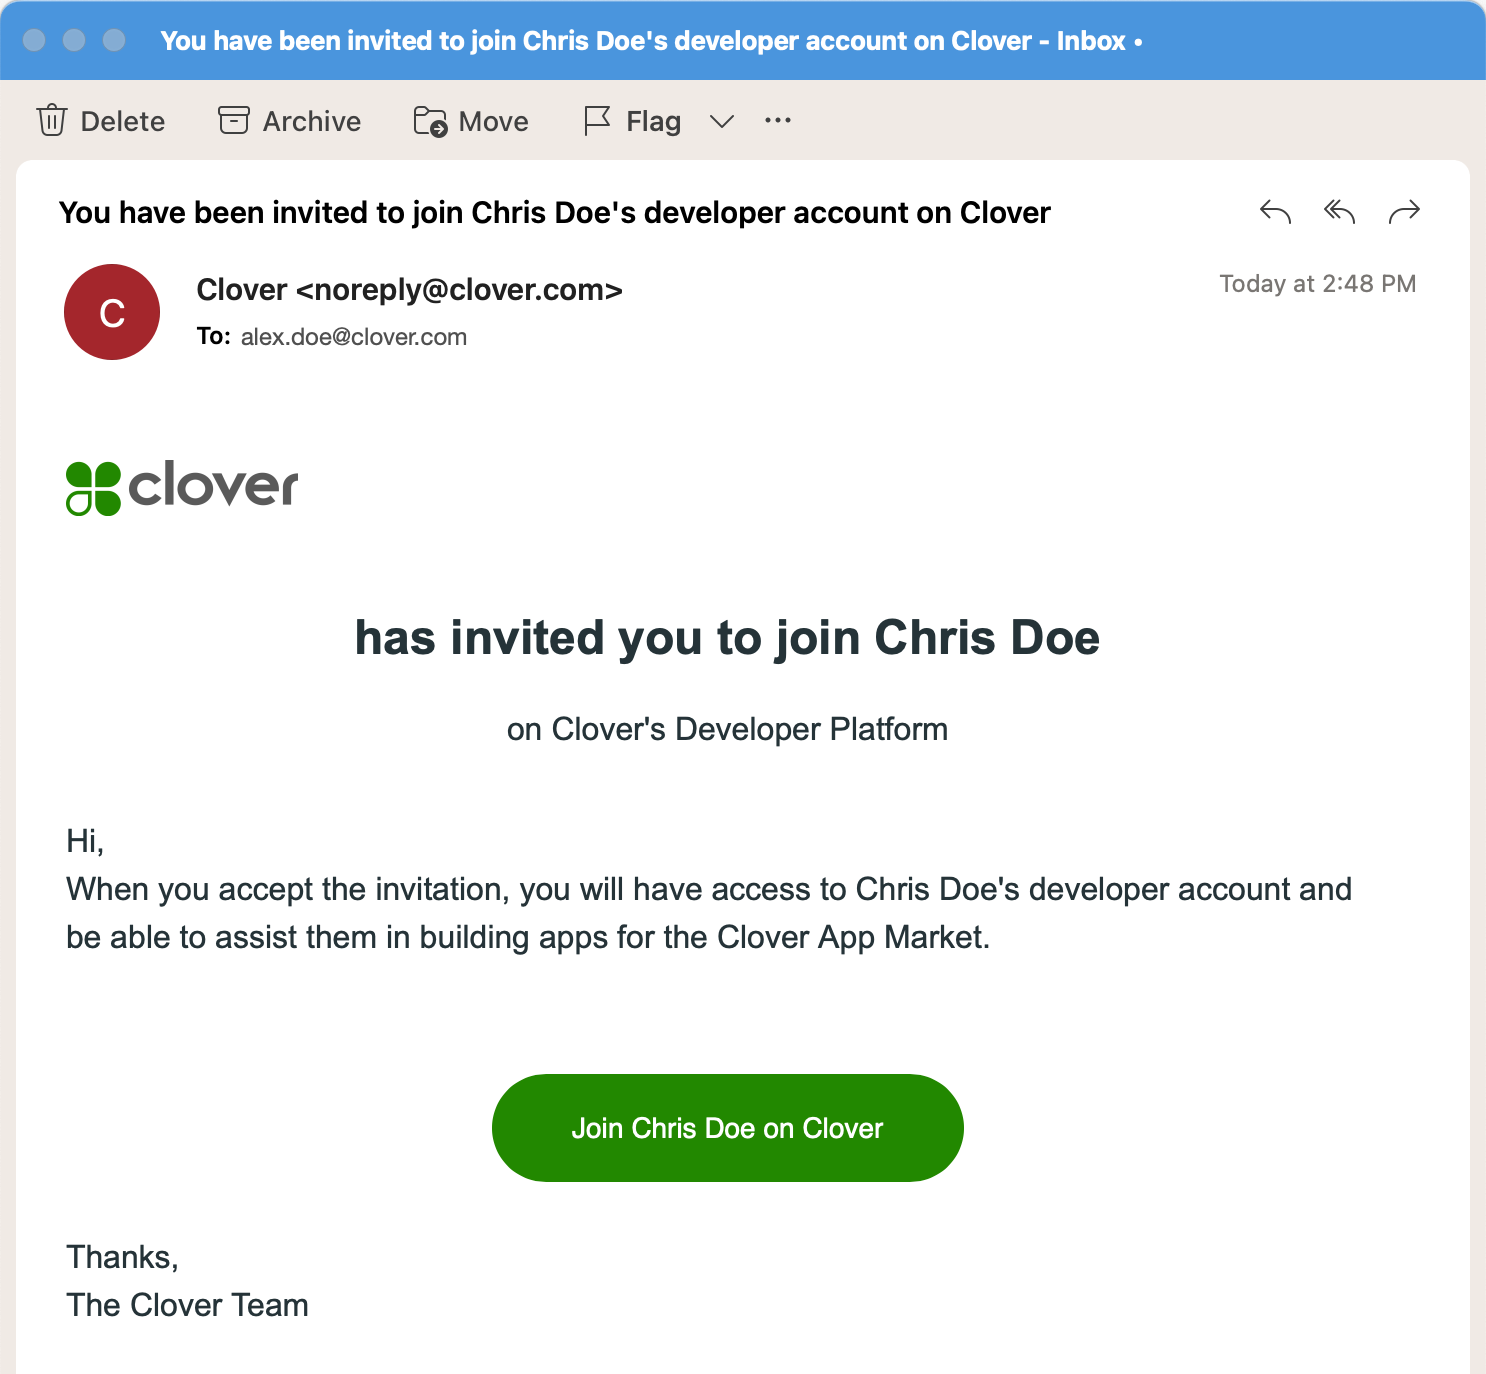
Email invitation to join as a member
Information for all invited members and members who accept the invite to join the owner’s developer account displays on the Developer Settings—Members tab with email address, role, and status details.
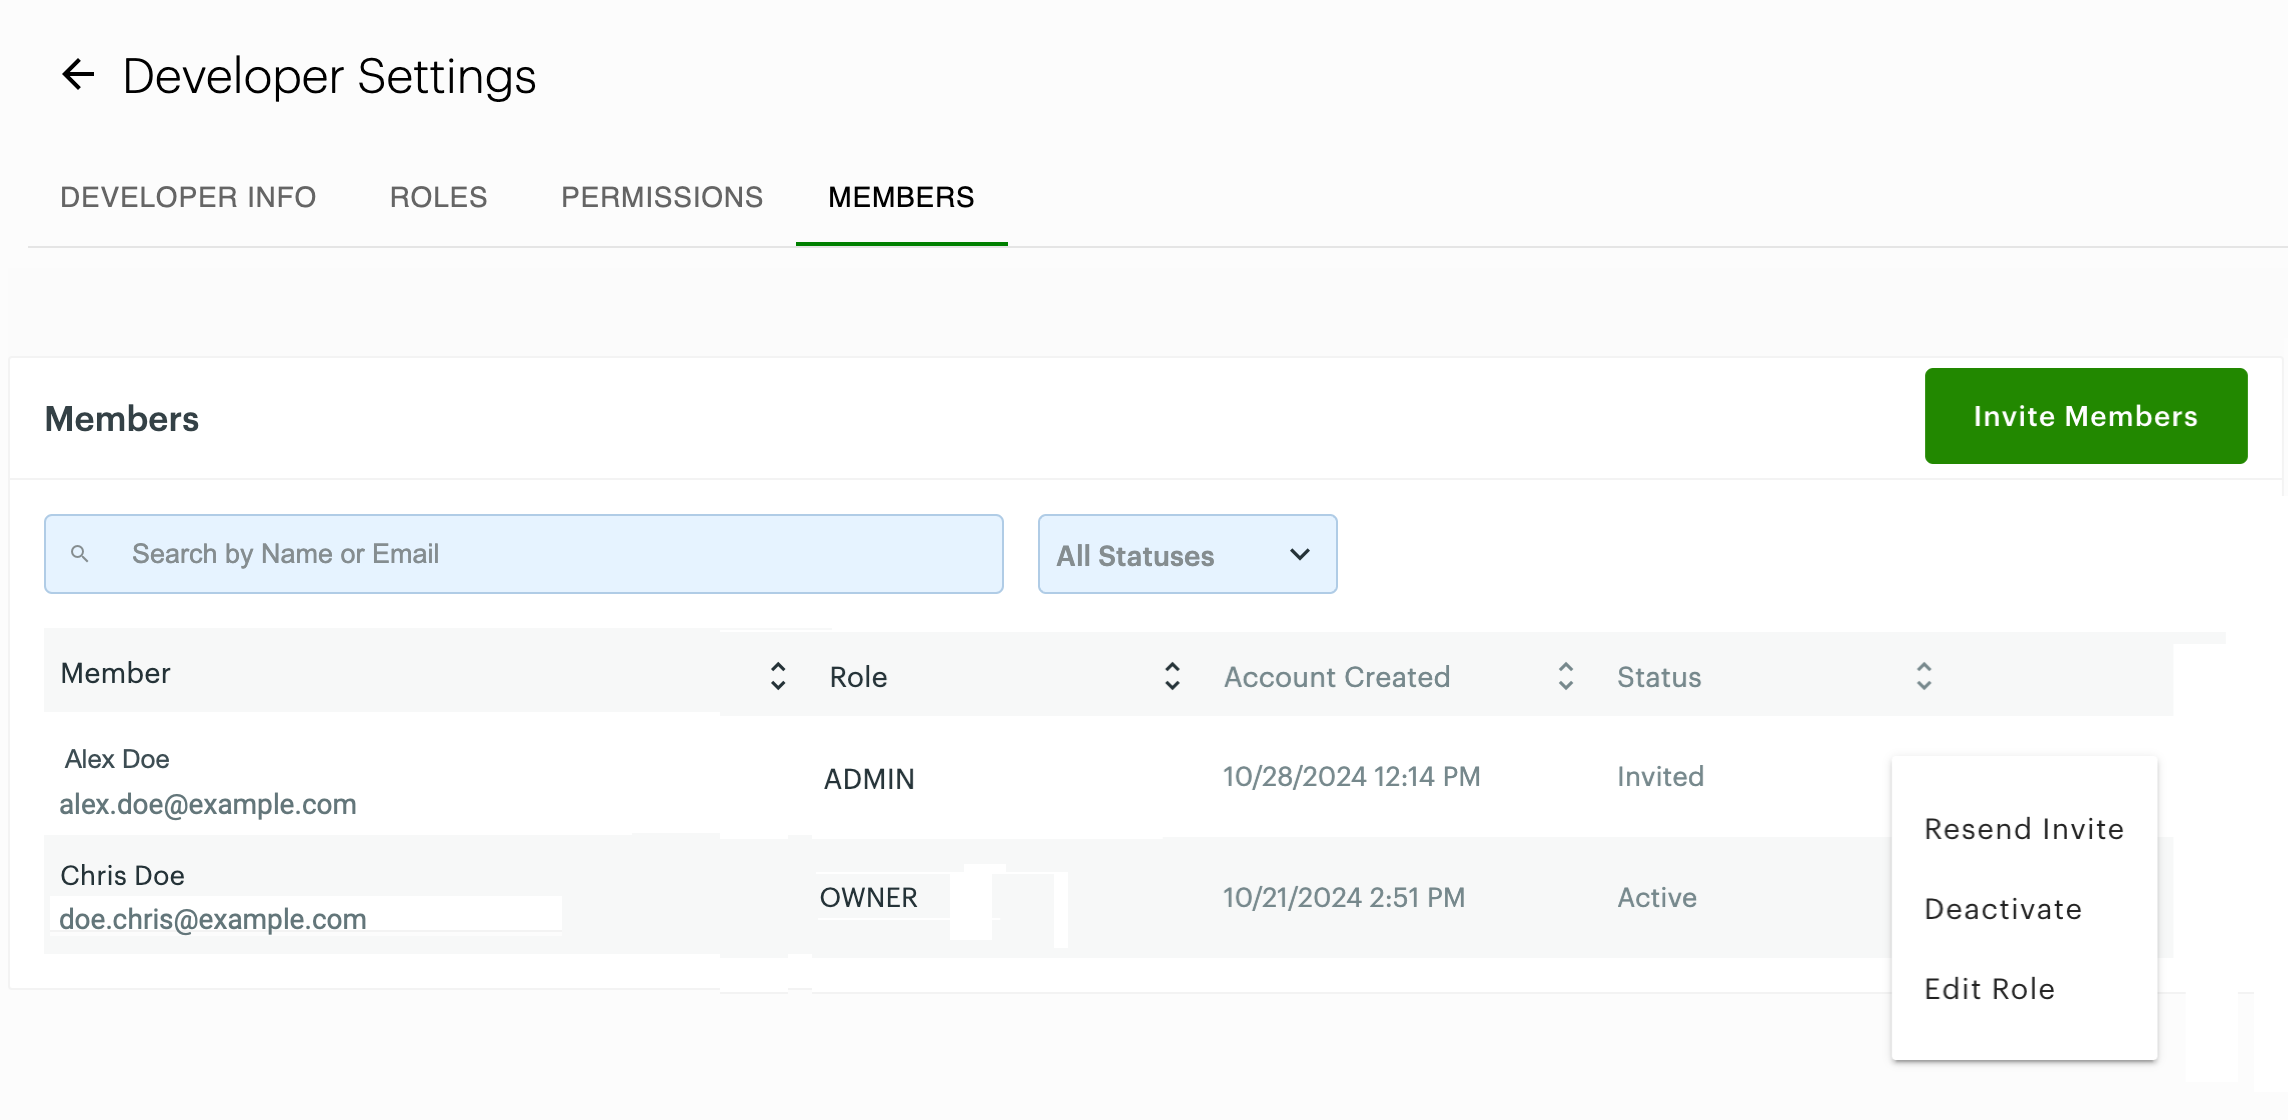
Members page with submenu to perform actions on roles
- Click the vertical ellipsis icon next to a member’s name to:
- Resend the invite.
- Deactivate a member account.
- Edit the role assigned to the member.
For any member or custom role, you can manage assigned default permissions. See Manage global developer permissions.
Accept the invitation to join a developer account as a member
When a Clover developer with an owner role sends an invite to another developer, Clover sends the invited member an email with instructions to access their developer account.
To accept the invitation and join the Clover developer on the Global Developer Dashboard:
- In your email inbox, click Join on Clover. The Clover Developers Login page appears.
Note: Once the invited developer creates a developer account, the link becomes invalid as the invitation to join as a member is claimed.
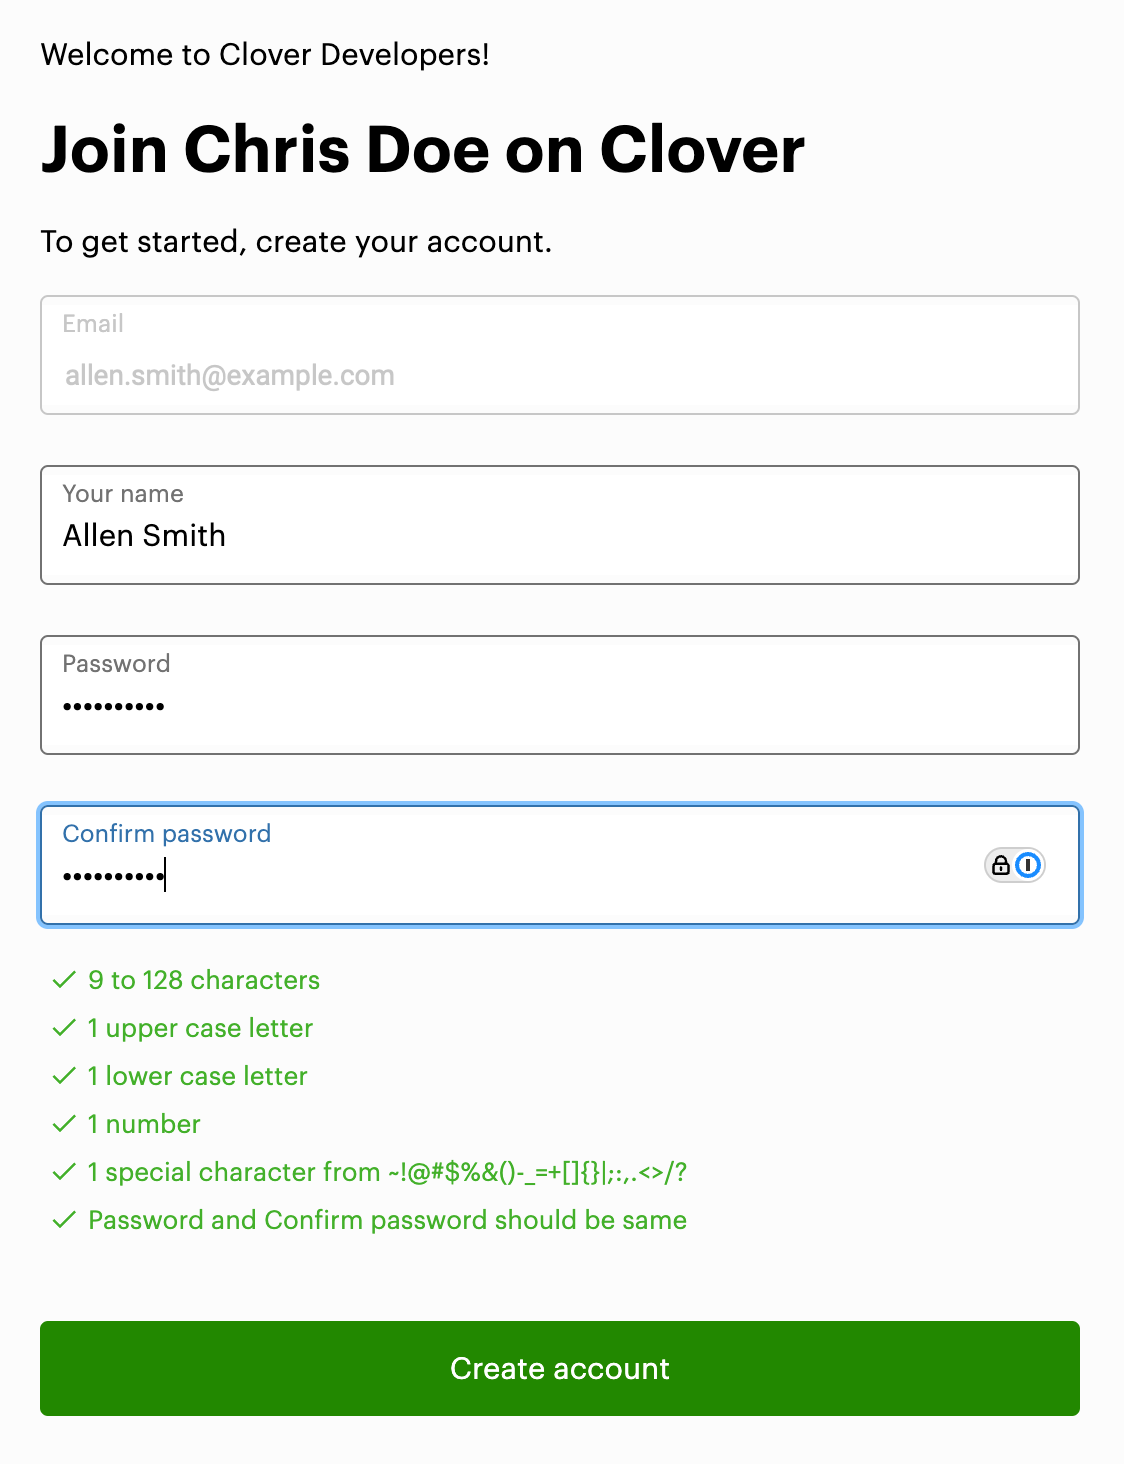
Join <developer name on Clover
- Enter the following information:
- Your email address. This is saved as the developer username for logging in after signing up.
- Your password to securely access your developer account.
- Click Create account. The Set up MFA pop-up appears.
- Complete the steps to set up multi-factor authentication (MFA).
- After your account is created along with the MFA set up, log in again to access your developer account.
- From the top-right menu, click the Account icon > Developer Settings. The Developer Settings page appears.
- Review information related to your account, including roles and permissions.
Create a custom role
The owner can create custom roles for members to perform custom tasks and assign relevant permissions, such as in the beta tester team, production testers team, customer support team, and so on.
- Log in to the Global Developer Dashboard with your owner account details.
- From the top-right menu, click the Account icon > Developer Settings. The Developer Settings page appears.
- Select the Roles tab. The Roles page appears.
- Click Add Role. The Add New Role window appears.
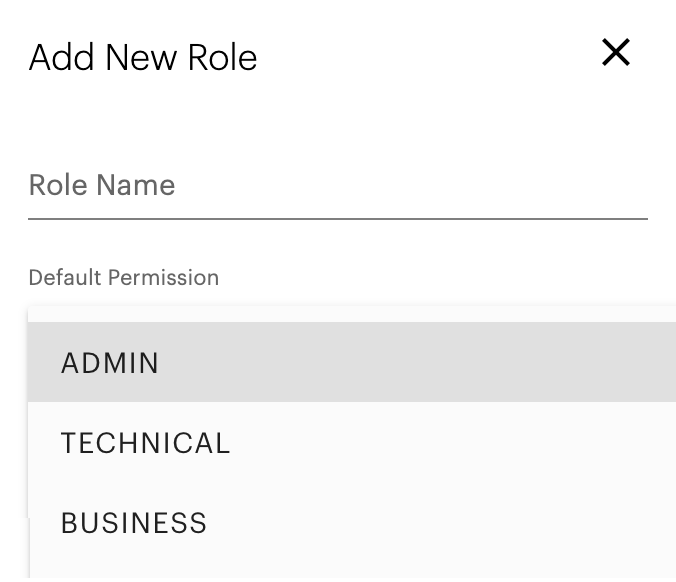
Add New Role pop-up
- Enter the custom role name.
- From the Default Permission drop-down list, select permission to assign to the custom role. For example, for a Customer Support custom role, you can select default permissions for the Business role.
- Click Save. The custom role displays on the Roles page.
- From the Actions column for a custom role, click an icon to edit the name of the role or delete the custom role.
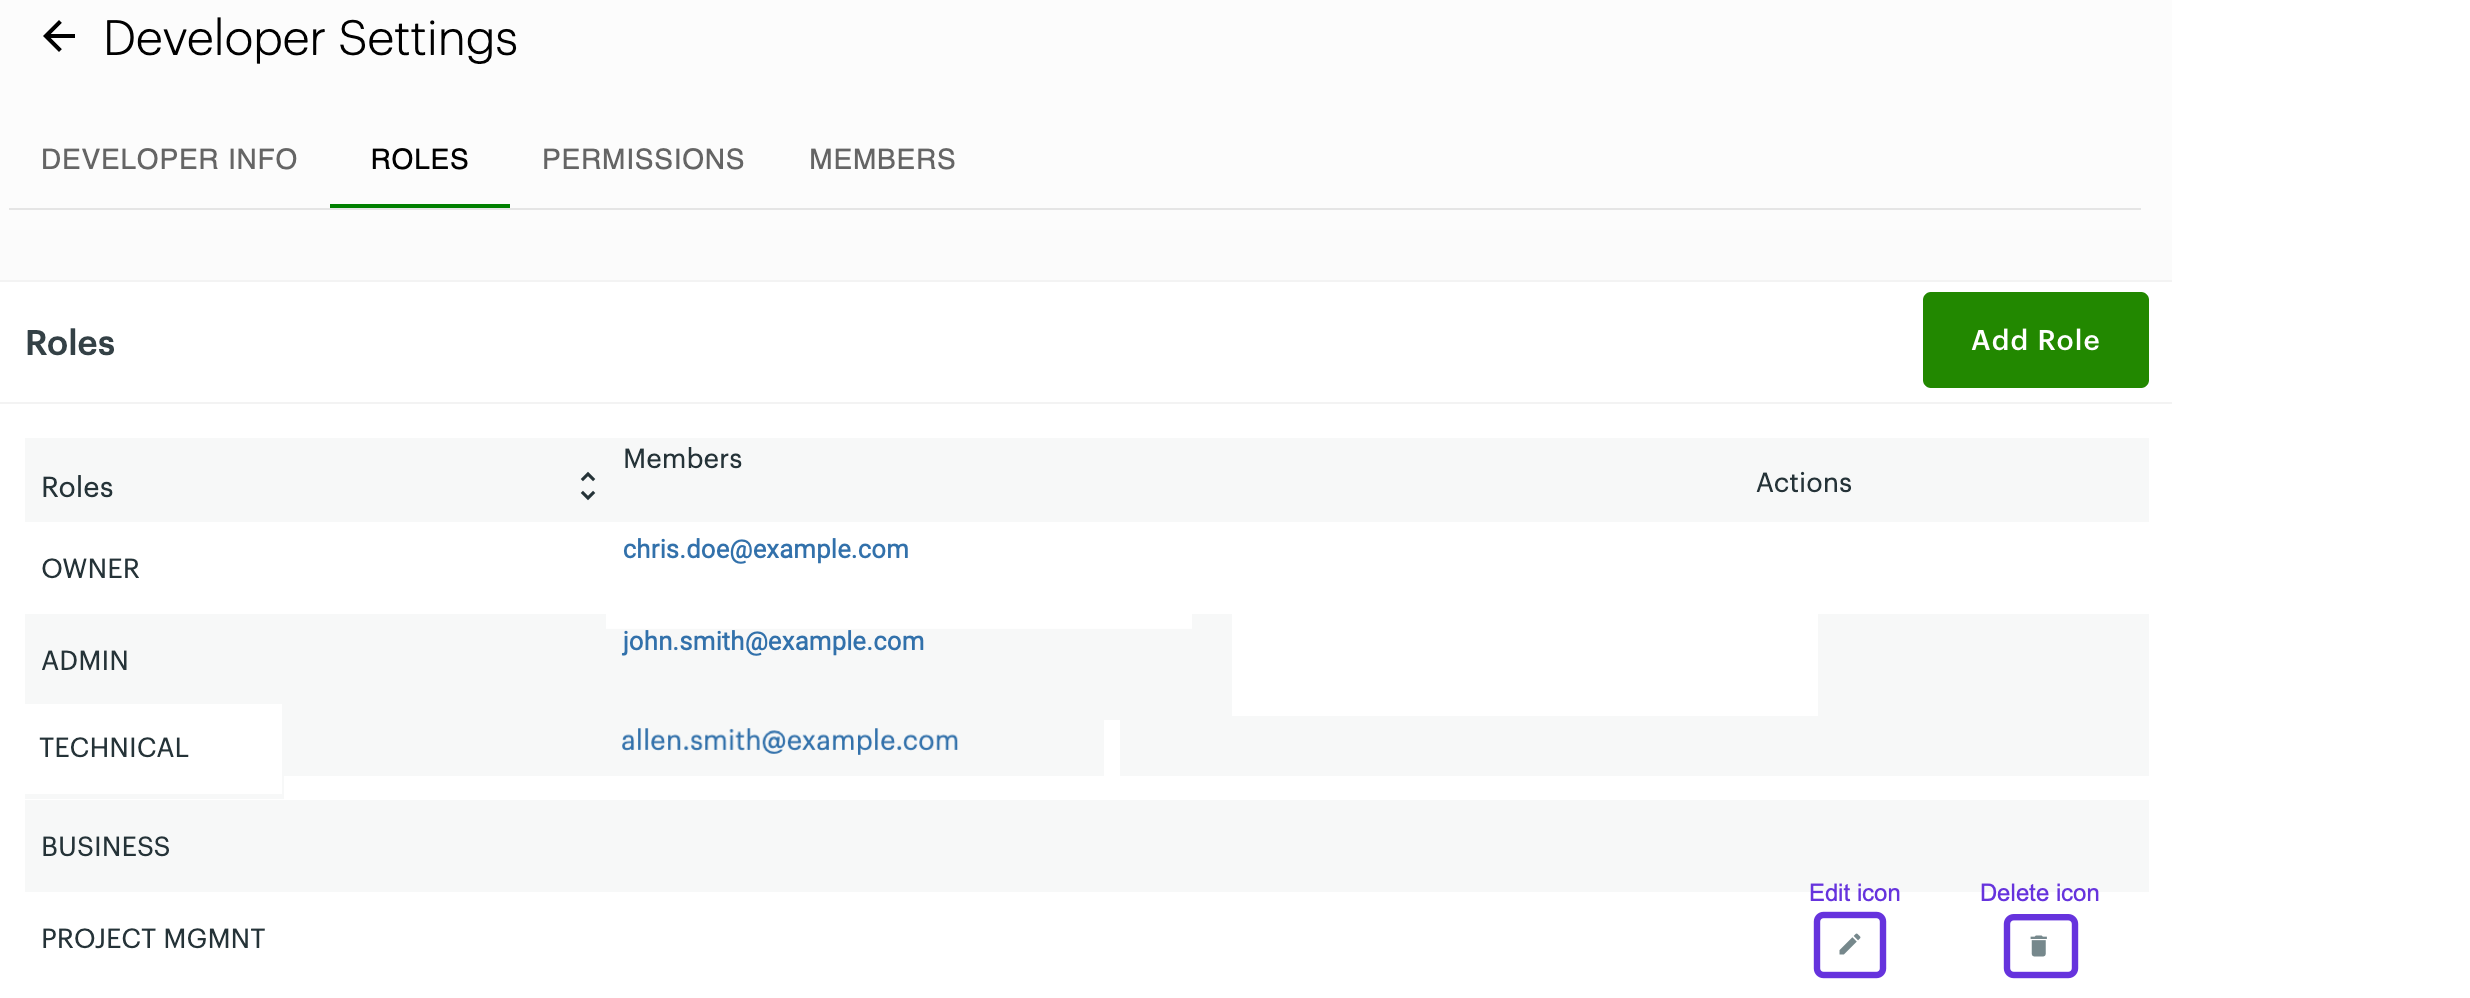
Roles page with edit and delete icons for custom roles
For any member or custom role, you can manage assigned default permissions. See Manage global developer permissions.
Invite and add a member to a test merchant account
If you want to invite members only to create a developer account, see Invite members. The following procedure provides steps to add a developer member account as an employee in a test merchant account.
Step 1: Invite member
- Complete the steps to invite members to the Global Developer Dashboard.
- Return to the dashboard home page.
Step 2: Add invited member as employee
- On the Global Developer Dashboard, from the left navigation menu, click Test Merchants. The Test Merchants page appears.
- Click the launch icon next to a test merchant name. The Test Merchant Dashboard appears.
- From the left navigation menu, click Employees. The Employees page appears.
- Click Add Employee. The New employee page appears.
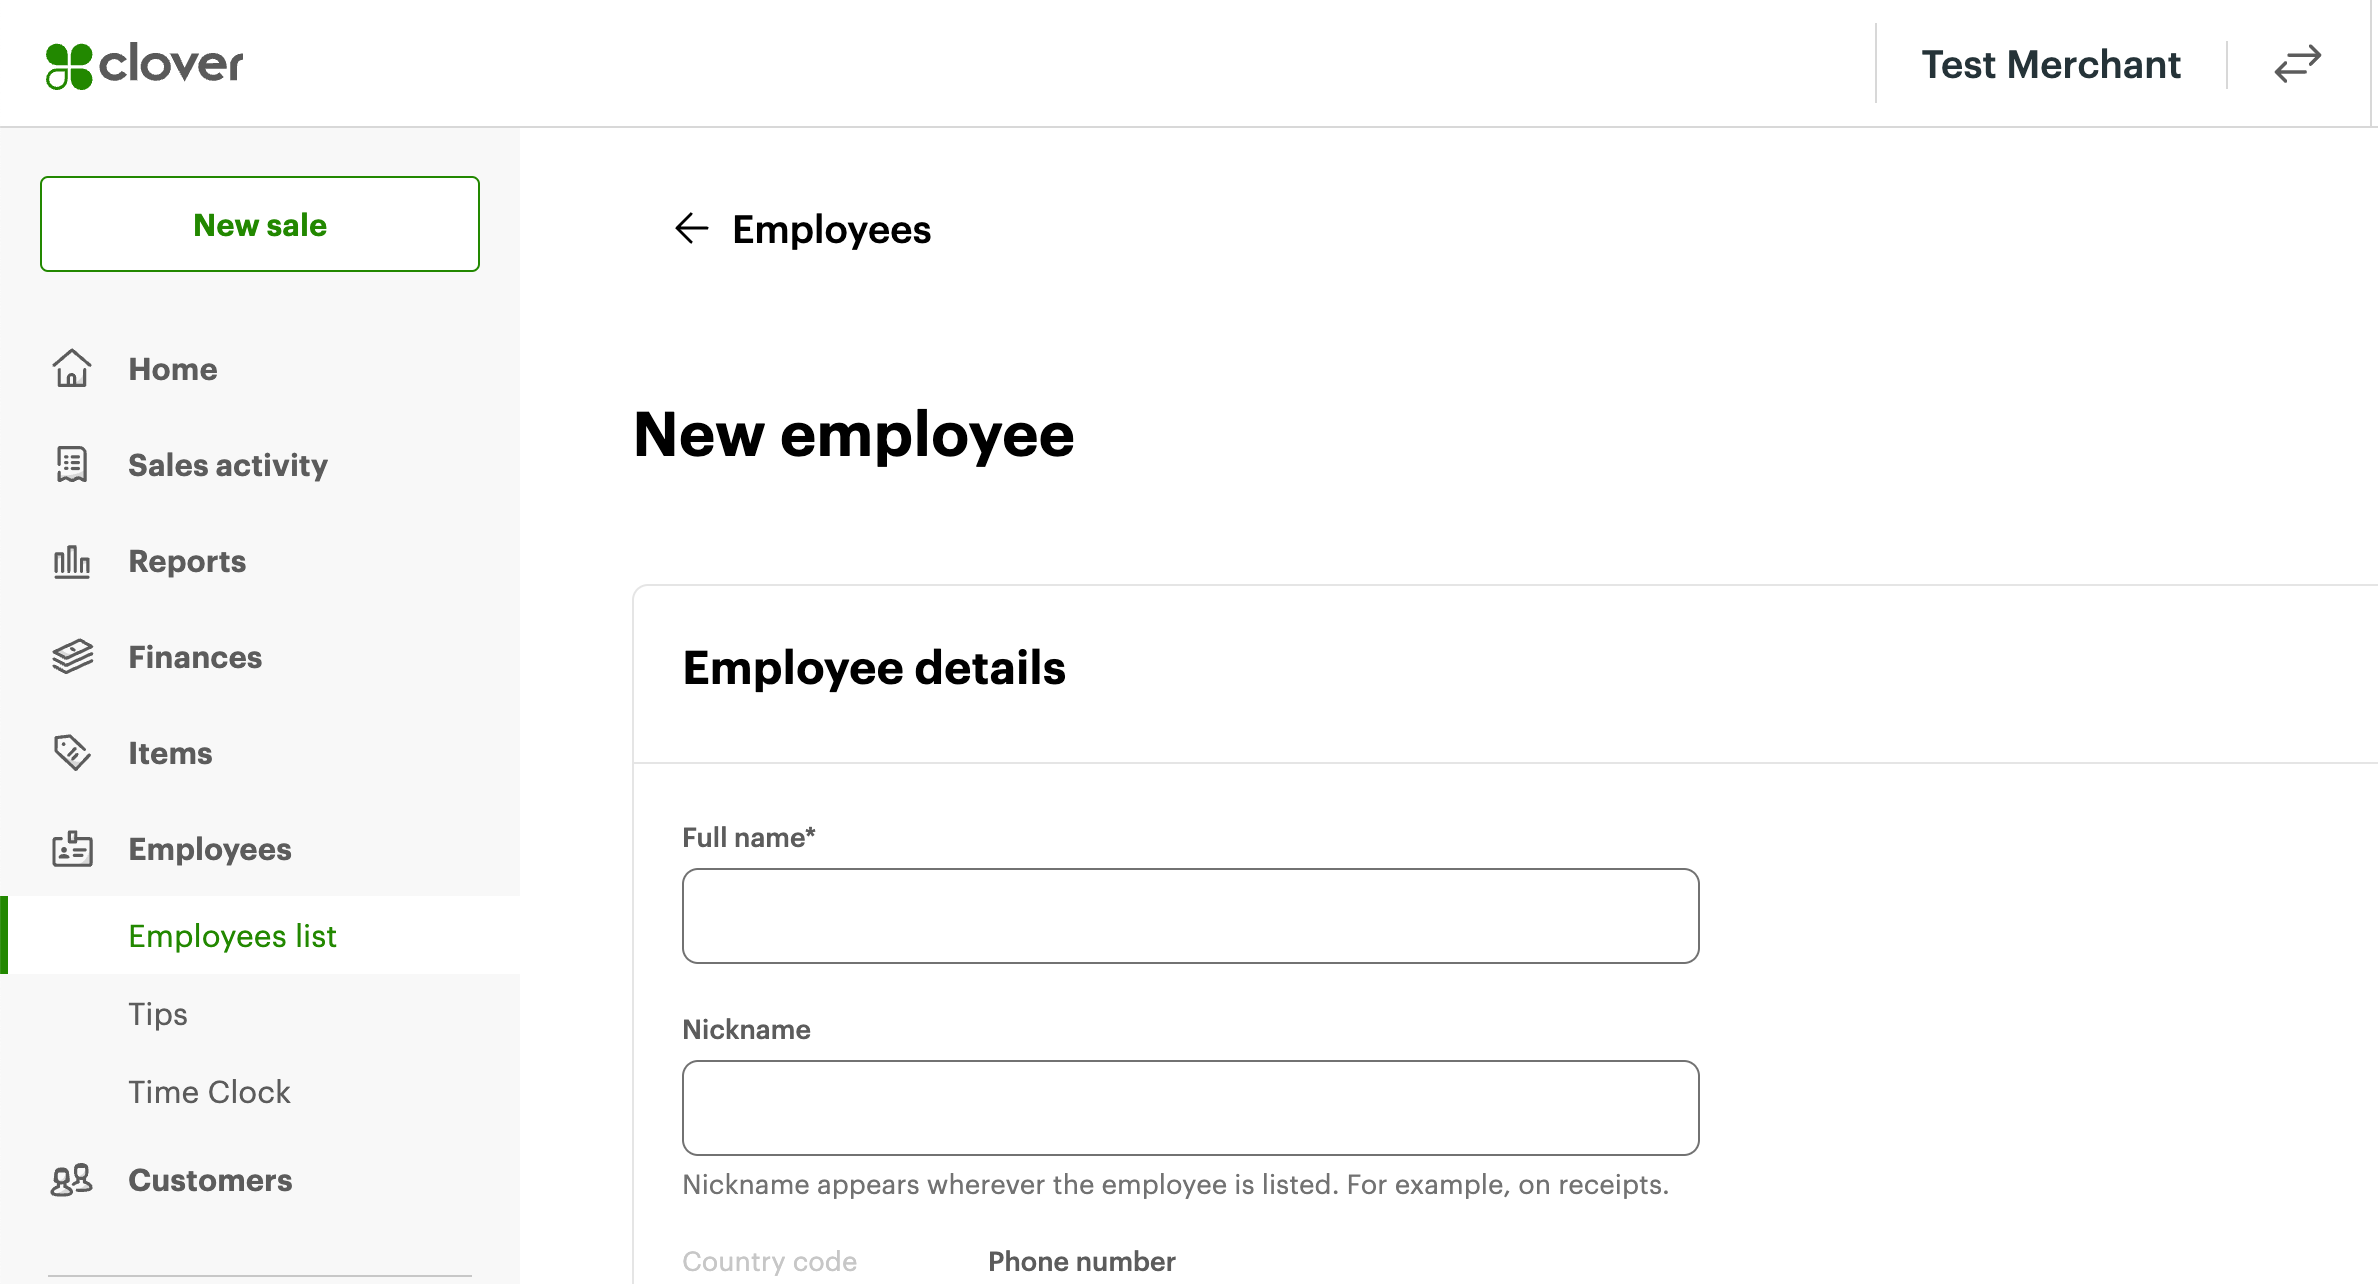
Merchant Dashboard—New employee page
- Enter invited member information to add as an employee for the test merchant.
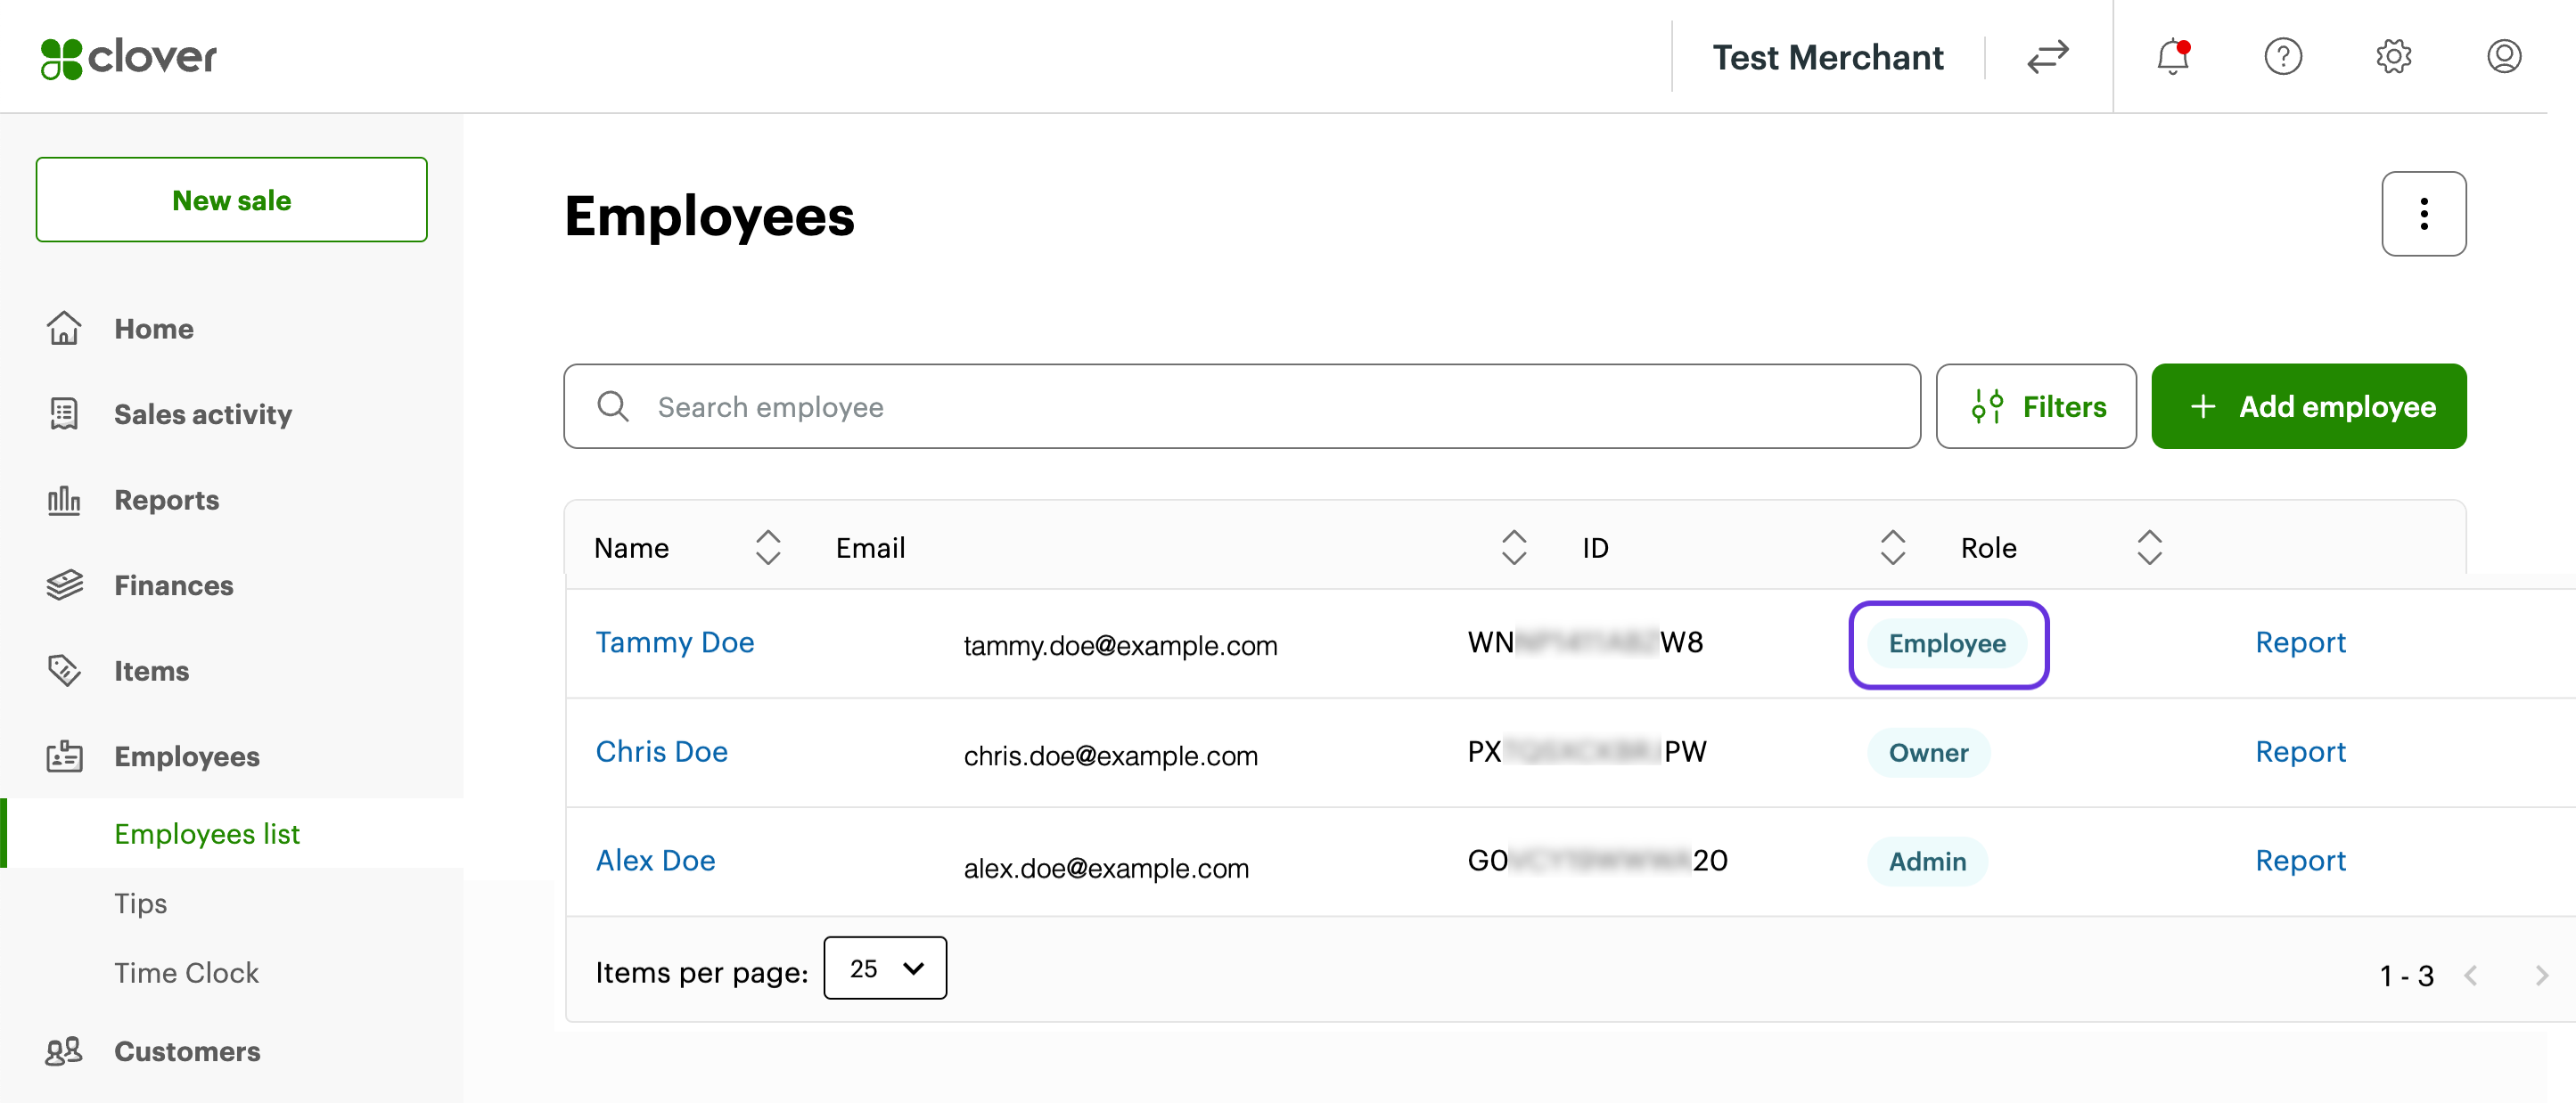
Note: If a member needs accounts for both the Global Developer Dashboard and Merchant Dashboard, they must use the same email address to create each account. The same email address lets the member access both dashboards and use the test merchant account to install and test apps. - Click Save. The employee information displays on the Employees page.
Related topics
Updated about 1 year ago
