Print a receipt
The REST Pay Display API provides two options for printing receipts with the built-in printer:
- Print a standard Clover receipt that complies with card brand requirements.
- Print a text- or image-based receipt, if your integration has specific design needs not provided on a standard receipt.
For most merchants, the Set up payment receipts are sufficient. These options include the merchant's logo, custom header and footer text, and other modifications commonly requested by merchants. Using Clover's system also gives the merchant more control than a receipt generated by an integrated POS.
NOTE
If your transaction request includes a
receipt_email, a web receipt is sent to the customer automatically when the transaction is finalized.
Prerequisites
- POS is connected to the device using a network or cloud connection.
- Clover device is idle; that is, no payment is being taken.
- Identifier (Id) of the printer receiving the request is known.
Print standard receipts
You can print a standard receipt for any payment, credit, or refund by sending a POST request with the following body to the associated endpoint for a given transaction:
{
  "deliveryOption": {
    "method": "PRINT"
  }
}
Example
If your refund UUID is
45YIYT7B1ABYE, send the request to/v1/refunds/45YQVE7B1ABYE/receiptand the Clover device automatically prints the receipt.
NOTE
You can also use these endpoints to send email and text receipts. You need to change the
deliveryOption.methodtoSMSand include the email address or phone number asadditionalData. See the REST API Reference for more information.
Print custom receipts
Get the printer ID
The /v1/device/print endpoints require the printer's identifier in the request.
To retrieve this ID from a Clover device:
Send an empty POST request to the /v1/device/printers endpoint.
A message displays with the ID and name of the printer.
{
    "printers": [
        {
            "id": "YR8P3KTEW2182",
            "name": "Mini"
        }
    ]
}
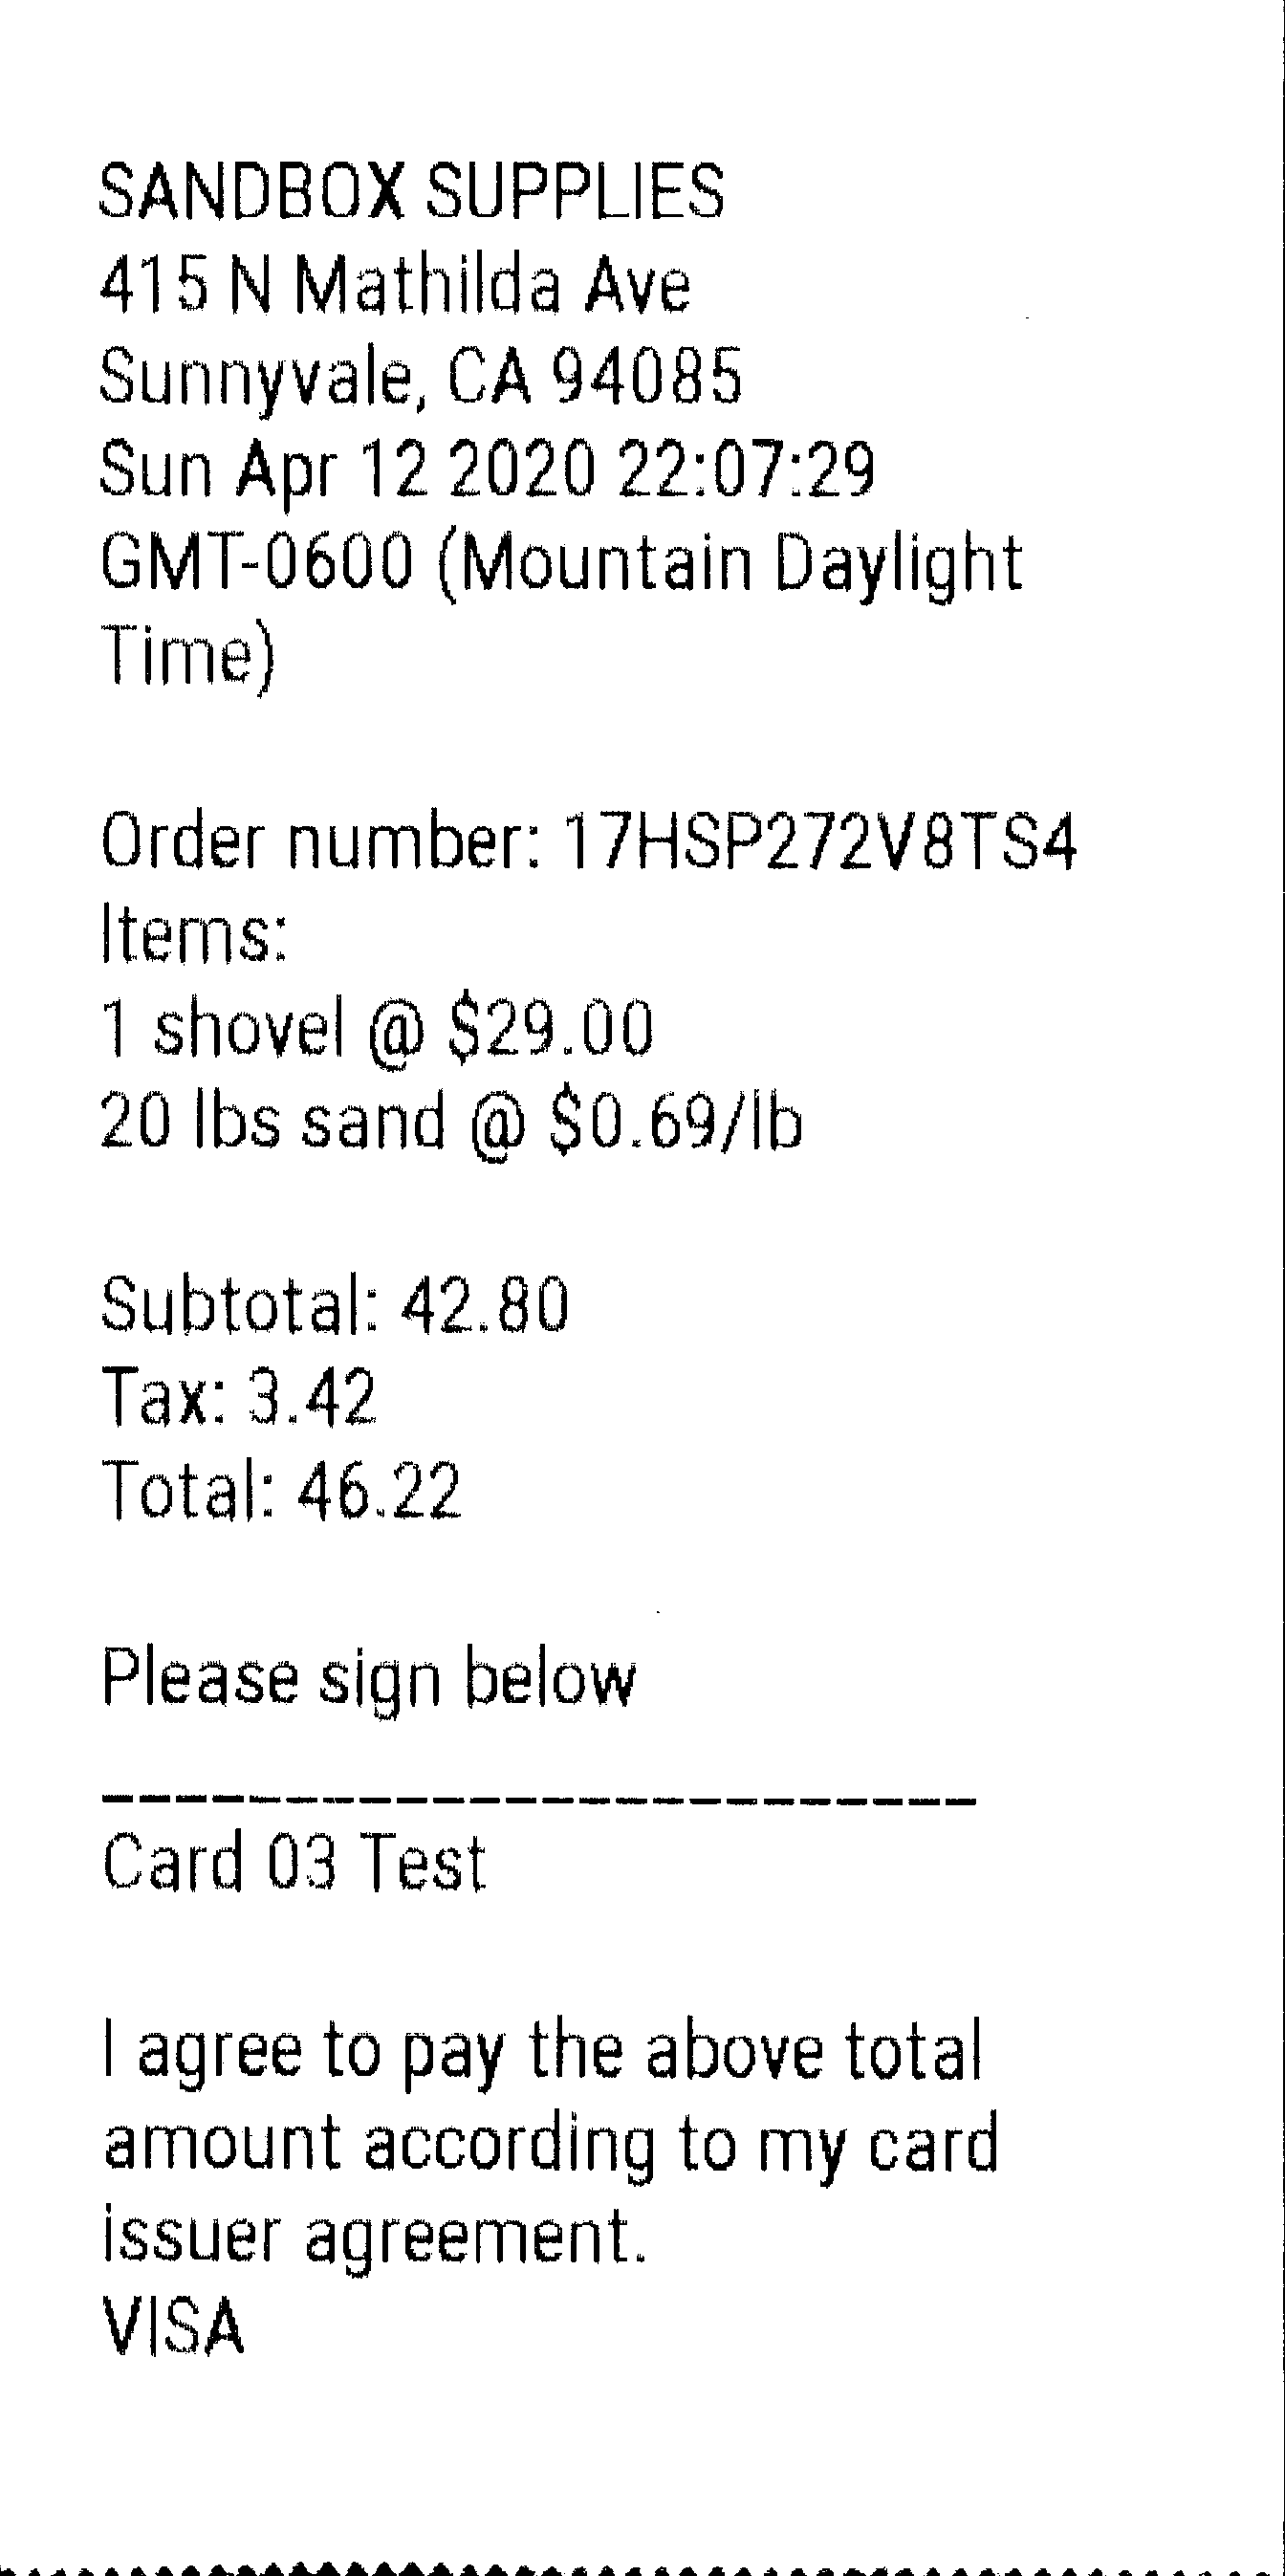
Print a text-based receipt
You can provide an array of strings in your request to print a basic text-based receipt.
IMPORTANT
You are responsible to ensure the receipts printed by your app comply with all card brand rules, and all laws and regulations for the locale where the merchant operates.
- Construct a request body with the required data (
printDeviceIdandtext). Thetextfield is an array of strings that are printed in order. Blank array values create space between different sections of the receipt.
{
  "printDeviceId": "{{printerid}}",
  "text": [
	"SANDBOX SUPPLIES",
	"415 N Mathilda Ave",
	"Sunnyvale, CA 94085",
	"{{currentDateTime}}",
	"",
	"Order number: {{orderId}}",
	"Items:",
	"1 shovel @ $29.00",
	"20 lbs sand @ $0.69/lb",
	"",
	"Subtotal: 42.80",
	"Tax: 3.42",
	"Total: 46.22",
	"",
	"Please sign below",
	"",
	"________________________",
	"{{cardholderName}}",
	"",
	"I agree to pay the above total amount according to my card issuer agreement.",
	"{{cardBrand}}"
	]
}
- Send a POST request to
Print text. - Required. Include the required headers for your request. The text is printed on the receipt.

Print an image-based receipt
You can generate a Base-64 encoded PNG of the final receipt and use the device printer to print a custom receipt. Guidelines for receipt images are:
- Images must be Base-64 encoded PNG files. Generate the encoding without newline or line feeds, and ensure the result is properly escaped in the JSON request body.
- For the best performance, optimize images for size before encoding.
- Use only black and white images.
- Do not use transparency (alpha channel) because the printer interprets transparent as black.
IMPORTANT
You are responsible for ensuring the receipts printed by your app comply with all card brand rules, and all laws and regulations for the locale where the merchant operates.
To print an image-based receipt:
- Construct a request body with the required data (
printDeviceIdandimage). Theimagefield is a Base64-encoded representation of the PNG file.
{
  "printDeviceId": "{{printerid}}",
  "image": "{{base64image}}"
}
- Send a POST request to
Print an image
The image is printed on the receipt.
Updated about 2 years ago
