Create a sandbox developer account
On the legacy Developer Dashboard
The Clover platform provides tools for you to design and build apps for Clover merchants. Use the Clover sandbox environment on the Developer Dashboard as a testbed to build and test your apps for test merchant accounts.
Before you begin
The Developer Dashboard is on the legacy developer platform. If you have previously approved apps on this platform, you can continue to use the Developer Dashboard to manage the apps. The developer platform requires two separate developer accounts to access the sandbox and production environments.
All new developer accounts in North America, Europe, Latin America, and Asia Pacific are created on the global developer platform.
Recommendation for developers
Note the following before you begin creating a sandbox developer account:
- If you process credit cards, Clover recommends you secure your account with two-factor authentication to protect merchants and their data.
- If you create, edit, or delete apps in the sandbox environment, your published apps in the Clover App Market are unaffected. Thus, merchants who have installed apps from the Clover App Market are not impacted by app changes in the sandbox.
- If you use a static IP address, you need to support the links (URLs) for all sandbox services that have dynamic IP addresses.
The steps in this topic are for the legacy developer platform.
Create a sandbox developer account
- Go to Clover sandbox environment. The Create your Developer account page appears.
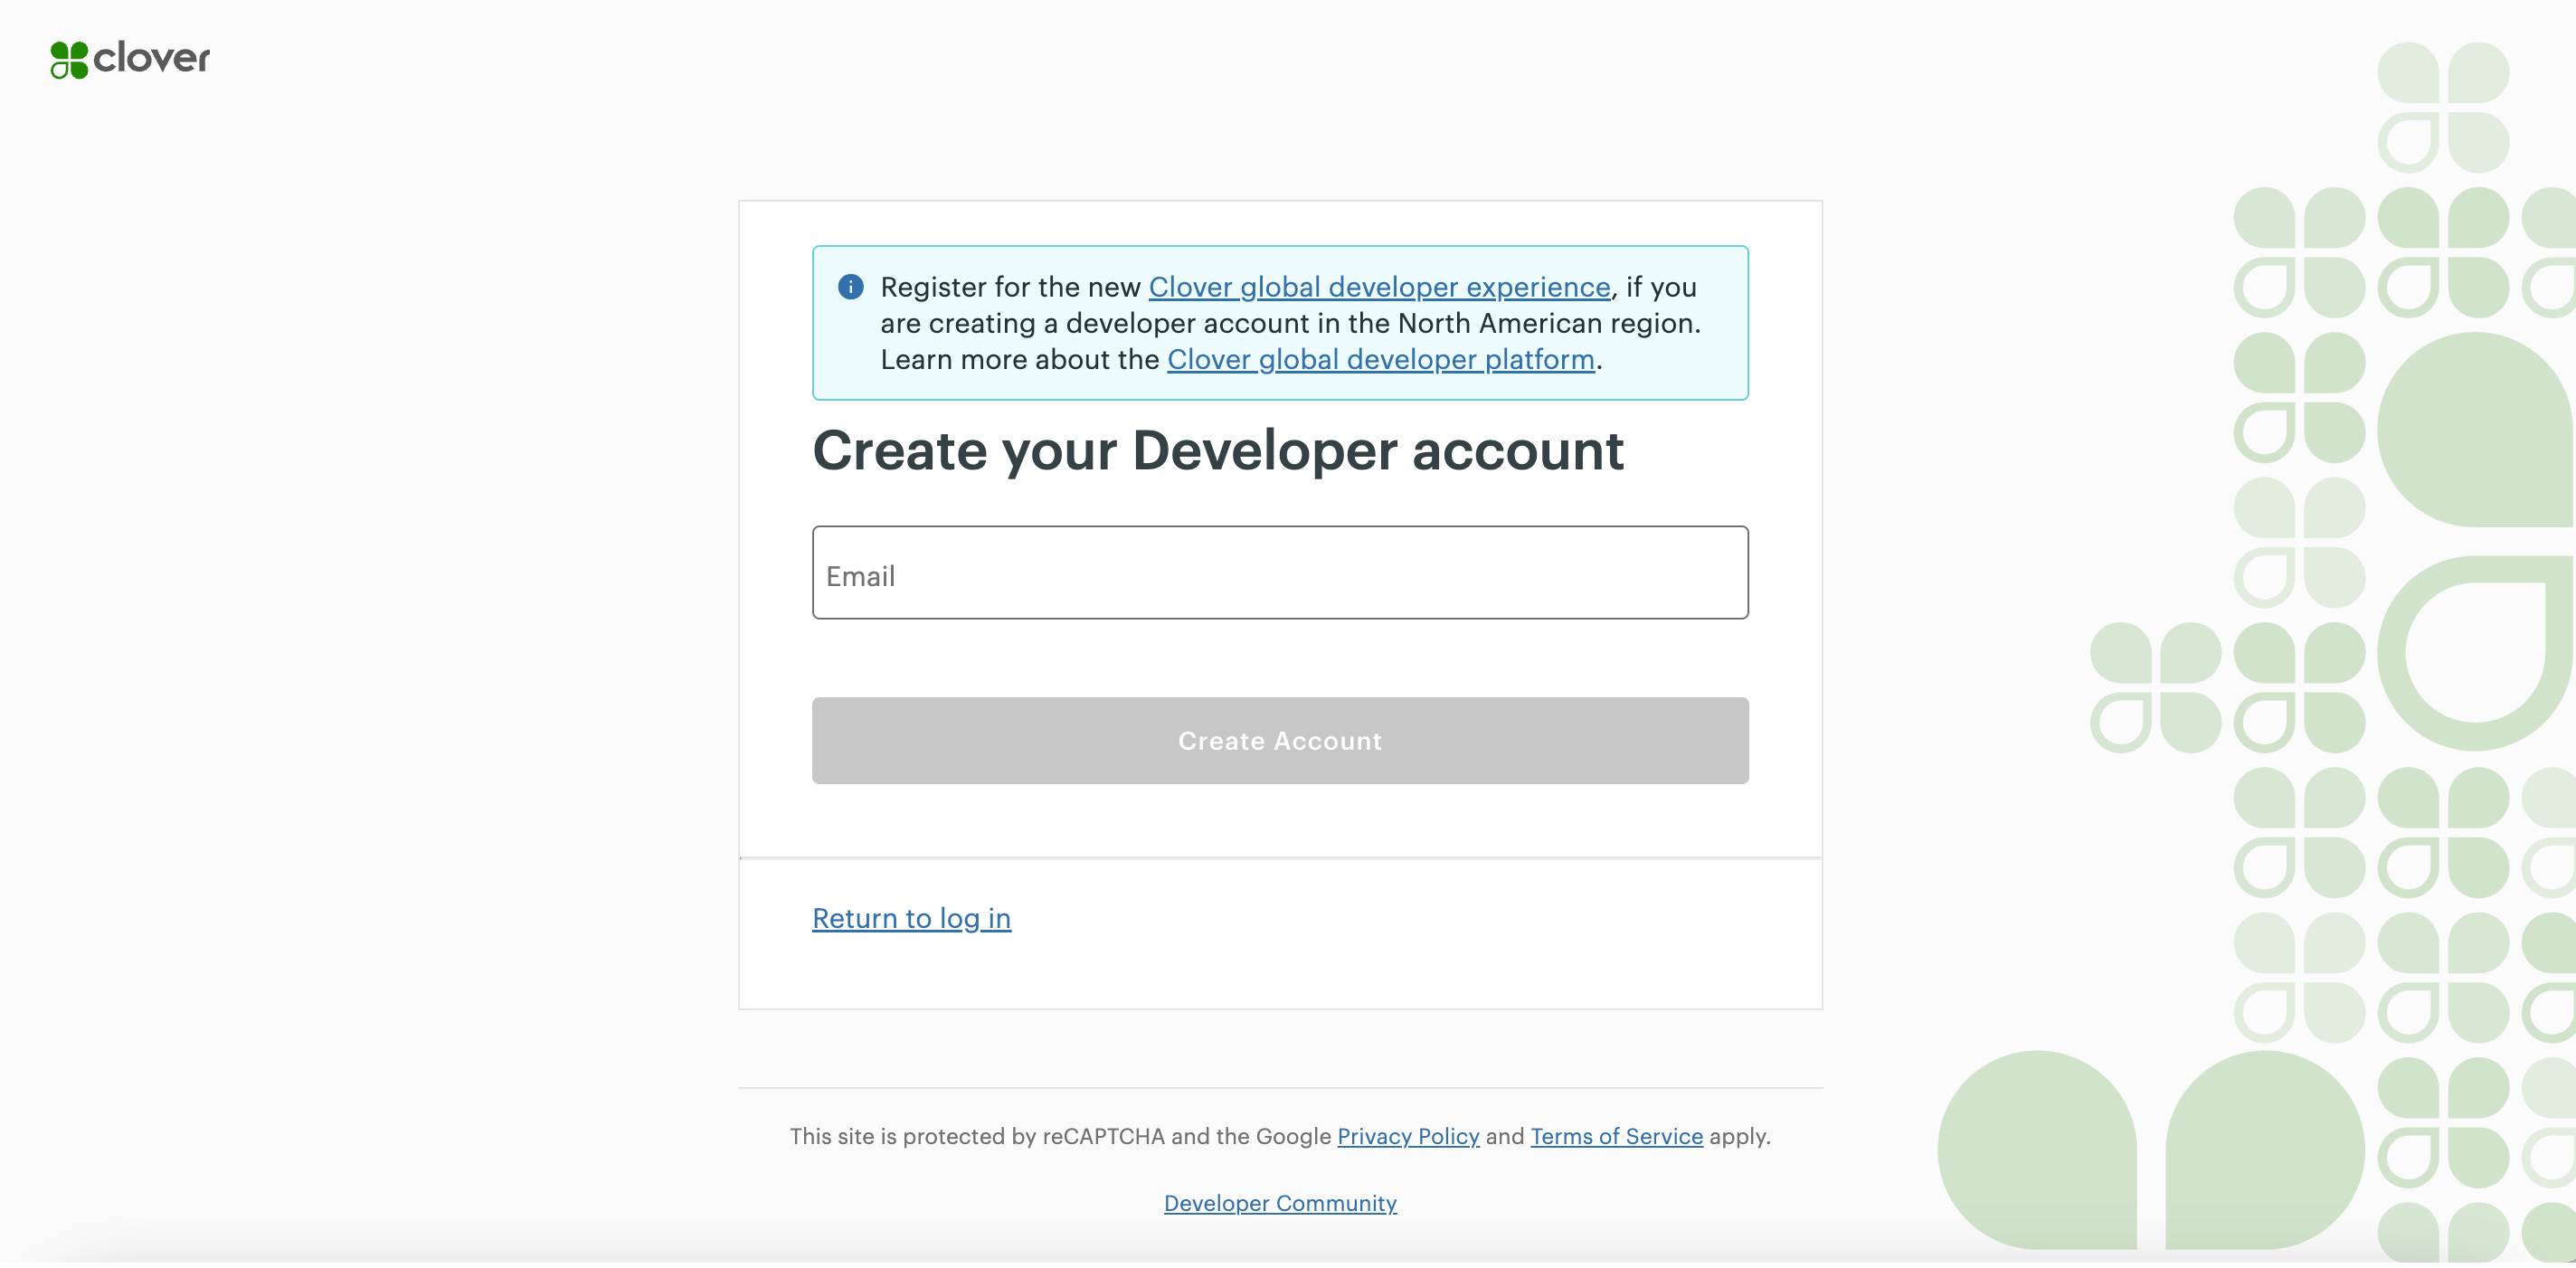
Create your Developer account to access the sandbox Developer Dashboard
- Enter your email address, and click Create Account. A message appears.
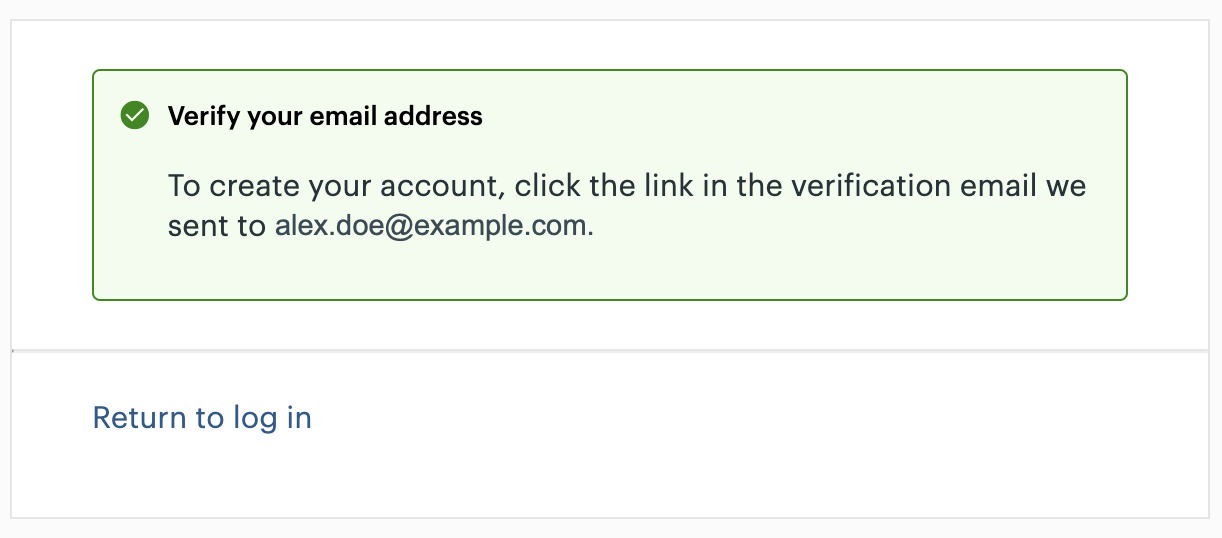
Verify your email address
- Go to your email account, and in the confirmation email from Clover, click Set a password.
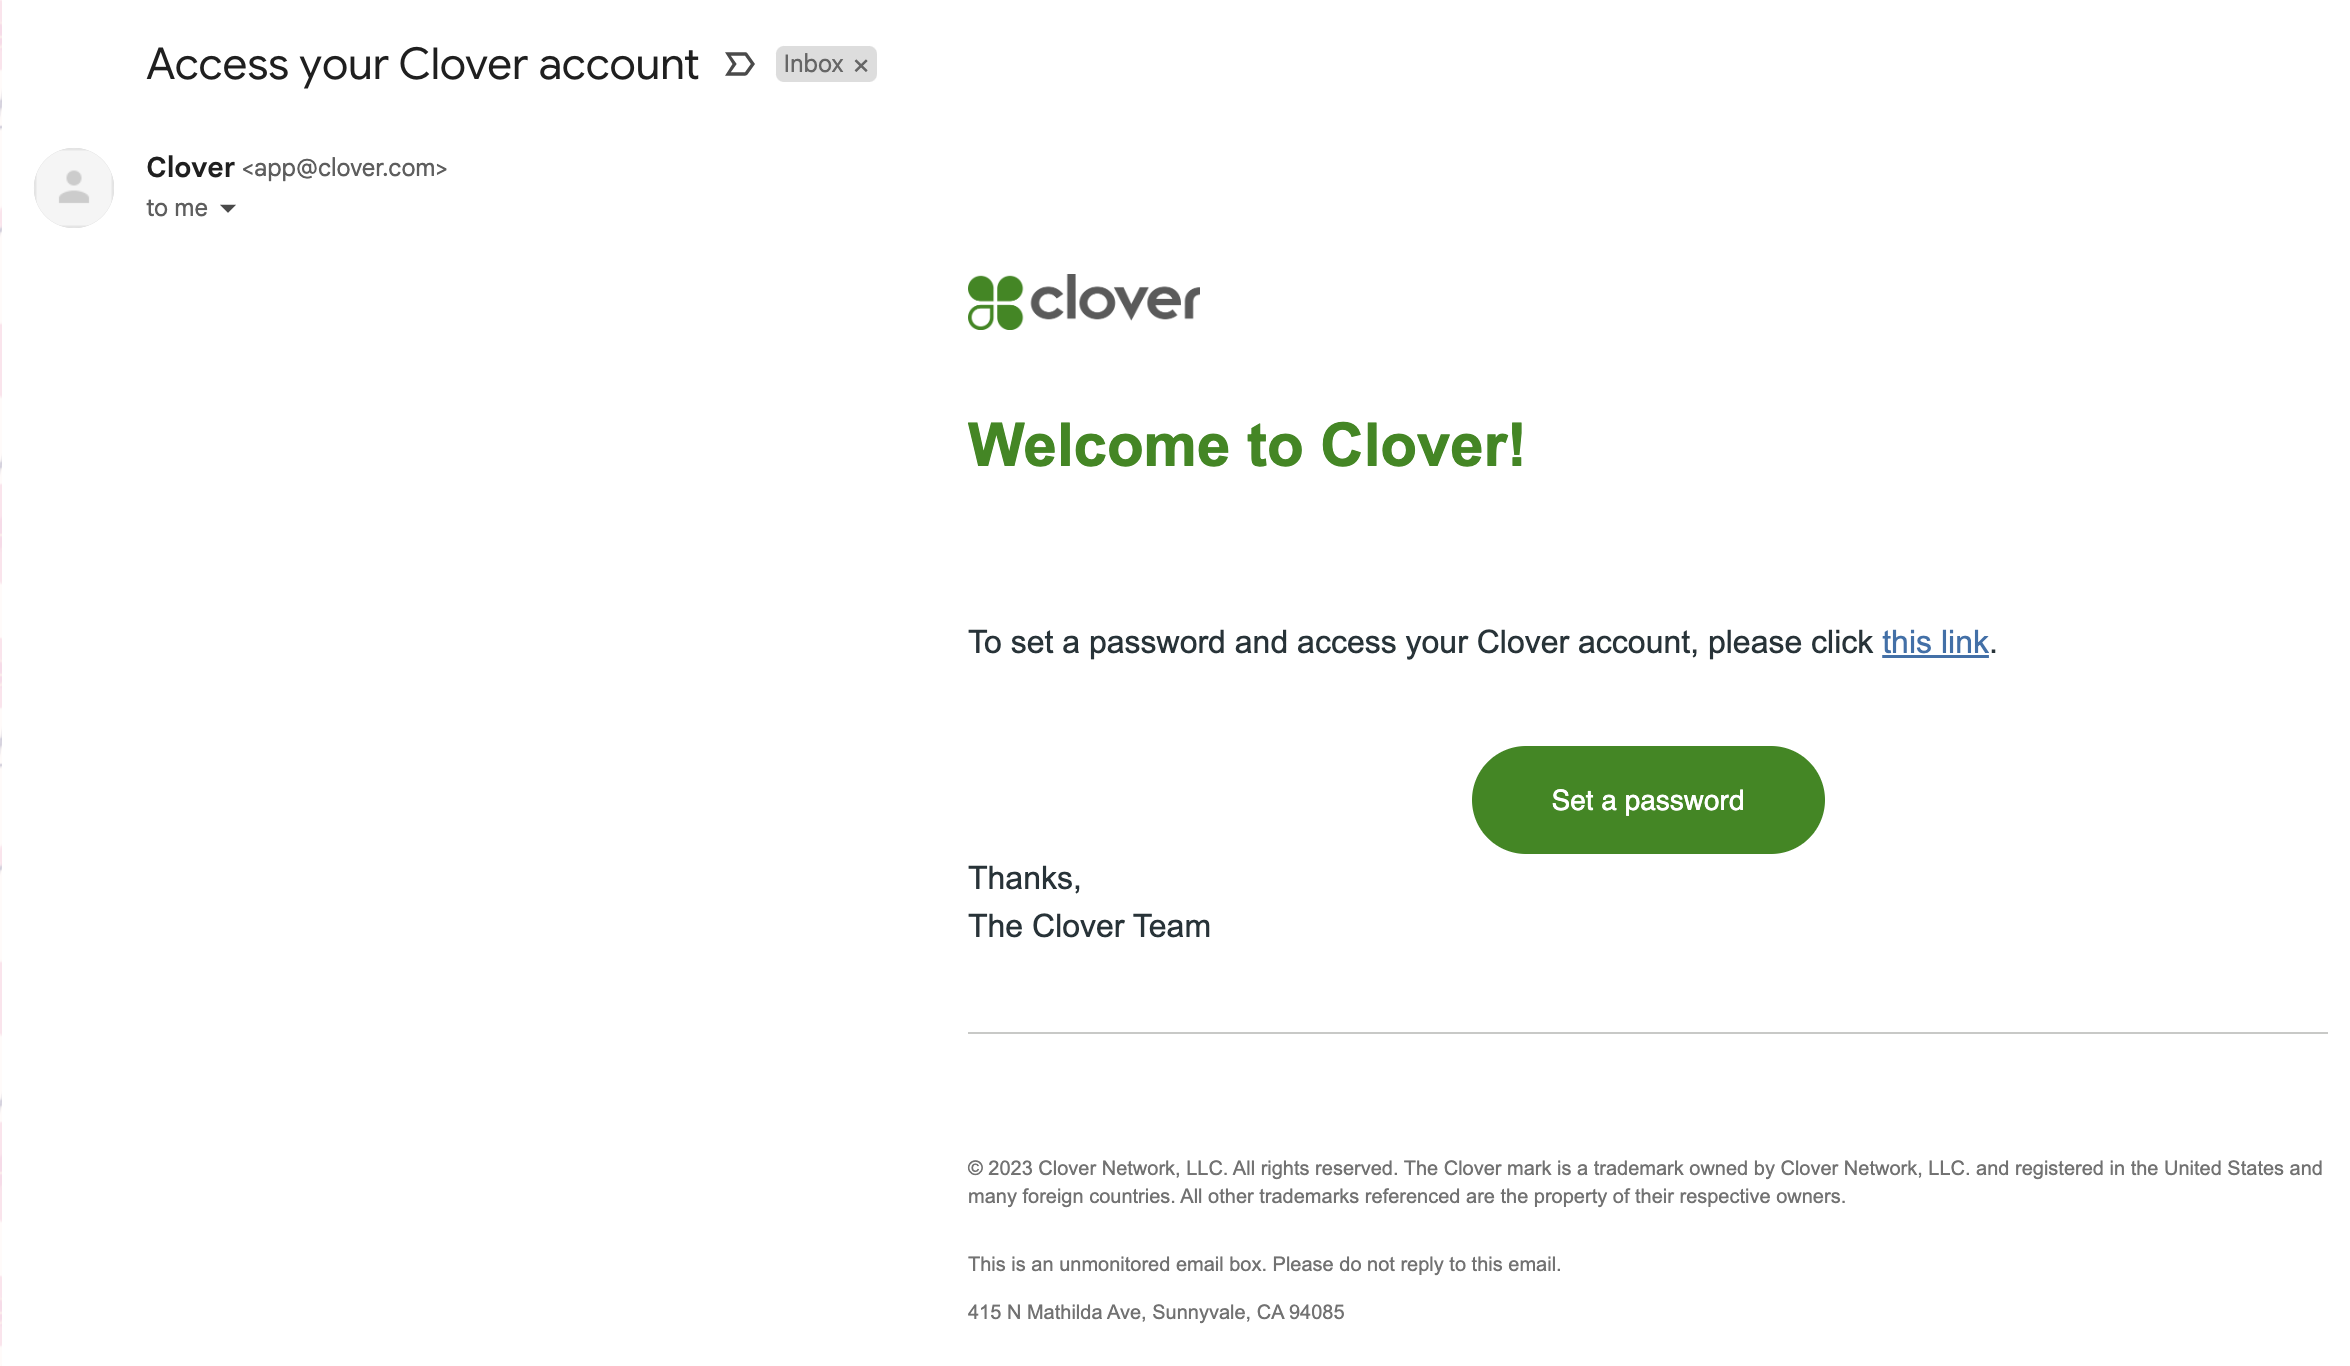
Welcome to Clover email
The Set your Password pop-up appears.
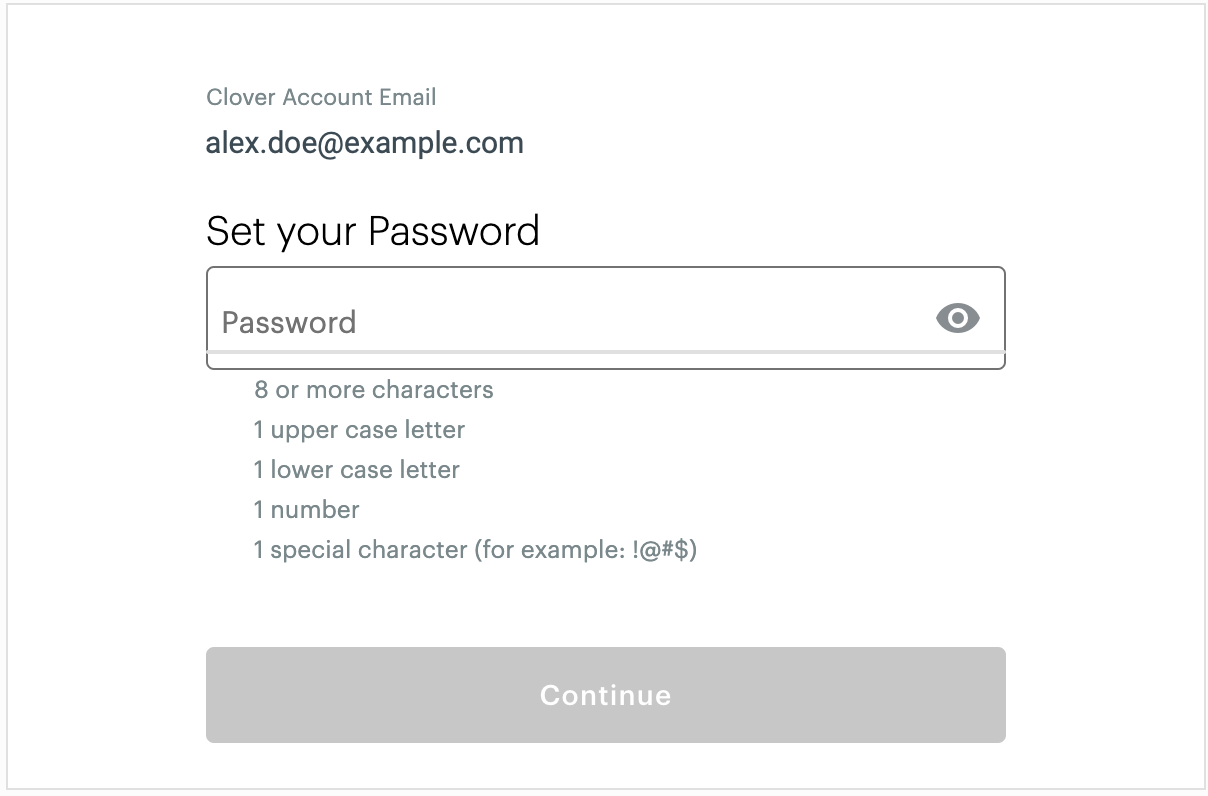
Set your password
- Create a strong password, and click Continue. The Welcome to Clover! pop-up appears.
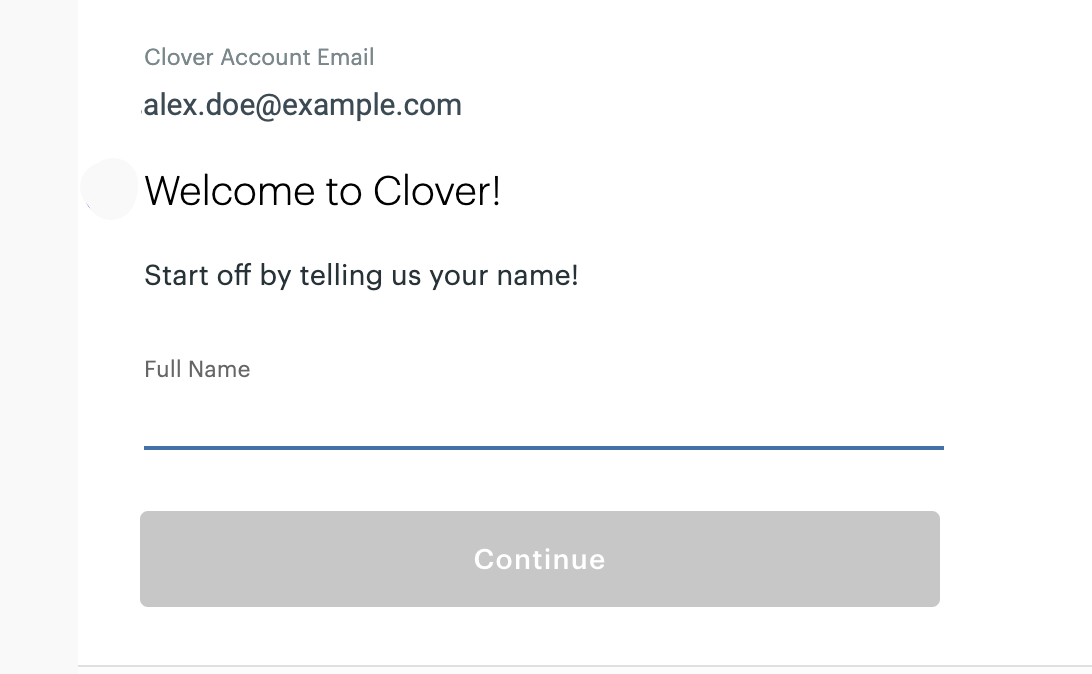
Welcome to Clover
- In the Full Name field, enter identification information for your sandbox developer account, and click Continue. The Name your Developer Account page appears.
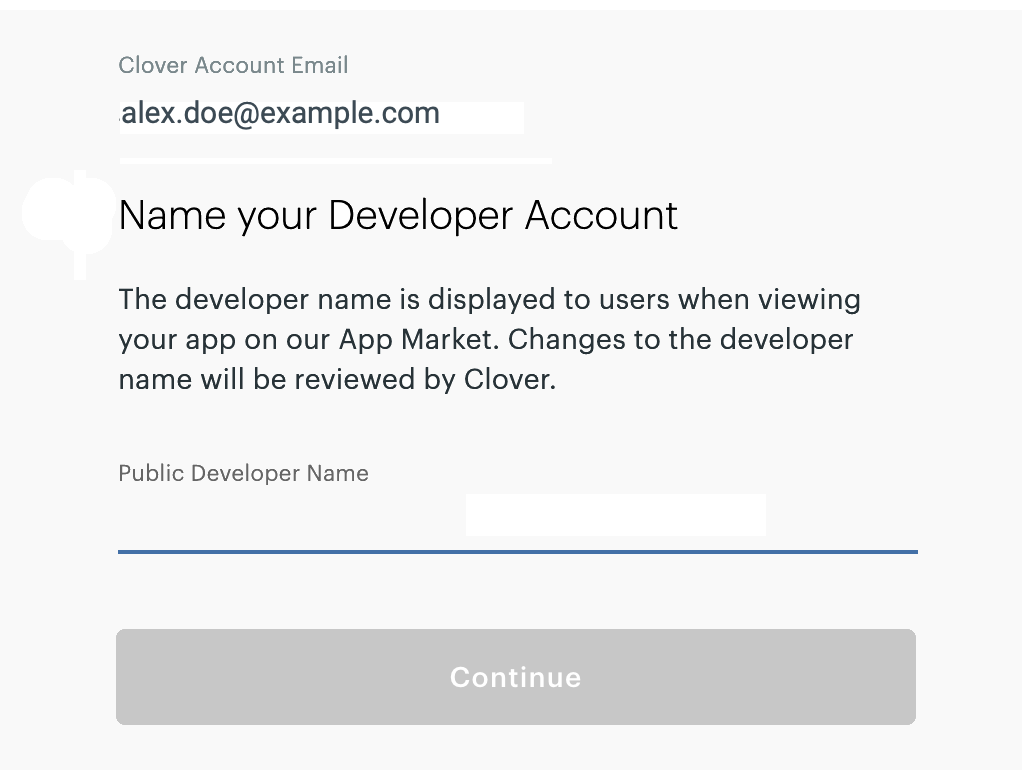
Name your Developer Account
- In the Public Developer Name field, enter either your developer name or company name to display in the Clover App Market, and click Continue. The Create your Test Merchant page appears.
- Enter information to create a test merchant. See Create your first test merchant.
- Click Create Account to complete the steps to create your sandbox developer account and first test merchant.
Create your first test merchant
When you sign up to create your sandbox developer account, you can create a test merchant after entering your developer and account information. Use test merchants to simulate merchant interactions with your application, such as installing your app, granting permissions, and then testing all the features of your app. Test merchants are non-billable.
- Complete the steps to create a sandbox developer account.
- On the Create your Test Merchant page, enter test merchant information:
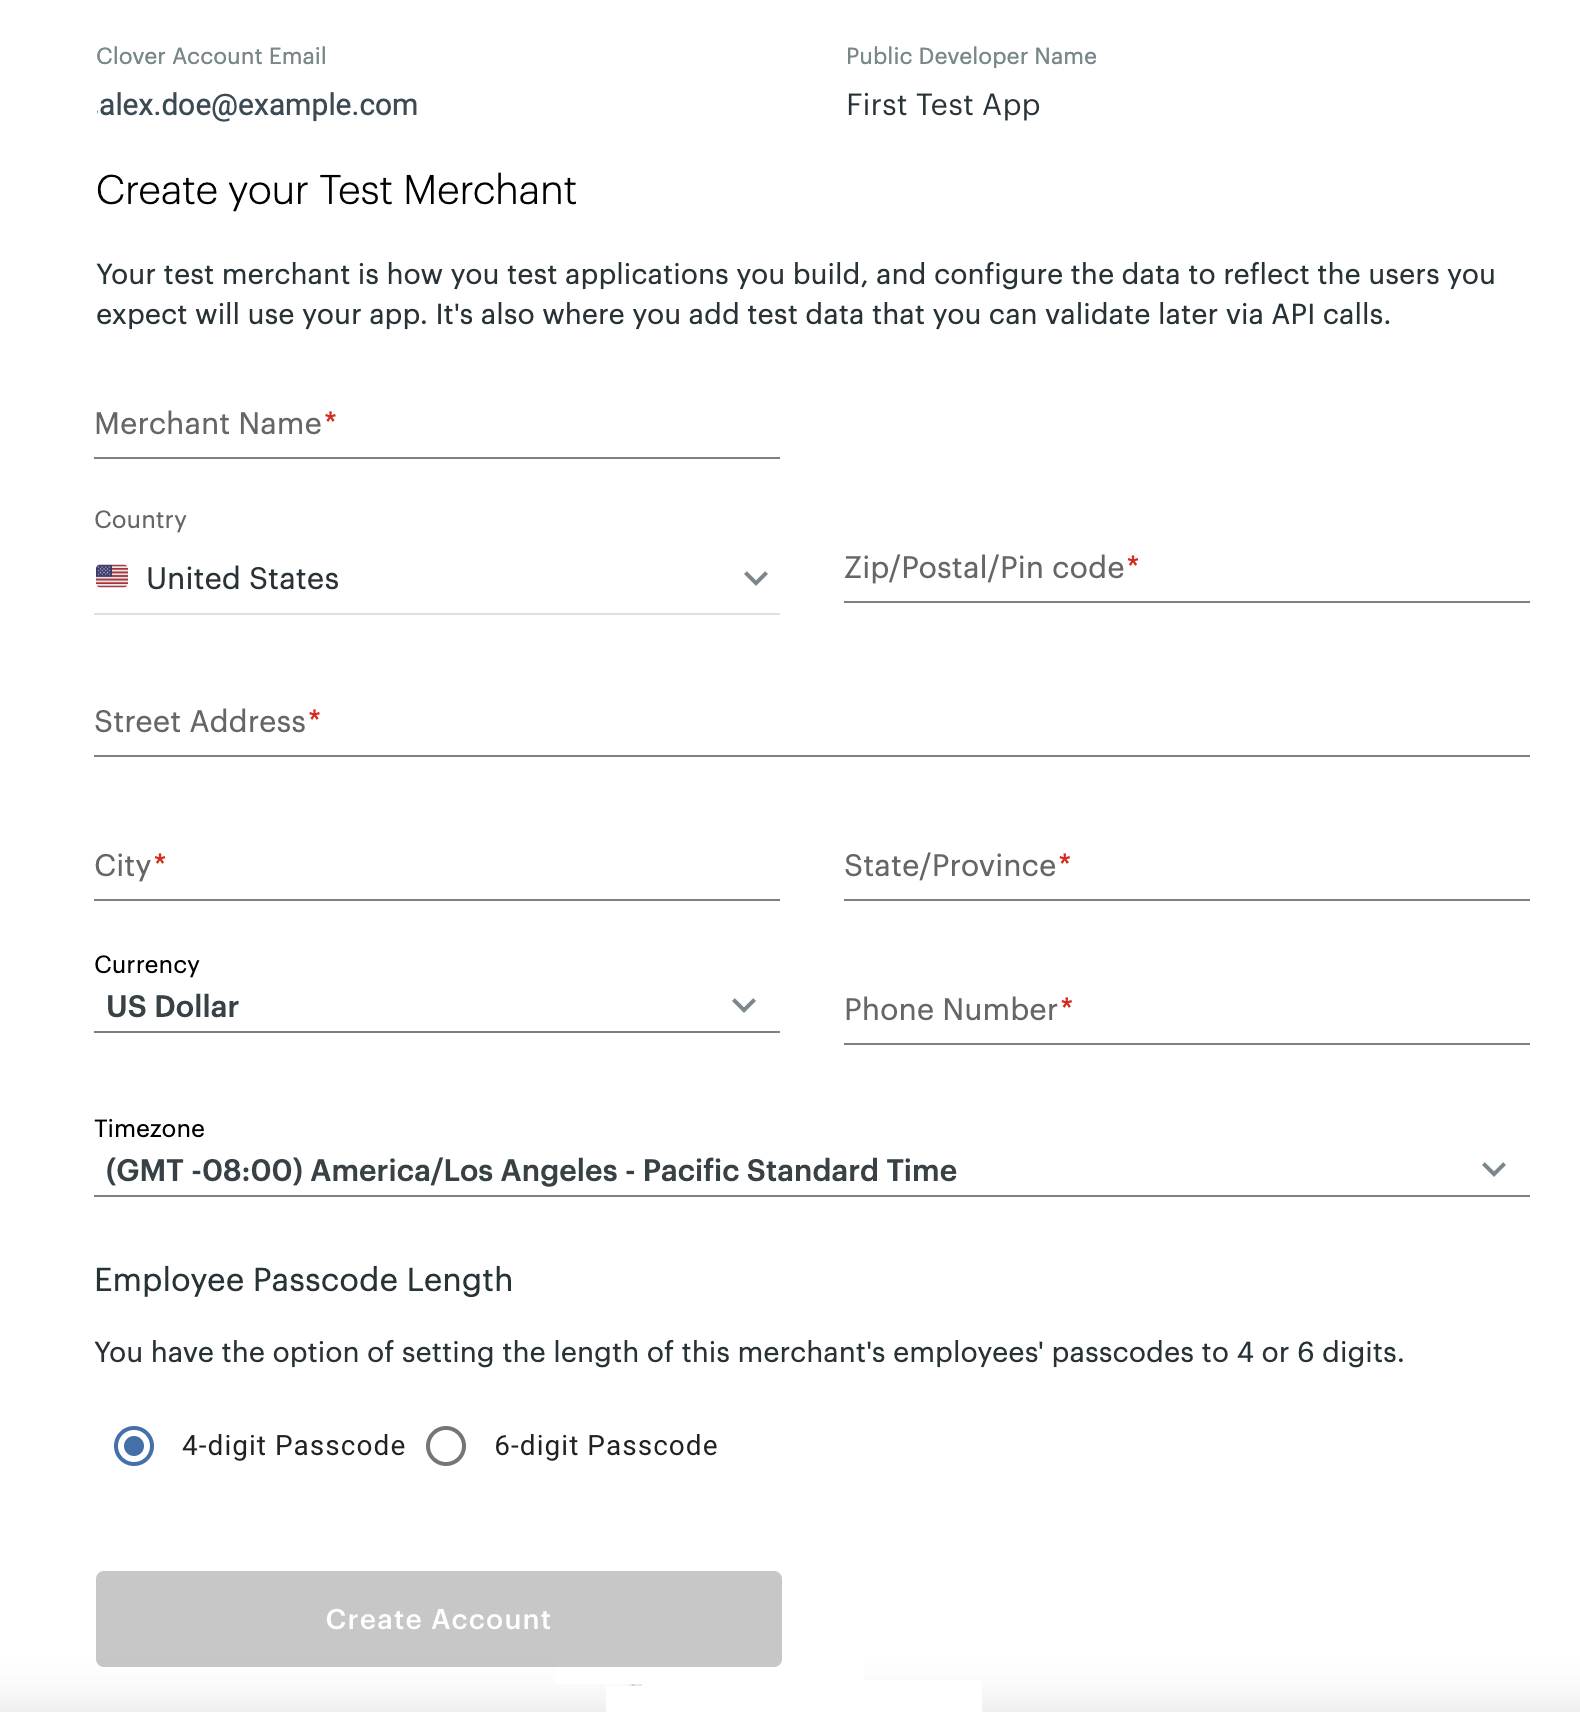
Create your Test Merchant
You can edit this information later and also create additional test merchants on the Test Merchants Dashboard.
| Field | Description |
|---|---|
| Merchant Name | Name of the merchant that displays in your Developer Dashboard and on Clover Dev Kits associated with the account. |
| Country | Country where the merchant operates. |
| Zip/Postal/Pin Code | Valid postal or ZIP code for the merchant. |
| Street Address | Street and building information for the merchant. |
| City | City of the merchant business. |
| State/Province | State or province of the merchant business. If the selected country does not have states or provinces, enter n/a. |
| Currency | Currency accepted by the merchant. Important: If you are creating a test merchant for any region besides the US, be sure to select the correct currency for testing your app. Some regions, such as Canada, allow processing in more than one currency, and this setting cannot be changed once the test merchant is created. |
| Phone Number | Phone number for the merchant. |
| Timezone | Timezone for the merchant. |
| Employee Passcode Length | Passcode of 4- or 6-digits that employees of the merchant business must use to log on to the test device. |
- Click Create Account. The Developer Dashboard for your account is available in the sandbox environment. You can now create an app.
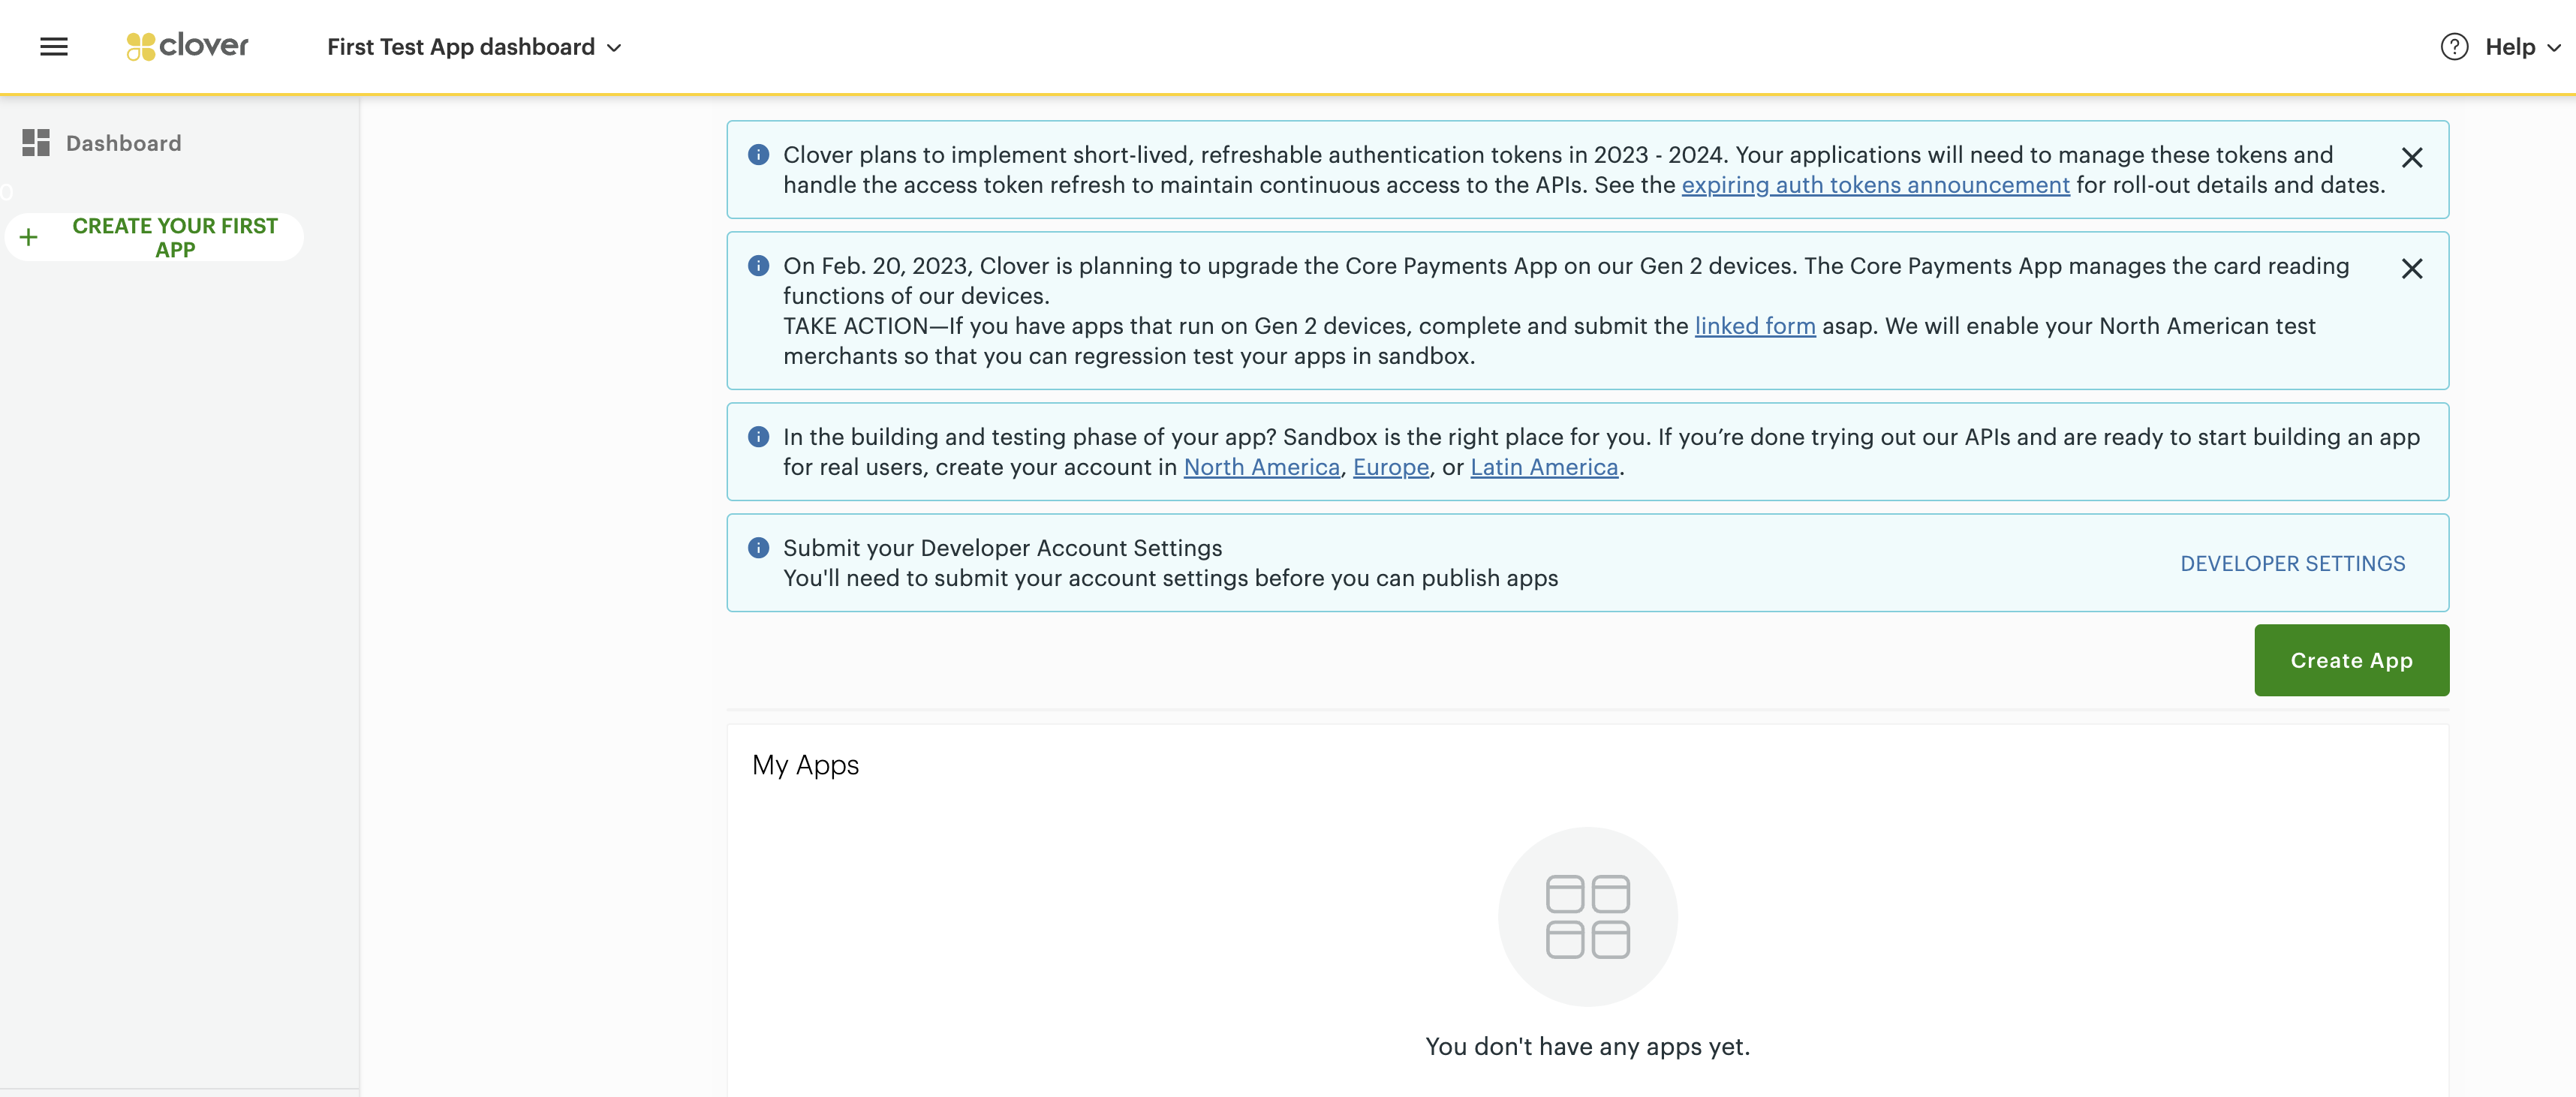
Sandbox Developer Dashboard
Use sample inventory to get started with your test merchant
We've created a sample inventory file to help you get started with your test merchant.
- Download the sample inventory and save it to your computer.
- Log in to your sandbox Developer Dashboard.
- From the Developer Account drop-down list, select a merchant name under Businesses. The Merchant Dashboard for the selected merchant appears.
- From the left navigation menu, click Inventory. The Items page appears.
- Click Import Your Inventory Spreadsheet. The Import Inventory page appears.
- Import the sample inventory spreadsheet. You can either:
- Browse to your inventory spreadsheet and drag and drop it into the Import Inventory page.
—or— - Click Choose File to browse and select the inventory spreadsheet.
The To be added to inventory page displays the name of the imported sample inventory spreadsheet and the count of items in each of the tabs in the imported spreadsheet.
- Validate the information on the page and click Continue. A Success pop-up appears.
- Click Back to my inventory. The Items page displays the inventory items.
For more details, see Work with inventory.
Receive Clover platform status updates
- Sign up on Clover Status page to stay informed about maintenance windows.
- Use this information to plan your work, such as not connecting to Clover resources when they may be less responsive than usual or down for maintenance.
Updated 9 months ago
