Use test merchant identifier and API token
Test API tokens generated from the sandbox Merchant Dashboard are intended for development and testing only. The merchant identifier merchantId and the test API token are required for you to test interactions with Clover REST API and for Android development. Production apps must use API tokens generated using the relevant OAuth flow or the Clover Android SDK. In production environments, test API tokens have additional restrictions with rate limits.
The following procedures are for app development and testing in the sandbox environment.
Locate the test merchant identifier (merchantId)
Clover assigns a universally unique identifier (UUID) known as the merchantId to every merchant business. You can search for and view merchantId in both the sandbox and production environments. This merchantId is needed when you make Clover REST API calls.
To locate the merchantId:
- Log in to the Developer Dashboard.
- From the Developer Account drop-down list, select a merchant name under Businesses. The Merchant Dashboard for the selected merchant appears.
- From the top-right menu, click Settings > View all settings. The Settings page appears.
- In the About Your Business section, click Merchants.

Merchant Dashboard—Settings
The User Settings page displays the merchantId for the selected merchant. The merchantId is the 13-alphanumeric identifier below the merchant name in the Merchant column. The same id displays in the browser URL for the selected merchant's Merchant Dashboard, for example: https://clover.com/merchants/3D19QN31ANYR5

Merchant Dashboard—User Settings
- To view another merchantId, enter search criteria in the Search merchants by name, ID, city field, and click Search. The merchant information displays in the search results grid.
Generate a merchant-specific test API token in sandbox
With your test API token, you can make a REST API call and access Clover merchant data. You can create as many merchant-specific test API tokens as required.
Prerequisites
Steps
- Log in to the Developer Dashboard.
- From the left navigation menu, in the bottom panel, click Test Merchants. The Test Merchants page displays the list of test merchants.
- From the Actions column, click the Launch Dashboard icon next to a merchant name. The Merchant Dashboard appears.
- From the top-right menu, click Settings > View all settings. The Settings page appears.
- In the Business Operations section, click API tokens. A Welcome to Clover API Tokens pop-up appears.
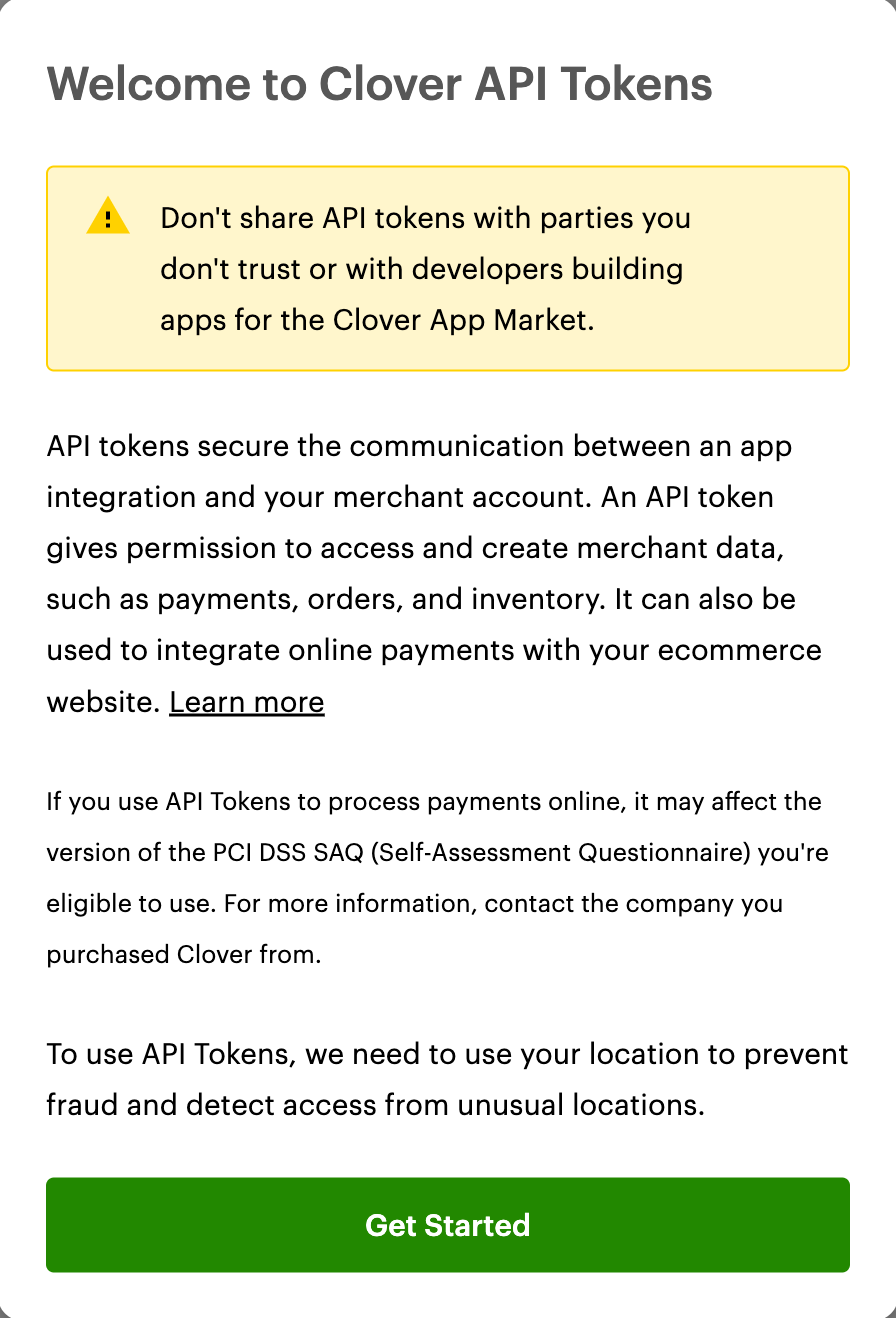
Merchant Dashboard: Welcome to Clover API Tokens pop-up
-
Review the information and click Get Started. The URL wants to Know your Location pop-up appears.
-
Click Allow to let the dashboard access your location. The API Tokens page appears.
- If you have previously generated an API token, it displays on the page. You can create as many merchant-specific test API tokens as required.
- If you have not created any API tokens, the Tokens section on the page is blank.
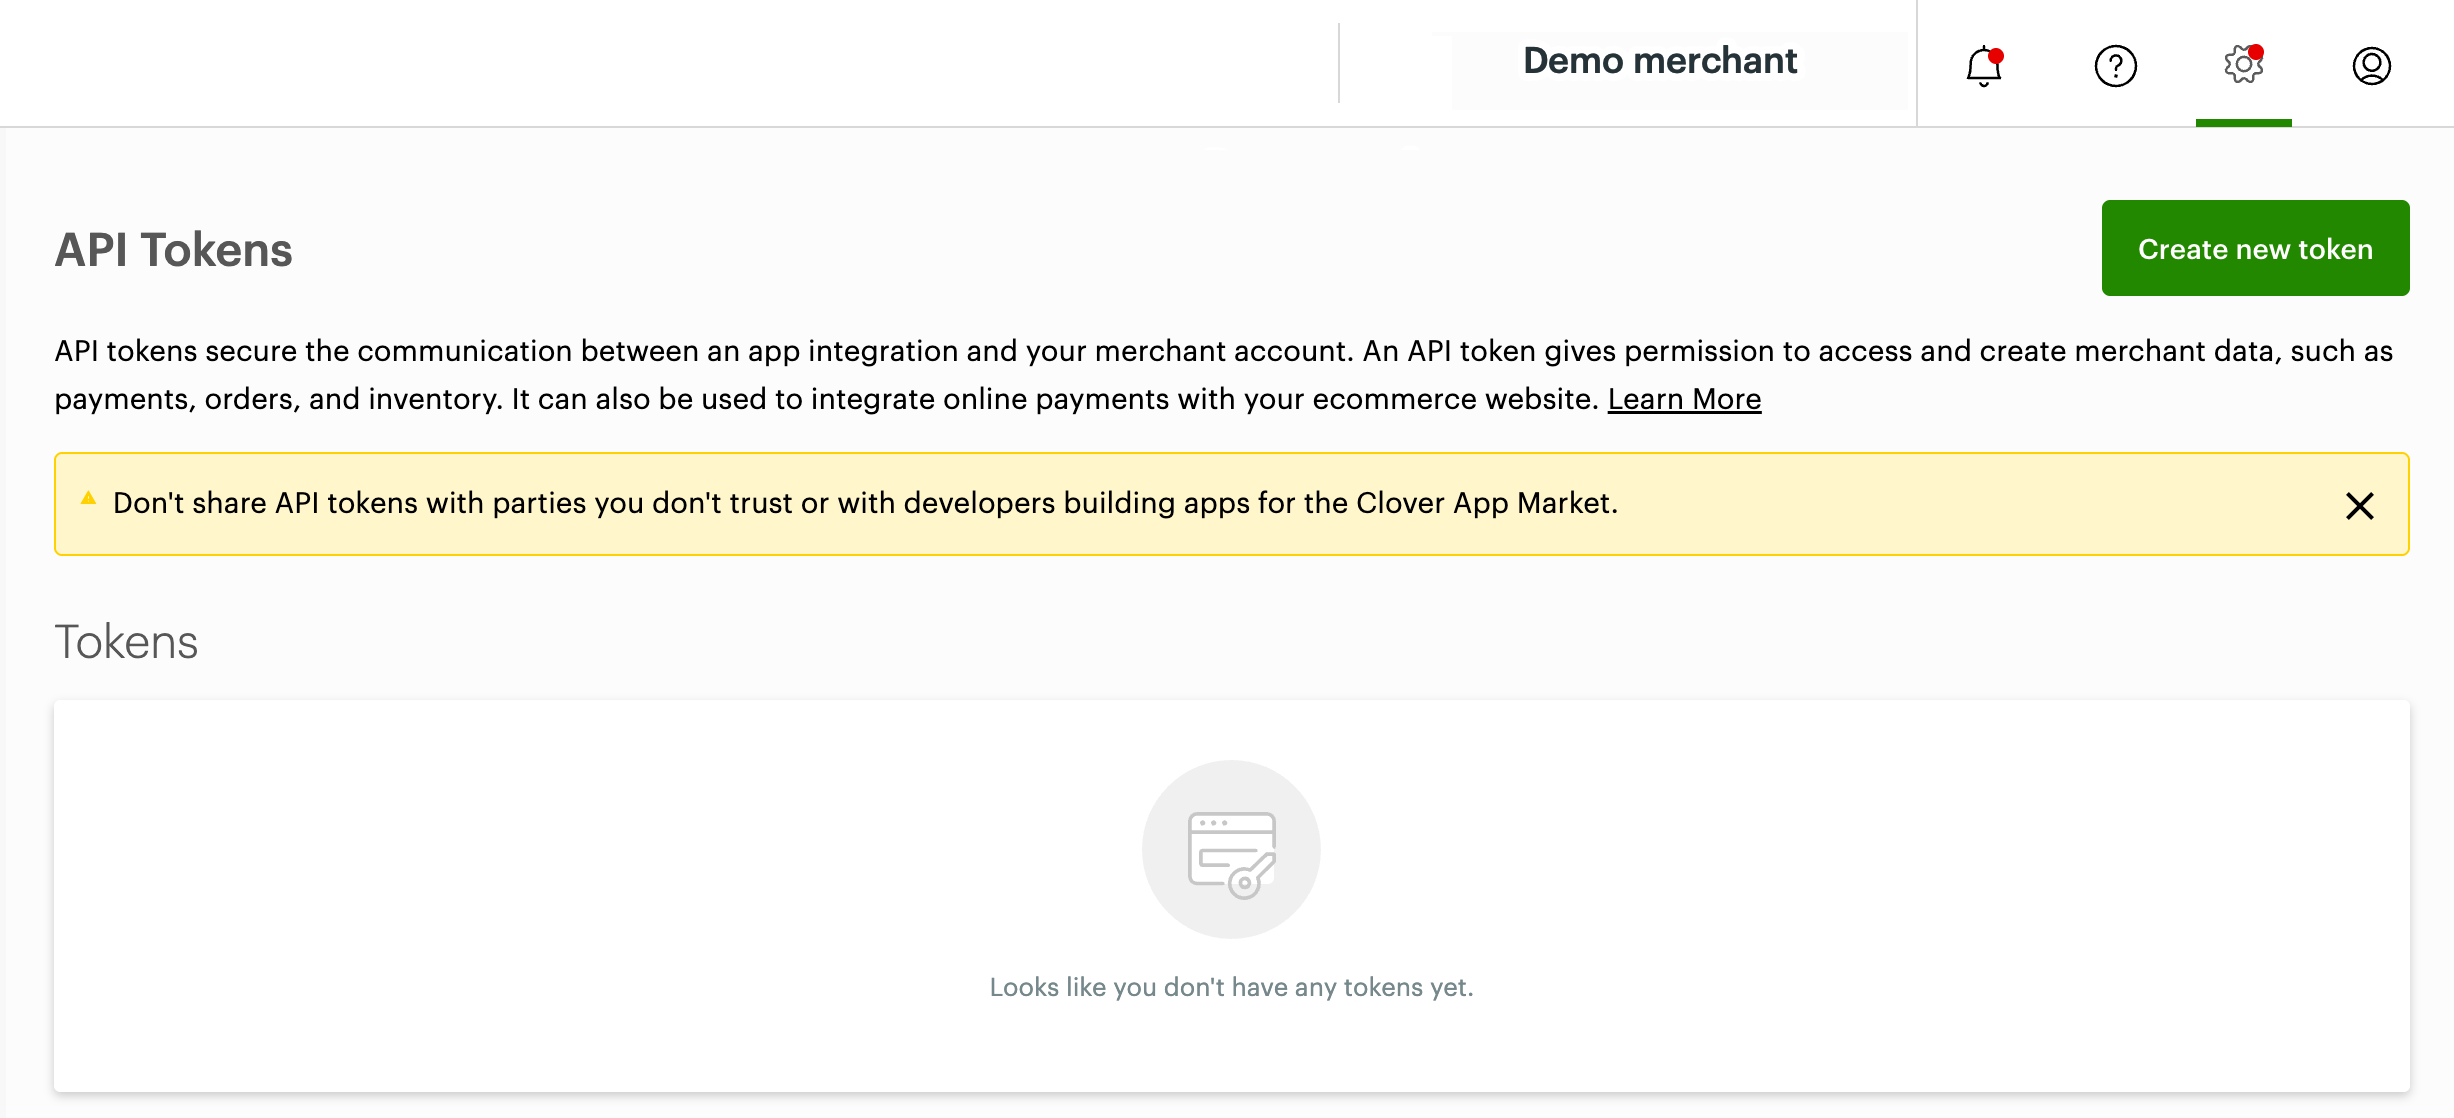
Merchant Dashboard: API Tokens page
- Click Create new token. The Create new token pop-up displays app permissions that map to platform API endpoints.
- Enter a token name.
- Select checkboxes to set permissions based on the test merchant information you want to manage. API tokens are scoped to grant specific permissions to make sure that apps only have access to the resources they need.
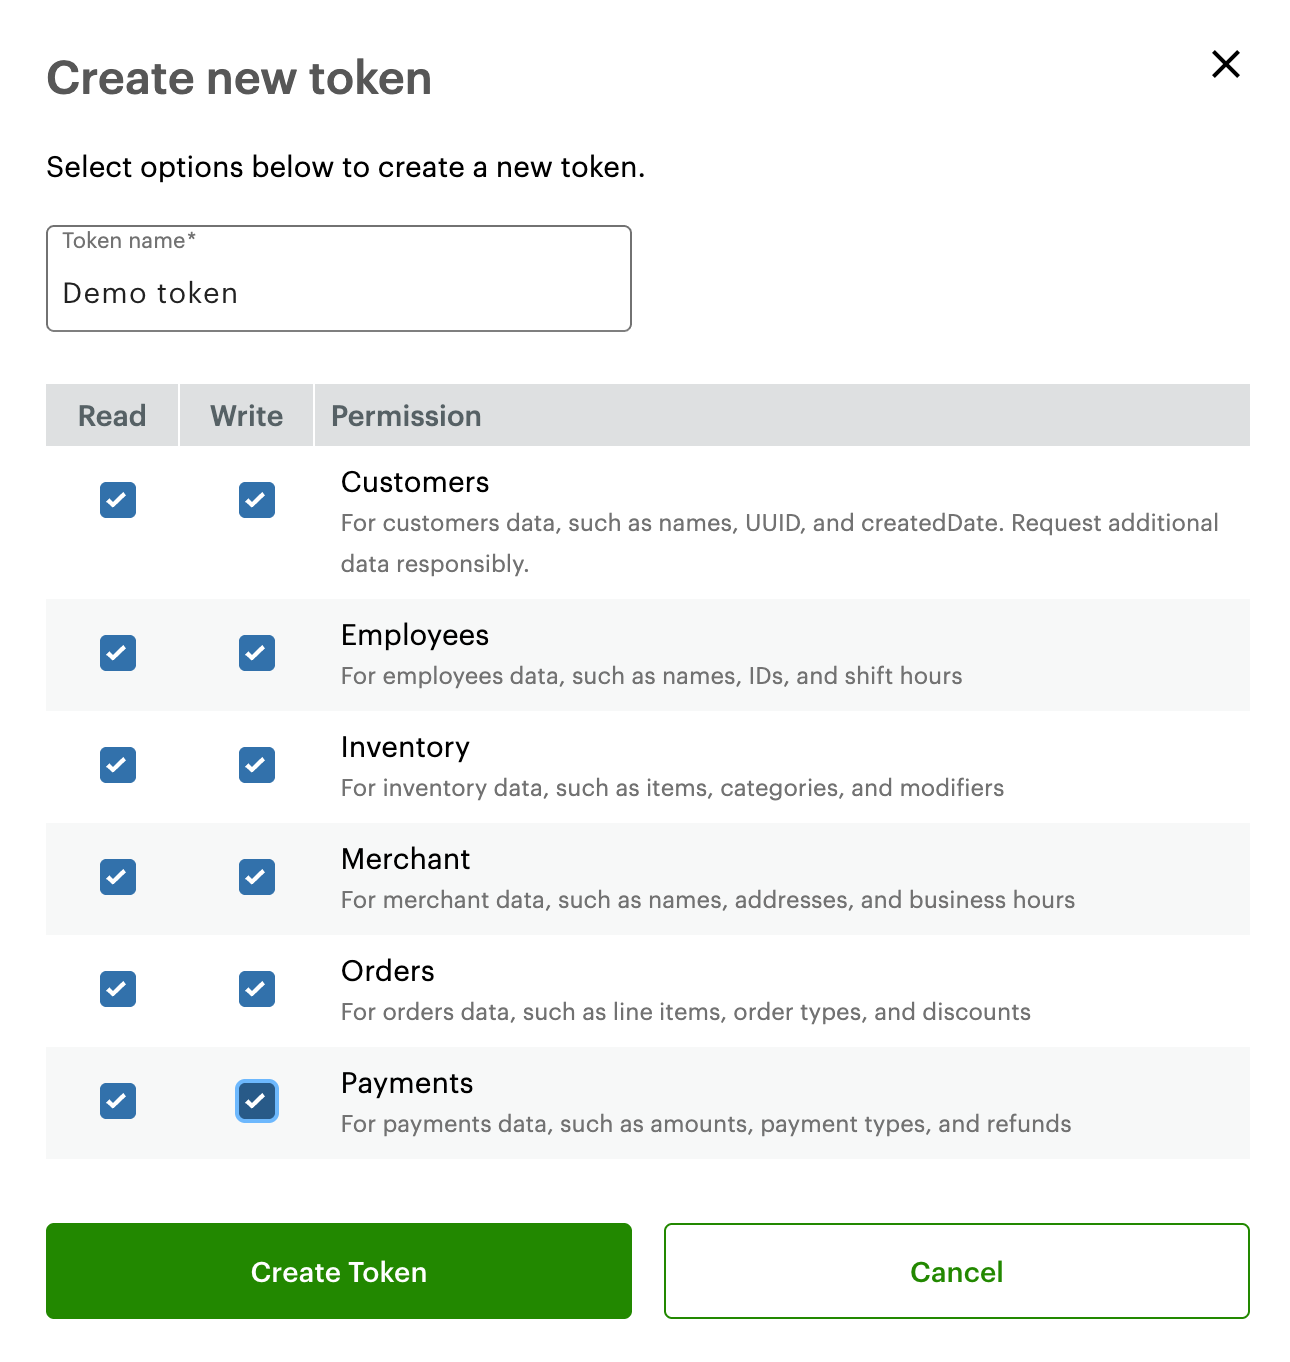
Merchant Dashboard: Create new token (permissions)
- Click Create Token. The new token displays in the Tokens section.

Merchant Dashboard: API Tokens
- Expand the Permissions section to view or edit the permissions associated with the API token.
Updated 4 months ago