Create global developer account
The Clover platform provides tools for developers to design, configure, test, and manage app integrations for Clover merchants. Clover requires you to create a developer account and get your account settings approved to initiate the integration approval process.
Once the account settings are approved, you can submit integrations for approval and then manage and track app performance on the Global Developer Dashboard. The Clover team reviews and approves each developer account you create in a production environment.
AlertYou cannot sign up using an email address that is already linked to a Clover developer or merchant account (sandbox or production). This will result in a
User already existserror. Use an email address that is not associated with any existing Clover account.
Create a developer account
Step 1: Create your user account
- Click <https://www.clover.com/global-developer-home/public/create-account>, or type this address in your browser and press Enter. The Sign up page appears.
- Enter the following information:
- Your user name as you want it to display in your developer profile.
- Your email address; this is saved as the username for logging in after signing up.
- Your password to access your developer account.
- Click Create Account. A confirmation email is sent to your email address.
Step 2: Confirm your account
Confirm your developer account within 24 hours of creating it; otherwise, you will need to re-create it.
- Check your email for an account confirmation email from Clover.
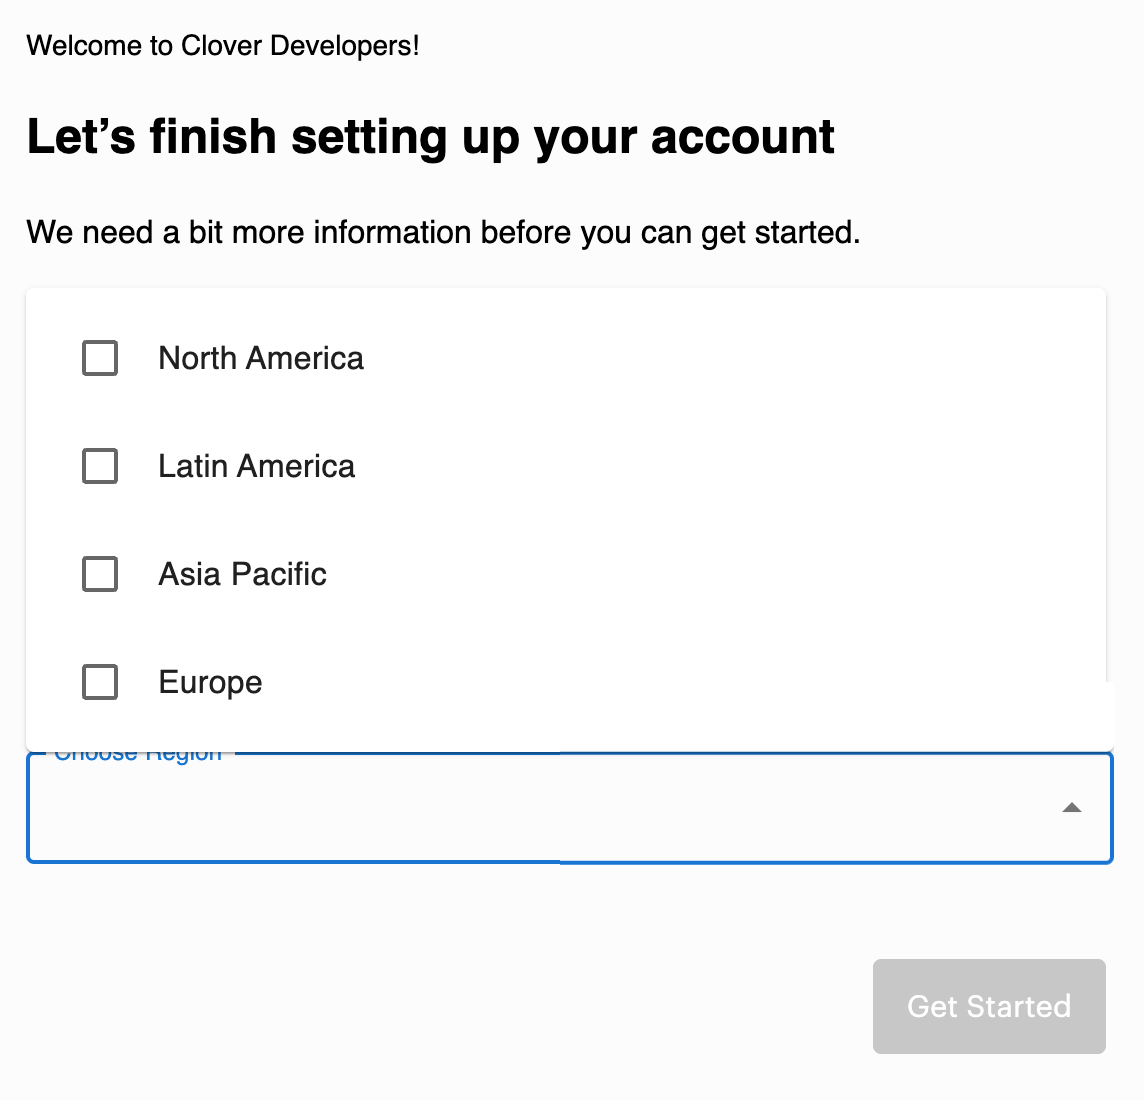
- Open the confirmation email and click Confirm your email address. The Let's finish setting up your account page appears.
Step 3: Finish setting up your account
- On the Let's finish setting up your account page, enter the developer or company name in the Developer Account Name field. This name appears as the app owner in the Clover App Market.
- From the Choose where your integrations will be available drop-down list, select a region for which you want to build and test apps.
- Click Get Started. A Developer Account Created pop-up appears. Additionally, a test merchant account is created in both sandbox and production environments.
- On the pop-up, click Log In and enter your credentials. The Set up MFA pop-up appears.
Step 4: Set up multi-factor authentication (MFA)
Before you proceed to set up the MFA for your account, download an authenticator app, such as Google Authenticator, on your phone. For more detailed information, see Set up multi-factor authentication (MFA).
- Click Set up. The Select Method pop-up appears.
- Click the Authenticator App message. The Authenticator App pop-up appears.
- Scan the QR code with the authenticator app on your mobile device. A 6-digit verification code displays on the authenticator app.
- In the verification code field on the Authenticator App pop-up, enter the 6-digit OTP.
- Click Finish. After the MFA setup is complete, you are logged in to the Global Developer Dashboard.
Your authenticated session remains active for 24 hours, and you do not need to re-enter a verification code when you log in at any time during this 24-hour period.
From here, you can:
- Complete and submit your developer account settings for approval. You must submit your account settings for approval before publishing apps.
- Update settings for the first test merchant or create additional test merchants.
- Create an app.
Add or switch regions to create an app
In Step 3—Finish setting up your account, you can select a region from the Choose where your integrations will be available drop-down list. This is the default region to manage your test merchant accounts and create apps.
When you log in to the Global Developer Dashboard, you are in the sandbox environment for your default region. You can also add and then switch between other regions after you have created your developer account.
To add a new region to your developer account:
-
Log in to the Global Developer Dashboard. The sandbox environment for your default region appears.
-
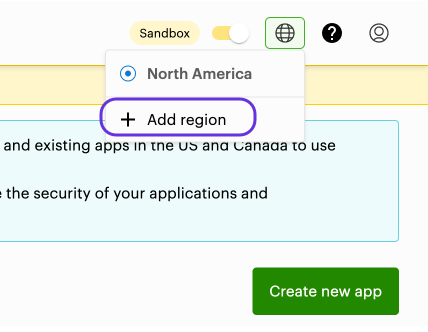
From the top menu, click the Region icon. A submenu displays an Add region option; for example, if your default selected region is North America, you can now add the Latin America or Asia Pacific region to create and test apps and integrations.
-
In the Region submenu, click Add region.
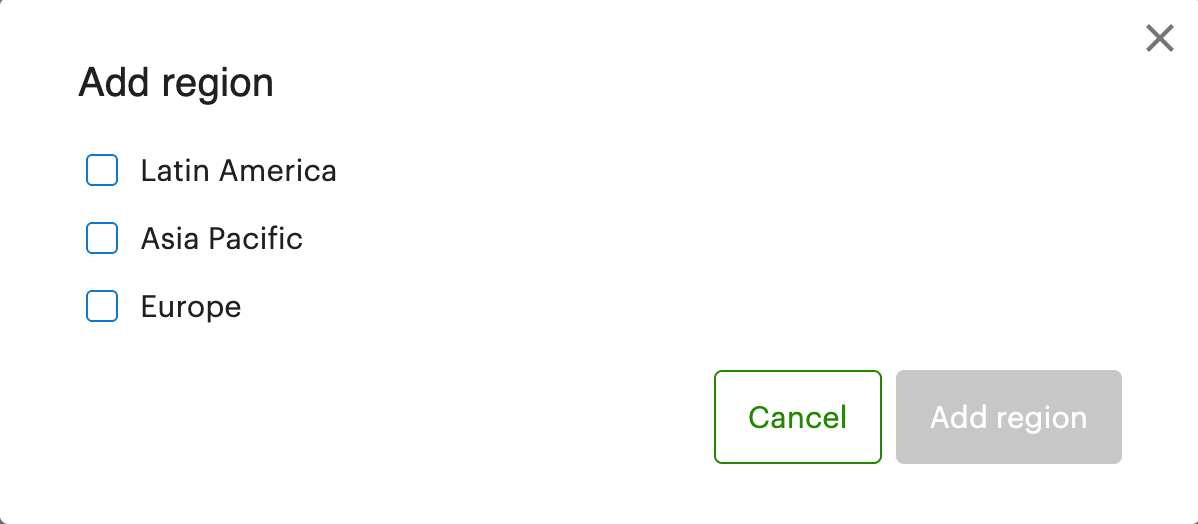
Add region
The Add Region pop-up displays the region you can add to your account, for example, Latin America.
-
Select the region checkbox and then Add region.
Select region checkbox
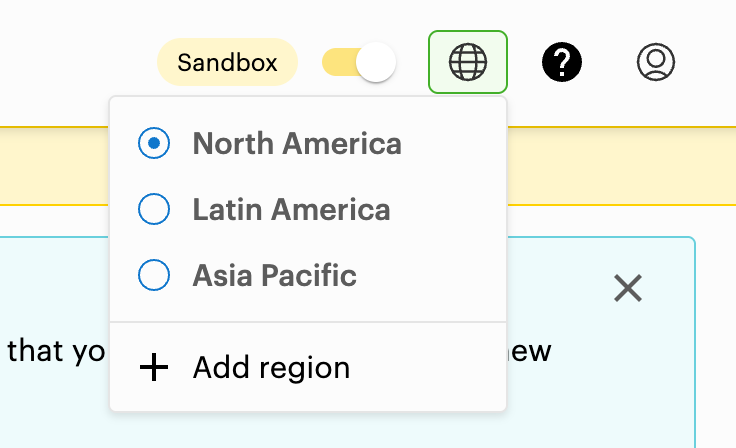
The region displays as an option in the Region submenu.
-
To switch between regions, click the Region icon and then select a region.
Select a region option
The Global Developer Dashboard switches to the sandbox environment for the selected region.
Updated 4 months ago