Set Clover App Market listing
On the legacy Developer Dashboard
Gen 1 devices, including Clover Station (C010), Mobile (C020/C021), Mini (C030/C031), and Flex (C041/C042), are approaching End-of-App-Update (EOAU) on May 15, 2026.
Action required: Review your apps for device compatibility before the deadline, and plan device upgrades.
Learn more: Device lifecycle and support.
When you create your app, you need to enter market listing information that displays with your published app on the Clover App Market. You can enter this information on the Developer Dashboard—Market Listing page. When your app is published on the Clover App Market, the approved market listing information is available to merchants on the app details page.
As you add or update information on the Market Listing page, you can click Preview in App Market to view how your public app and its information displays on the Clover App Market.
Prerequisites
You require the MANAGE_APPS developer role-based permission to update any market listing settings. For more information, see Manage developer account roles and permissions.
Set Clover App Market listing
- Log in to the Developer Dashboard.
- From the left navigation menu, click Your Apps > app name > Market Listing. The app name Market Listing page appears.
You can set the following market listing information for your app:
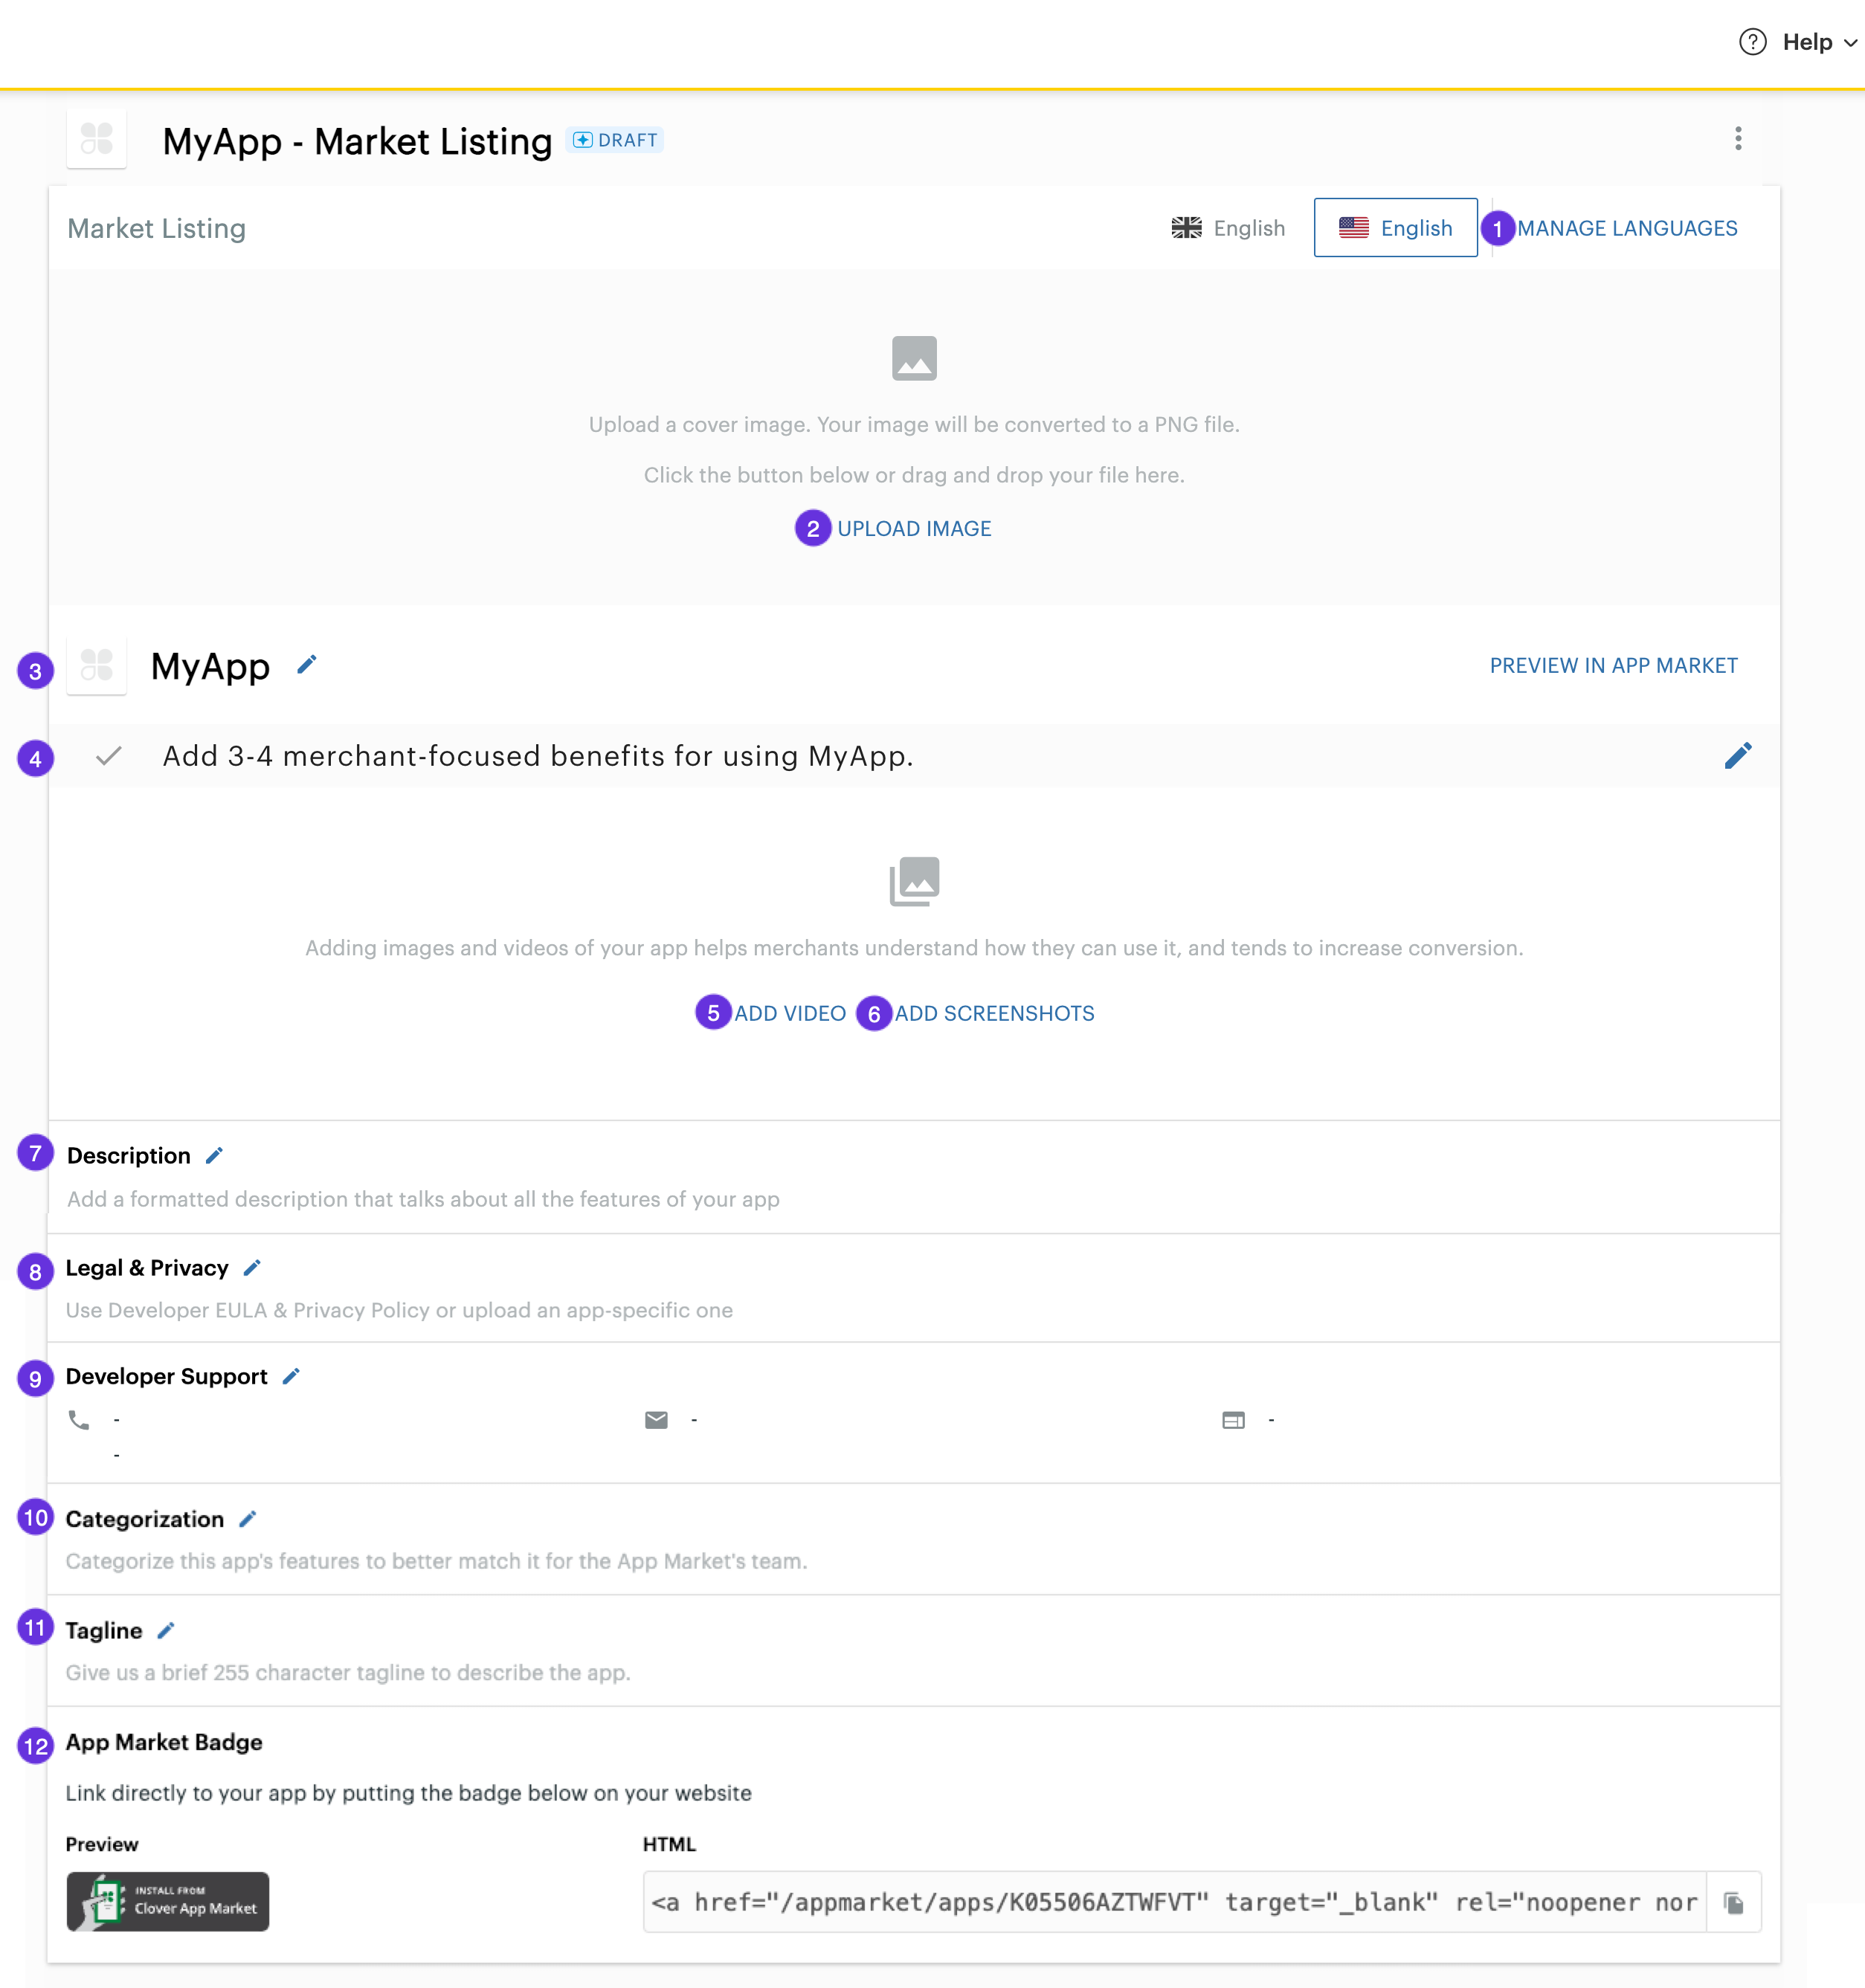
Developer Dashboard—Market Listing page
1. Localize the app market listing
To localize all the market listing information for the international Clover App Market, you can:
- Associate more than one region (locale) with an app.
- Click the country flag and language icon to switch between the localized version of the app.
- Click the Manage Languages button to edit the region associated with the app.

Marketing Listing—Manage Languages
To localize the market listing information:
- Click Manage Languages. The Manage Languages pop-up displays the countries for which you've created subscriptions on the Pricing & Distribution page. For more information, see Set up pricing tiers.
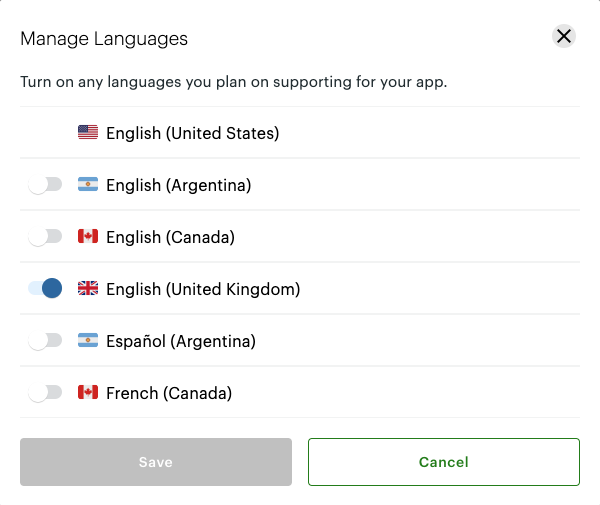
Manage Languages pop-up
- Turn on the toggle icon for any languages you support for your app.
- Click Save. The selected languages display on the Market Listing page.
- Select the language next to the Manage Languages button and then enter market listing information for that language.
- Repeat step 4. for each language on the Market Listing page.
2. Upload app cover image
The app cover image displays in the Clover App Market on Clover devices. It is optional to upload an app cover image, but once you have uploaded an app cover image, you can only update and not delete it. Preferably, select an image at the recommended size of 1080 x 216 pixels (px) in the PNG format. The image editor changes all other image formats to PNG before uploading.
To upload an app cover image:
- Click Upload Image. The Upload Cover Image pop-up appears.
- Browse and select an image, and click Open. Once the image is uploaded, the crop image pop-up appears.
- Crop and adjust the image to an aspect ratio of 5:1 (width to height) if needed.
- Click Submit. The updated cover image displays on the Market Listing page.
3. Update app name and icon
The app name uniquely identifies your app on the Clover App Market. Merchants click the app icon to launch your app on Clover devices. Once you have uploaded an app icon image, you can only update and not delete it. Preferably, select an image in the PNG format. The image editor changes all other image formats to PNG before uploading.
To update the app name and add an app icon:
- Click the app name. The Edit App Name and Icon pop-up appears.
Edit App Name and Icon pop-up
- Update the app name.
- Click the icon on the left of the app name. The Upload App Icon pop-up appears.
- Browse and select an image, and click Open. Once the image is uploaded, the crop image pop-up appears.
- Crop and adjust the image to a 1:1 ratio, and click Submit.
- Click Save. The updated app name and icon displays on the Market Listing page.
4. Add merchant benefits
The merchant benefits are listed on the Clover App Market to highlight how an app can benefit merchants. A minimum of three benefits is required, and you can add or update up to five benefits of 100 characters each. The text is used in the web search functionality, so use keywords to improve the chances of your app appearing in the most relevant search results.
To add merchant benefits:
- Click the Add 3-4 merchant-focused benefits of using instruction. The Add Merchant Benefits pop-up appears.
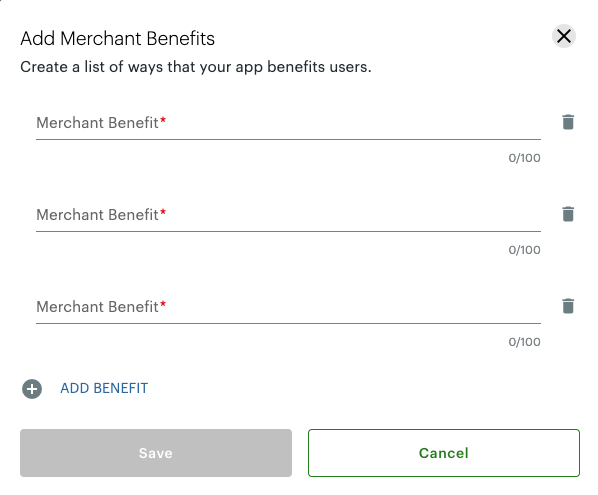
Add Merchant Benefits pop-up
- Enter at least three merchant benefits with keywords for search engine optimization (SEO).
- Click Add Benefit to enter two more merchant benefits.
- Click Save. The merchant benefits display on the Market Listing page.
5. Add app video
You can optionally add a brief YouTube or Vimeo video to showcase the app's features to your merchants. Note the following regarding video playback support:
- On the Clover App Market web version, YouTube and Vimeo videos are supported.
- On certain Clover devices, the supported video codec has limitations. This affects how videos play on these devices. For example: Clover Station 2018 & Mini 2 support YouTube and Vimeo, and Clover Flex models support only Vimeo.
To upload a video:
- Click Add Video. The Add Videos URL pop-up appears.
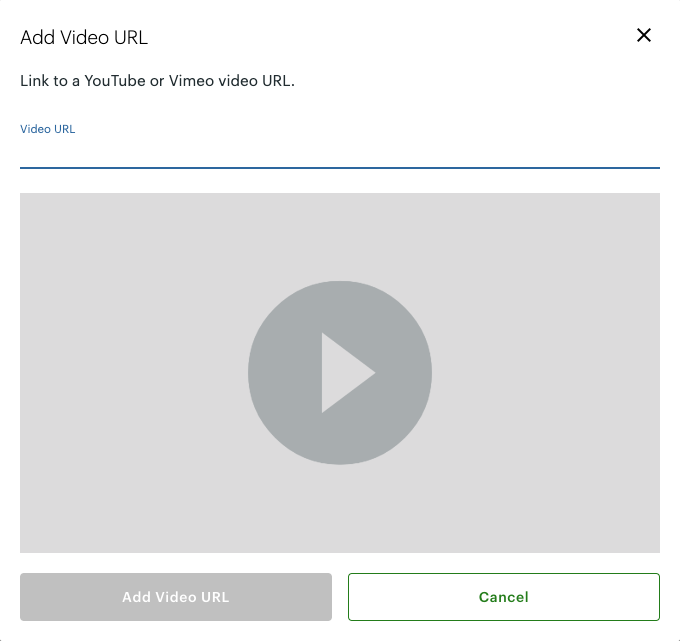
Add Video URL pop-up
- Add a URL to your YouTube or Vimeo video. The video play snippet displays and lets you test the video URL and playback.
- Click Add Video URL. The uploaded video displays on the Market Listing page.
- Click Update Video if you need to change the video link to upload another video.
6. Add app screenshots
Your app screenshots help merchants see the app features before installing it.
- Click Add Screenshots. The Manage Screenshots pop-up appears.
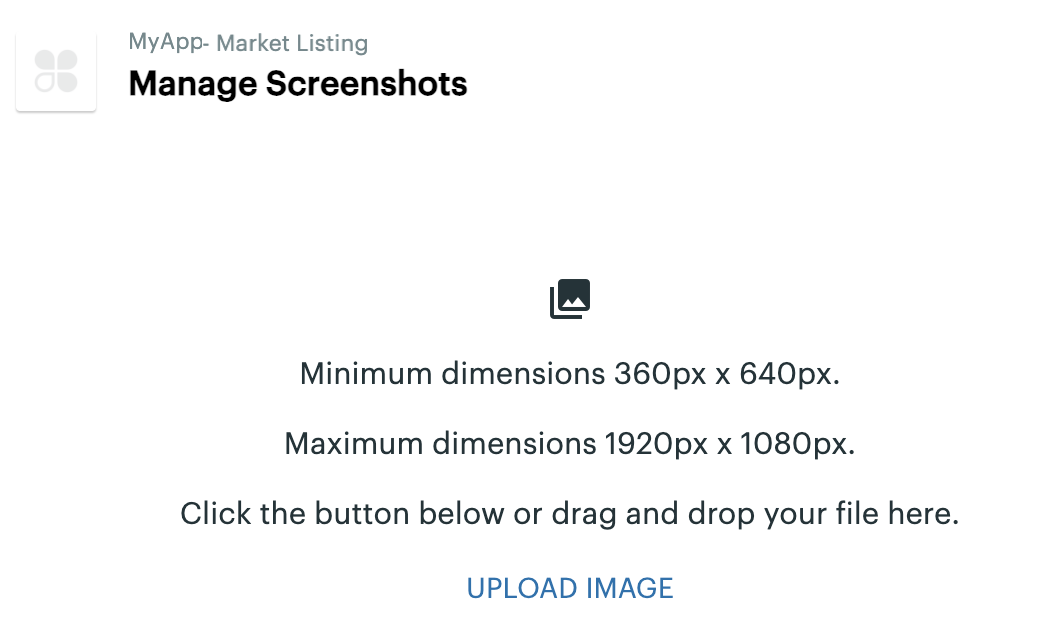
Manage Screenshots pop-up
- Click Upload Image.
- Browse and select an image, and click Open. You can select multiple images to upload. The uploaded screenshots display on the Market Listing page.
Minimum and maximum size recommendations
- Maximum recommended size is the 1920 x 1080 screen at 300 dpi.
- Minimum size of screenshots for the web must be 320 pixels (px) as per Google Play standards; however, 480 px is a better minimum. Clover recommends that you size your screenshots along with the device specifications.
Screenshot size recommendations
Follow these guidelines for adding screenshots for Clover devices:
| Clover Device | Screen Resolution | DP Size |
|---|---|---|
| Flex 1 and Flex 2 | 720 x 1280 (xhdpi screen) | ~320 dpi |
| Mini 1 and Mini 2 | 1280 x 800 (tvdpi screen) | ~213 dpi |
| Station 2018 | 1920 x 1080 (tvdpi screen) | ~213 dpi |
| Station 2018 Printer | 800 x 480 (tvdpi screen) | ~213 dpi |
| Station Pro (merchant-facing screen) | 1920 x 1080 (tvdpi screen) | ~213 dpi |
| Station Pro (customer-facing screen) | 1280 x 800 (tvdpi screen) | ~213 dpi |
7. Add app description
- Click Description. The Description pop-up appears.
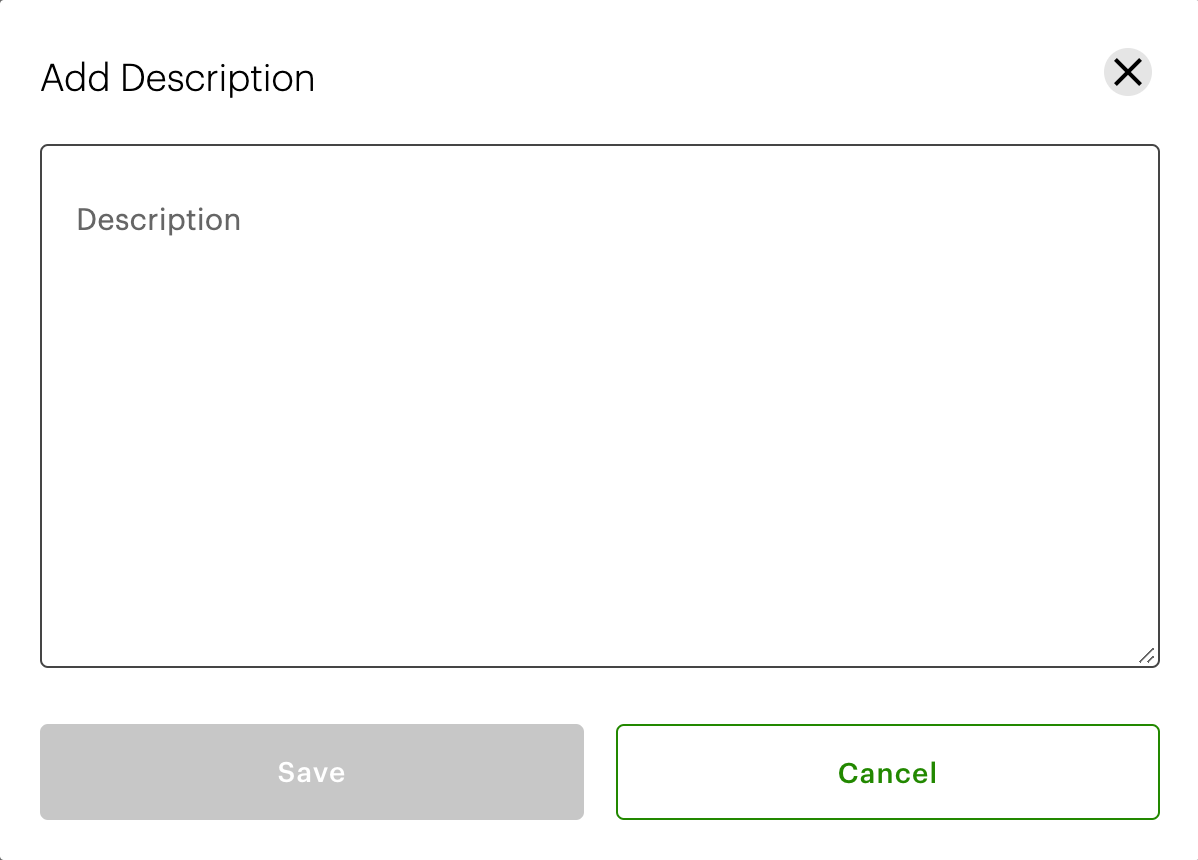
Add Description pop-up
- In the Description field, enter detailed information about your app and how it will help the merchant with their business. The first few sentences are important for search engine optimization (SEO), so use the most relevant keywords.
- Click Save. The description displays on the Market Listing page.
8. Add legal and privacy policy links (URLs)
- Click Legal & Privacy. The Add Legal & Privacy pop-up appears.
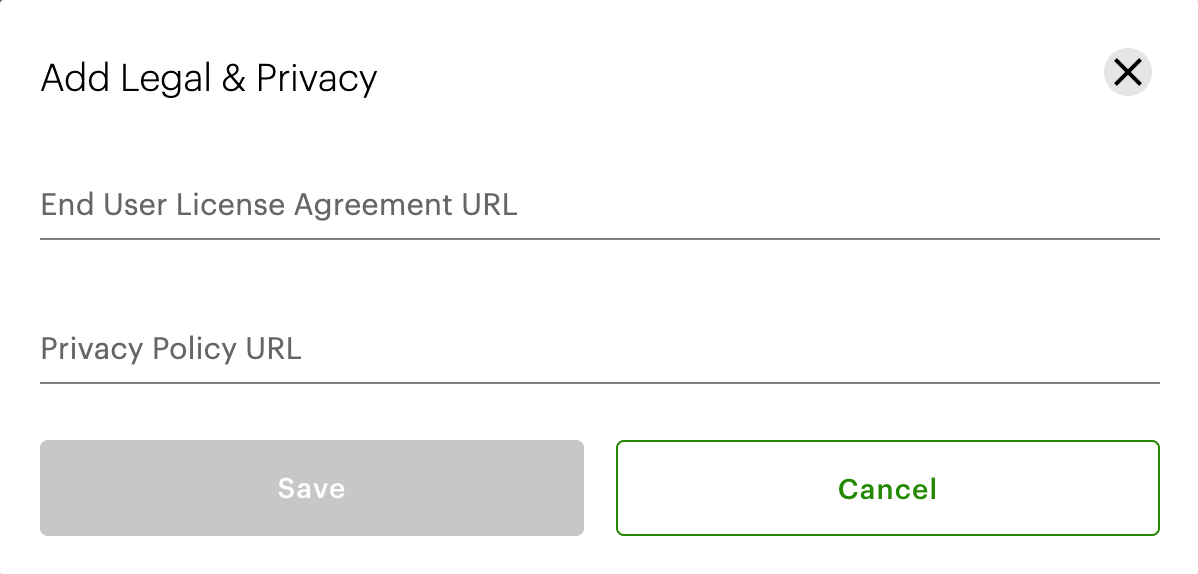
Add Legal & Privacy pop-up
- Enter the link (URLs) for your app's:
- End User License Agreement
- Privacy Policy
- Click Save. The URLs display on the app details page in the Clover App Market.
9. Add developer support
- Click Legal & Privacy. The Add Support Information pop-up appears.

Add Support Information pop-up
- Enter the developer contact information that merchants can use for app support.
- Phone number
- Support hours
- Email address
- Website link (URL)
- Click Save.
This developer support information displays on the app details page in the Clover App Market.
10. Add app categorization
Categorizing helps merchants understand if your app can help their business.
- For a new app—Select at least one functional and vertical category before submitting your app for approval. For example, you can select a functional category of Accounting & Tax for the Vertical category Bookstore. You can always change app categories later. Revisions are automatically approved.
- For an existing app—Review your app categories at any time and, if needed, update it to align with merchant requirements. Revisions are automatically approved.
To select an app category:
- Click Categorization. The Edit App Categorization pop-up appears.

Edit App Categorization pop-up
- In each section, select at least one app category in the functional and vertical categories:
- Functional category—Includes a cross-functional set of apps relevant to all business types. Example: Employee Management, Accounting & Tax, and so on.
- Vertical category—Includes a set of apps relevant to a particular business type. Example: Quick Service Restaurant.
- Click Save. The selected categories display on the Market Listing page.
11. Add app tagline
The tagline for your app is a short one-line description that displays under the app name on the app details page in the Clover App Market. The tagline is used in the web search functionality, so use keywords to improve the chances of your app appearing in the most relevant search results.
- Click Tagline. The Add Tagline pop-up appears.
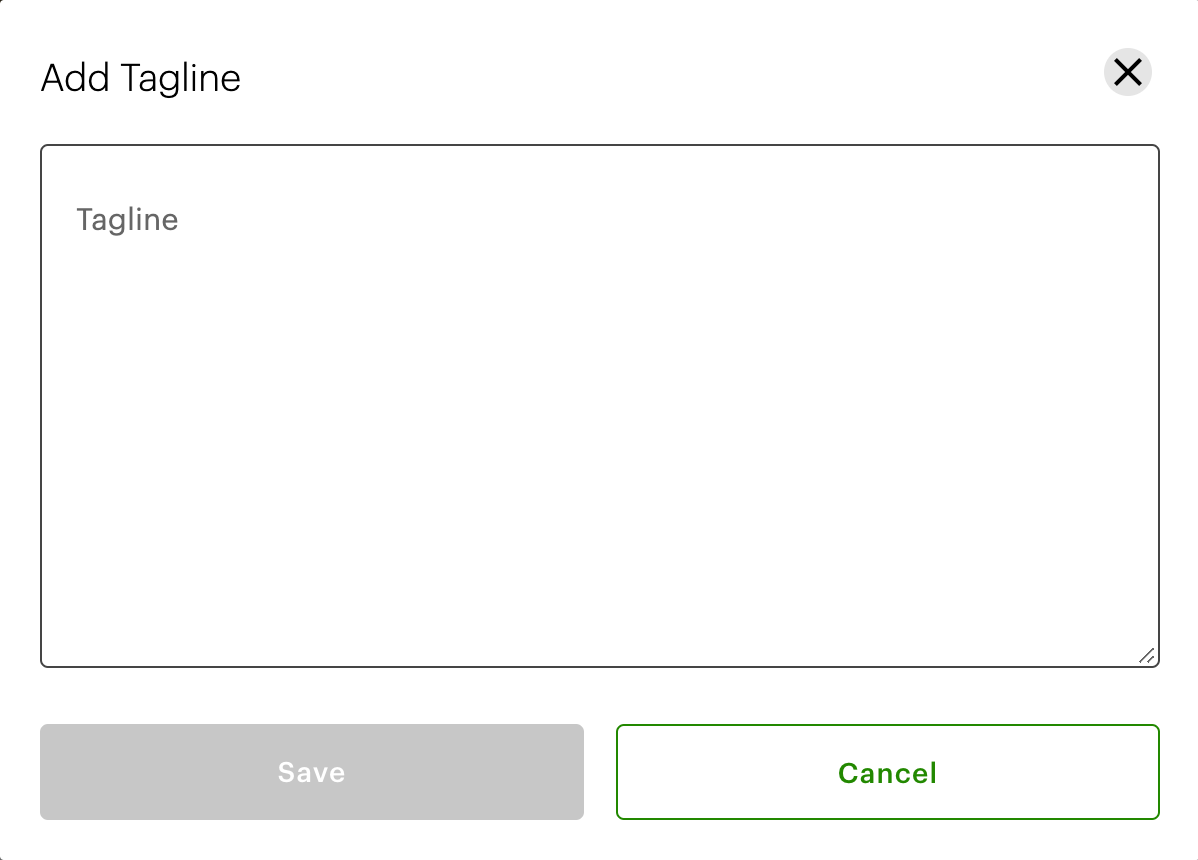
Add Tagline pop-up
- Enter a one-line description of 255 characters maximum.
- Click Save.
12. Add App Market badge
- Copy the link (URL) for the Install from Clover App Market badge.

Market Listing—App Market Badge
- Paste on your developer website to embed the badge and link directly to your Clover app from your website.
View the Clover App Market listing page
After you update the Markest Listing page:
- Click Preview in app Market to go to the Merchant Dashboard for your test merchant account. You can view a snapshot of what merchants and business owners see on the Clover App Market.
- Click Connect to install your app on the test merchant account.
Updated 3 months ago