Use device diagnostics
End-of-App-Update (EOAU) for Gen 1 devices in the US on March 30, 2026
Gen 1 devices, including Clover Station (C010), Mobile (C020/C021), Mini (C030/C031), and Flex (C041/C042), are approaching End-of-App-Update (EOAU) on March 30, 2026.
Action required: Review your apps for device compatibility before the deadline, and plan device upgrades.
Learn more: Device lifecycle and support.
Clover devices have built-in diagnostic features to help you troubleshoot issues related to your network and connected printers. You may be asked to use the diagnostic tools while working with Clover Support or Developer Relations (DevRel) to determine the cause of a device issue.
NOTE
For support and additional information on your existing devices, see the Contact us page for Clover Merchants.
Launch device diagnostics
- On the Clover device home screen, tap the Help app.
- Tap the menu icon > Diagnostics. The Diagnostics page appears.
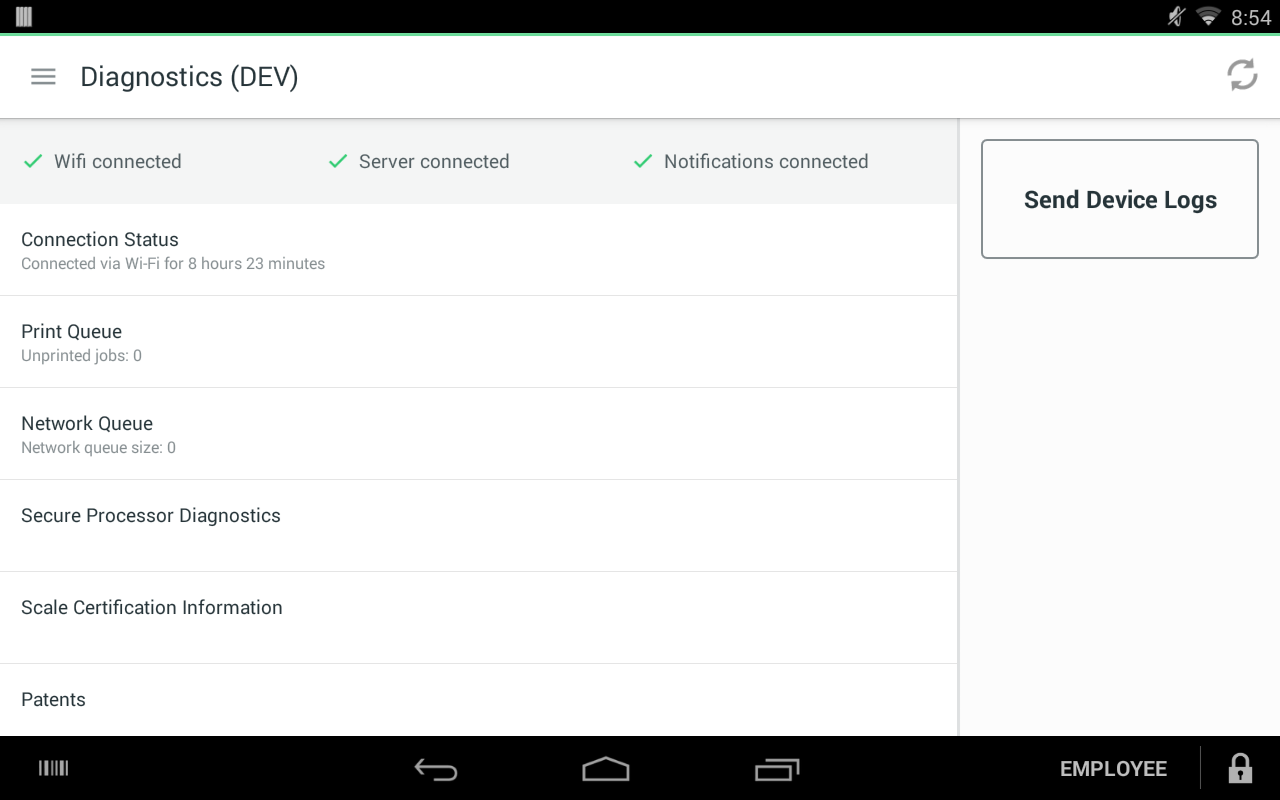
Device Diagnostics home page
- Review the high-level information on the status bar about the device connection to the Wi-Fi and the server. The device also receives notifications from the Clover Mobile Dashboard Android or iOS apps. If notifications do not display as expected, you can verify the connection to the notification service on the status bar.

Device status bar on the device Diagnostics home page
View connection status and history
While the status bar gives a basic indication of the device's Wi-Fi connection, you can view the connection history and more detailed information, such as IP addresses and connection uptime or downtime.
- On the Clover device home screen, tap the Help app.
- Tap the menu icon > Diagnostics. The Diagnostics page appears.
- Tap Connection Status. The Connection History page appears.
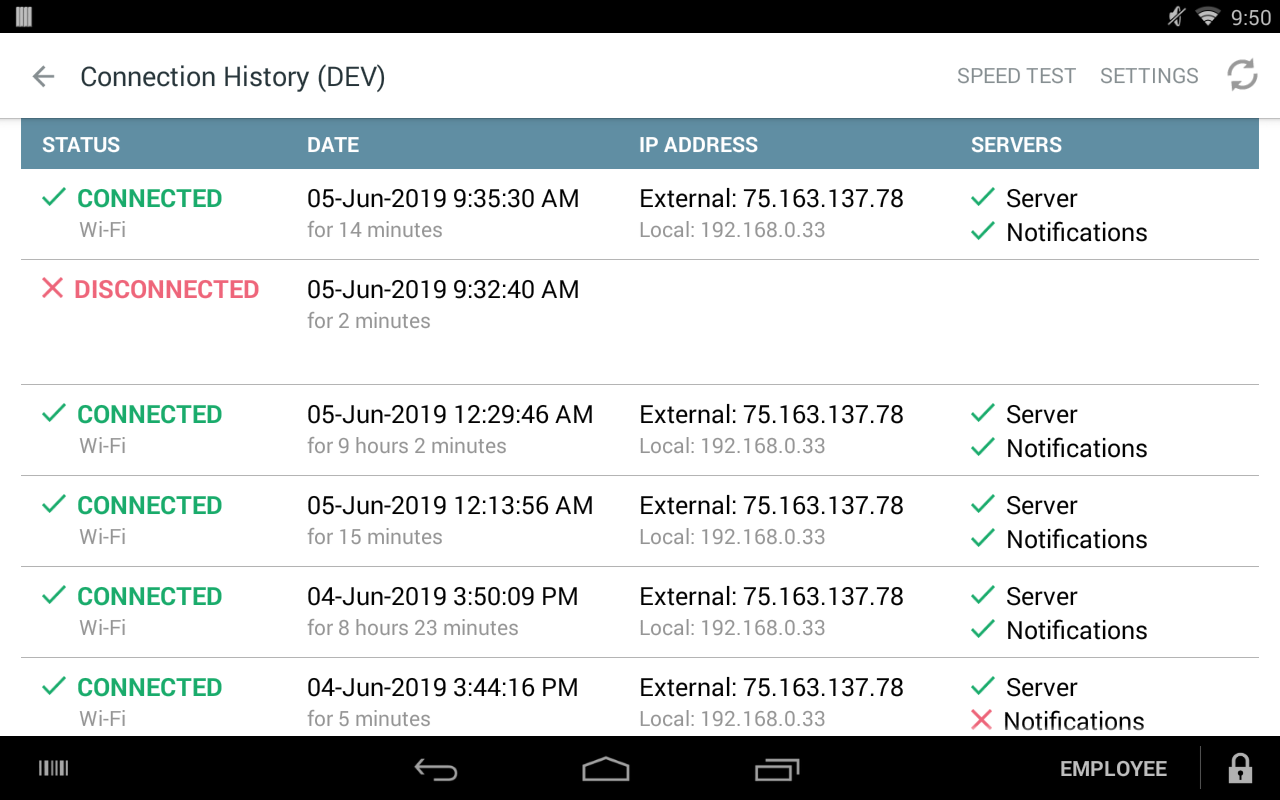
Device Connection History page
- Review the Wi-Fi connection status, IP address, server, and notification status information.
Test network speed
A slow connection to the Clover server can cause some device issues. To check your network's speed:
- On the Clover device home screen, tap the Help app.
- Tap the menu icon > Diagnostics. The Diagnostics page appears.
- Tap Connection Status. The Connection History page appears.
- Tap Speed Test. The Speed Test page appears.
- Tap Begin Test. The device sends test requests to the server and displays the result.
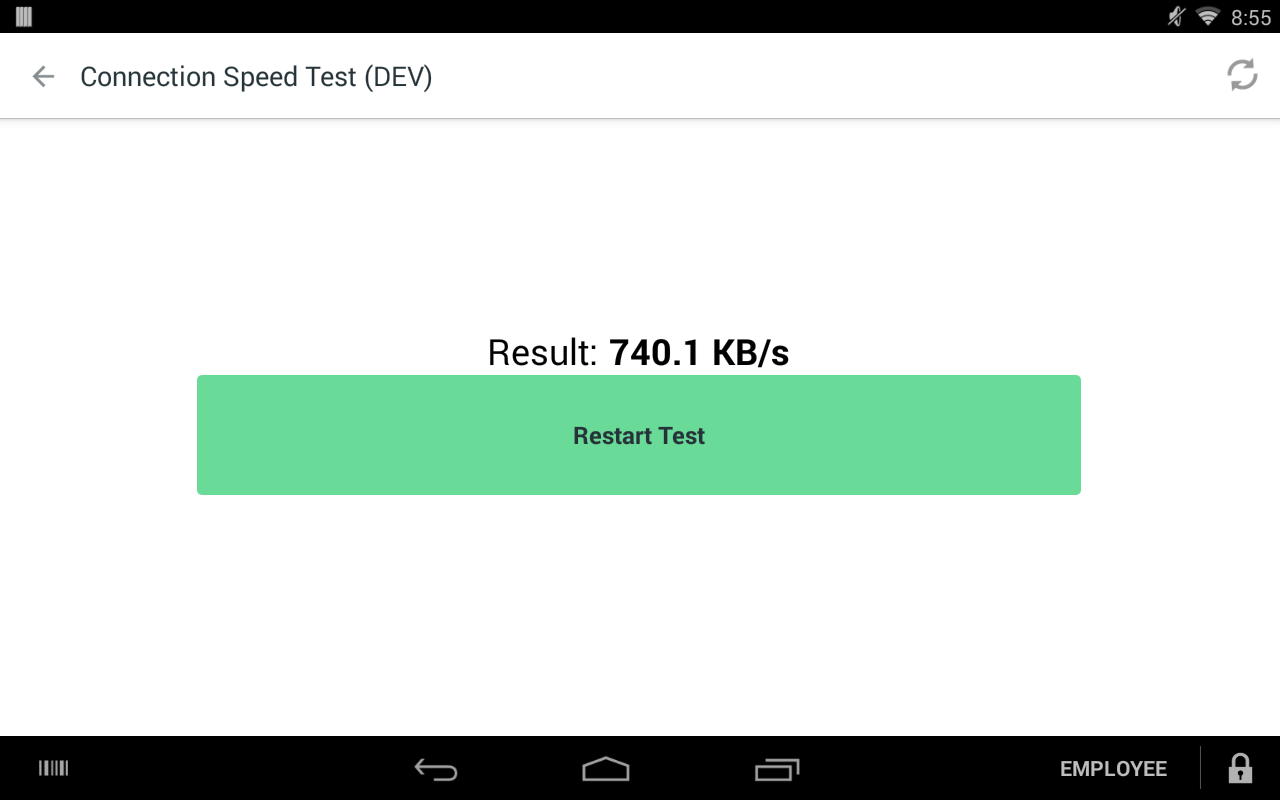
Device Connection Speed Test page
View printer status and queue
If a printing job does not finish as expected, you can open the printer queue to see if there is an issue with the print job.
- On the Clover device home screen, tap the Help app.
- Tap the menu icon > Diagnostics. The Diagnostics page appears.
- Tap Print Queue. The Printer Queue page appears.
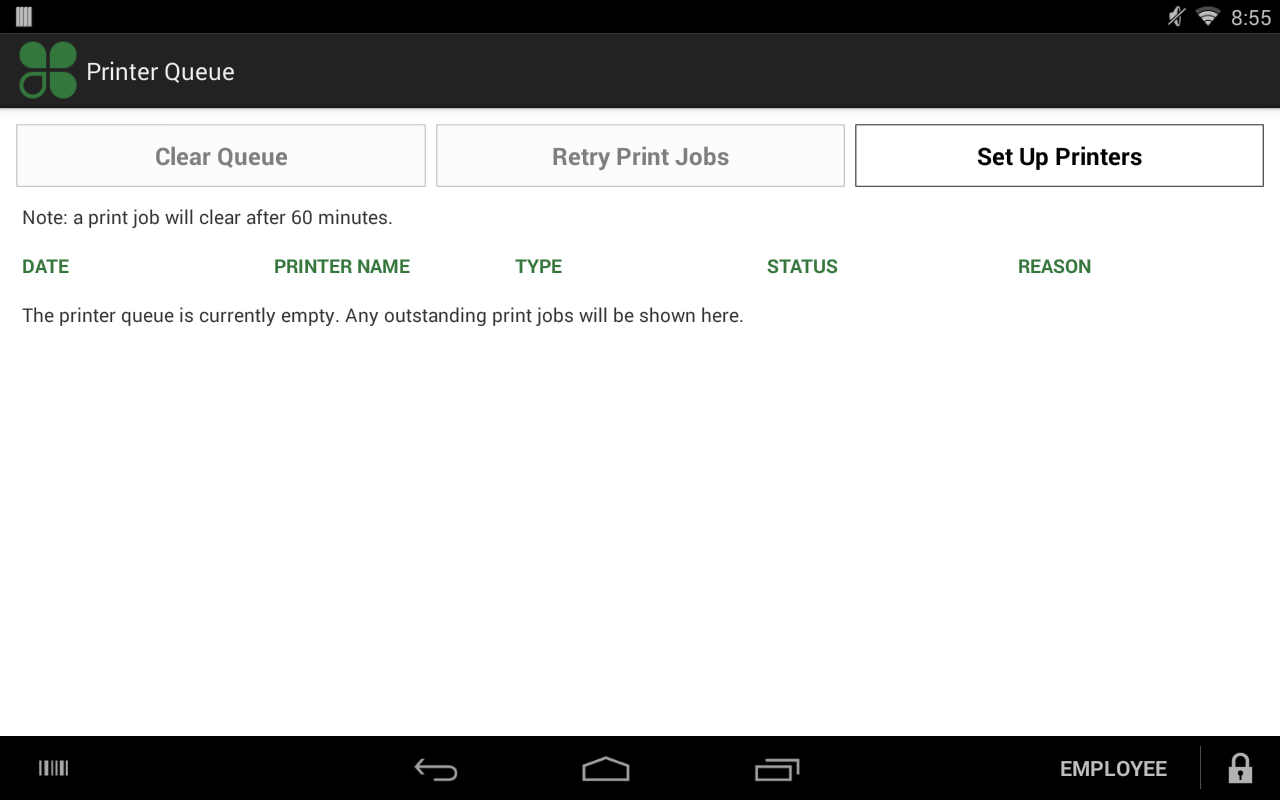
Printer Queue page
- Troubleshoot printer issues as follows:
- To remove all pending print jobs from the queue, tap Clear Queue.
- To retry pending jobs (after adding paper or fixing a connection issue), tap Retry Print Jobs.
- To modify an existing printer configuration, tap Set Up Printers.
NOTE
A pending print job is automatically removed from the queue after 60 minutes.
View network queue
All messages sent from the device to a Clover server are queued for transmission. If a network failure or other issue prevents the message from being sent as expected, it remains in the queue until the problem is resolved. To open the queue and check for pending messages:
- On the Clover device home screen, tap the Help app.
- Tap the menu icon > Diagnostics. The Diagnostics page appears.
- Tap Network Queue. The Network Queue page appears.
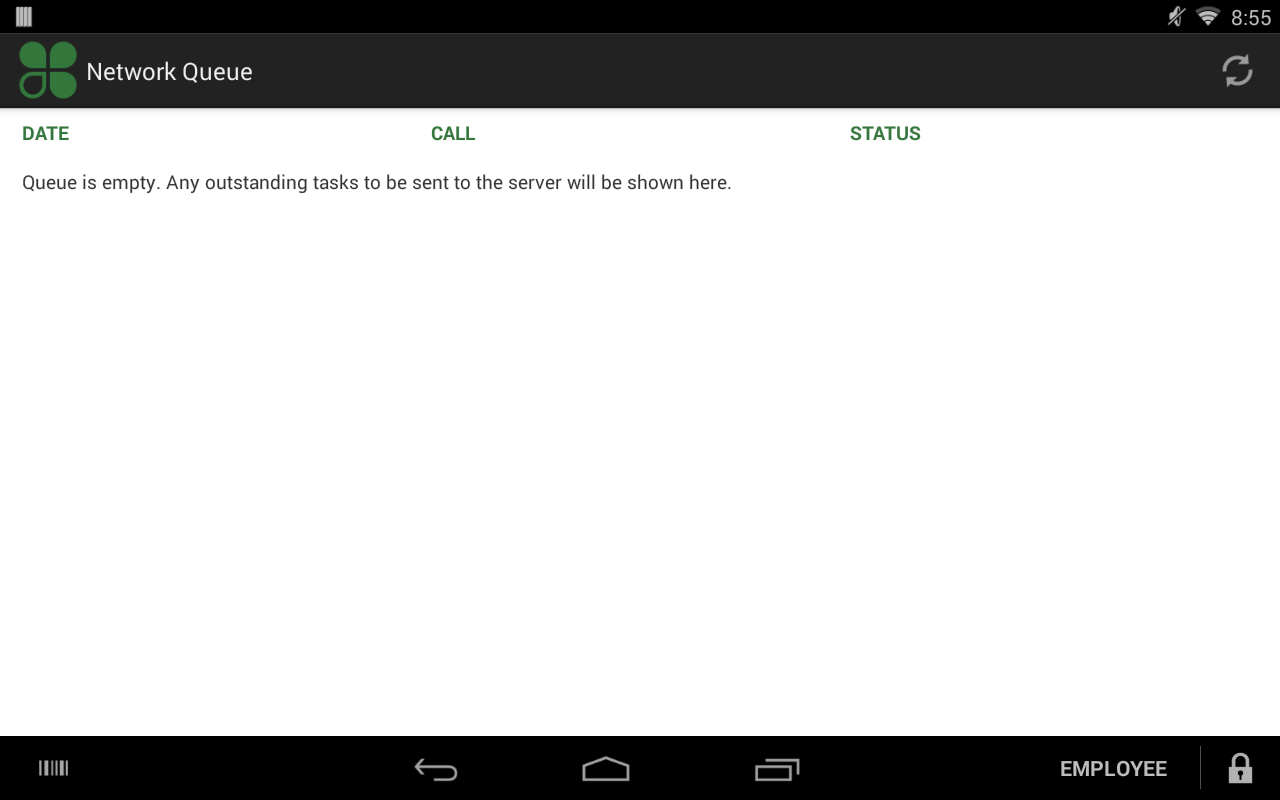
Network Queue page
- Review the network call and status.
Verify merchant information
Clover devices are provisioned for individual merchants. You can verify this merchant-to-device association.
- On the Clover device home screen, tap the Help app.
- Tap the menu icon > Diagnostics. The Diagnostics page appears.
- Scroll down on the page and tap Additional Details. The Additional Details page appears.
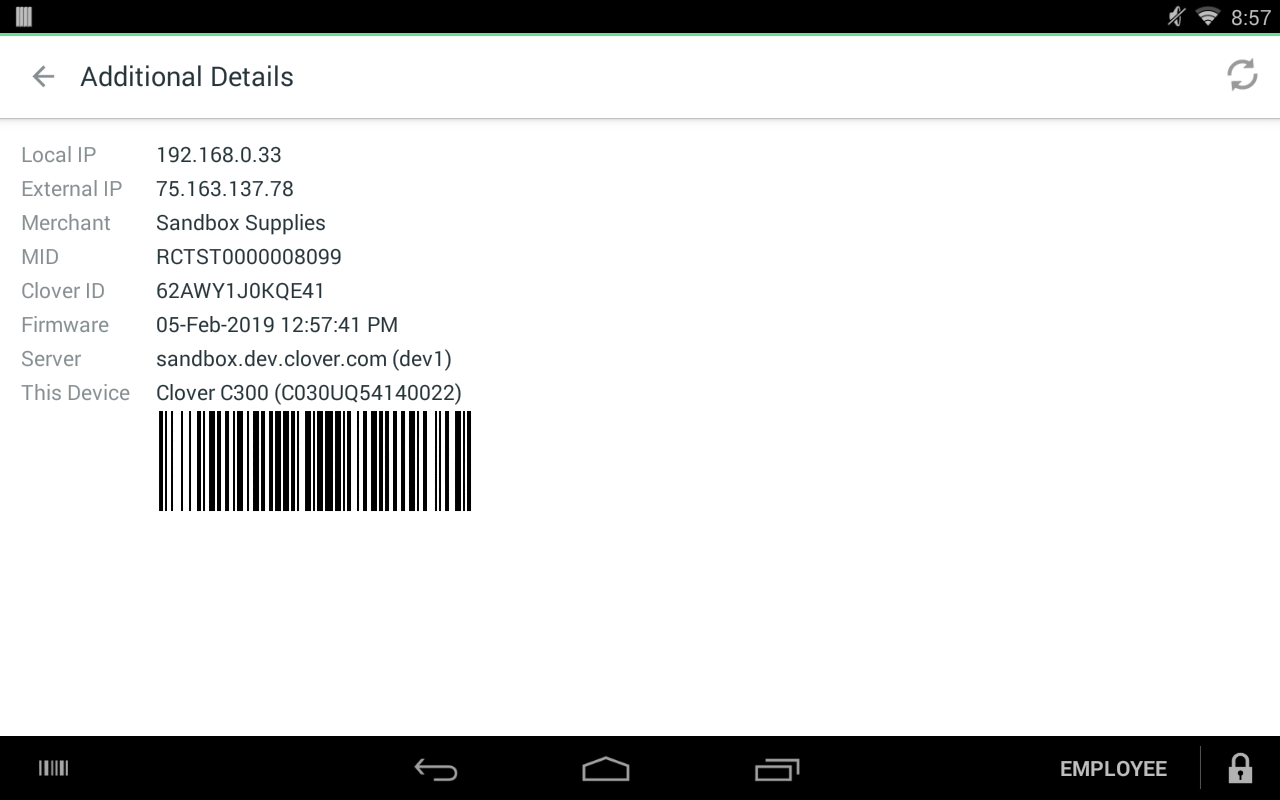
Additional Details page
- Review the merchant name, MID, Clover ID, and the device serial number in the This Device field.
Updated 2 months ago
