Configure Secure Network Pay Display
Secure Network Pay Display (SNPD) has several configuration options that can be set as required for your integration.
Access Clover device server settings
- Open the Network Pay Display app.
- Tap the menu icon and then tap Settings. The Clover Device Server settings appear.

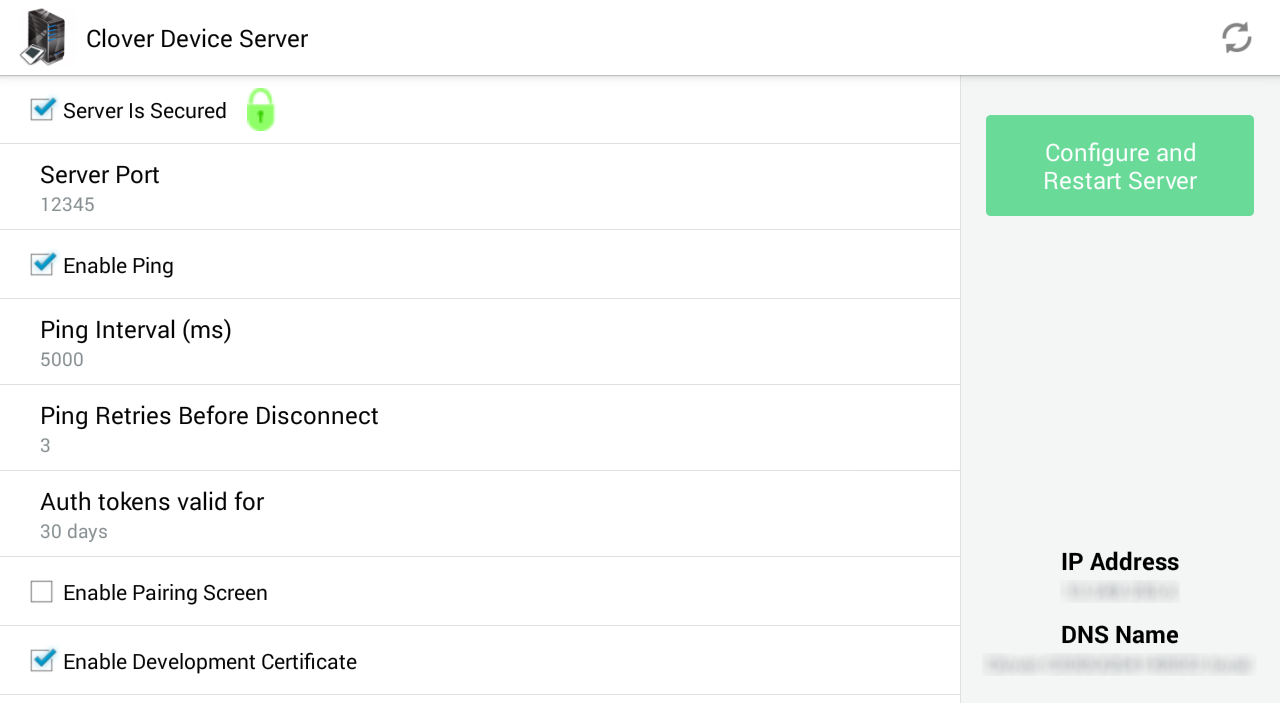
Clover Device Server settings page
From here you can:
- Select the connection protocol
- Edit the server port
- Edit device ping settings
- Edit length of auth token validity
- Work with the device screen
- Work with device server certificates
Select the connection protocol
By default, the connection between a point of sale (POS) and Clover device is over WebSocket Secure (WSS). The Clover Device Server also supports an unencrypted WebSocket (WS) connection. A non-secure WS connection should only be used if needed for development and testing. WSS connections must be enabled in production.
To change the connection type:
- Access Clover device server settings.
- Select the Server is Secured checkbox. Click Configure and Restart Server.
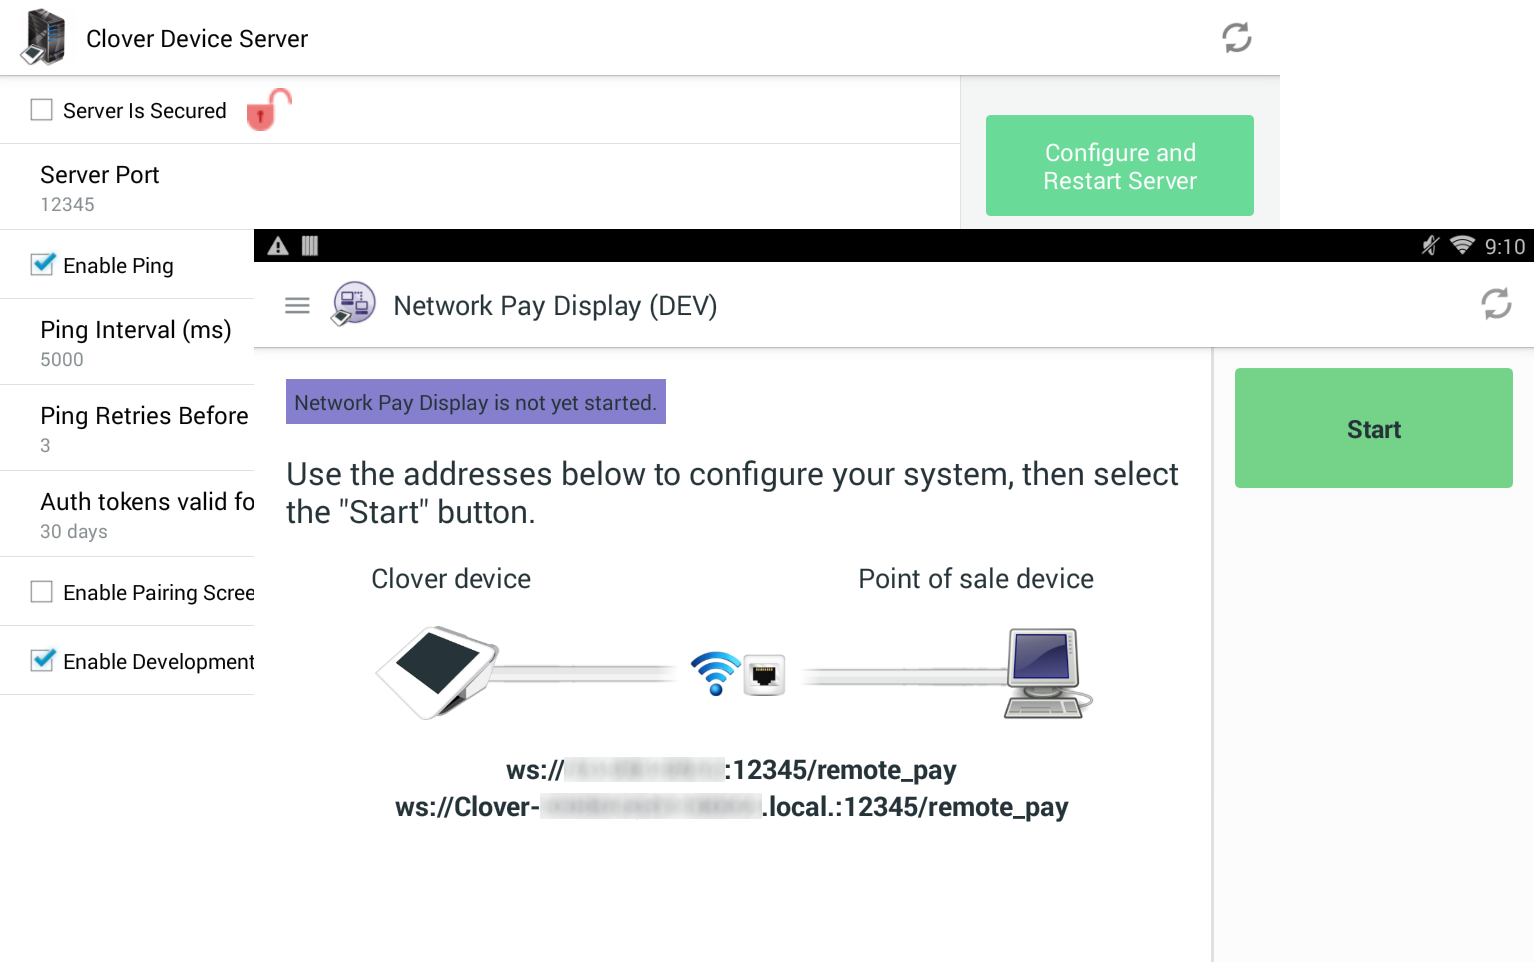
The Server is Secured checkbox enables and disables the secure connection between the POS application and Clover device. The lock icon changes from green to red. On the Network Pay Display screen, the device URLs change from Web Secure Socket (wss://) to Web Socket (ws://). Clover recommends that you select the Server is Secured checkbox.

WebSocket (WS) settings
Edit the server port
By default, the connection between a point of sale (POS) and Clover device uses port 12345.
To edit the server port:
- Access Clover device server settings.
- Click Server Port. The Enter Server Port Number window appears.
- Enter a new port number.
- Click Save.
- Click Configure and Restart Server. The port change is applied.
NOTE
If the new port is used by another process on the Clover device, an
Address already in usemessage appears. To correct this issue, repeat the steps with a different port number.
Edit device ping settings
- Access Clover device server settings.
- To change the device ping settings, edit one or more of the following values:
| Setting | Description |
|---|---|
| Enable Ping checkbox | When selected, the device checks that the connection is open at the specified interval. |
| Ping Interval | Length of time between pings (in milliseconds). |
| Ping Retry Before Disconnect | Number of times the server will attempt to ping the client before disconnecting. |
- Click Configure and Restart Server. The device ping settings are changed.
Edit length of auth token validity
You can set the number of days a pairing code is valid for your environment. Once the interval elapses, a new code must be entered.
- Access Clover device server settings.
- Click Auth tokens valid for. The Enter # of Days window appears.
- Edit the number and then click Save.
- Tap Configure and Restart Server. The validity interval is changed.
Work with the device pairing screen
Enable the pairing screen
You can choose to display a screen which provides three ways to pair the device: a QR code, the device DNS name, and the device IP address.
- Access Clover device server settings.
- Select the Enable pairing screen checkbox.
- Select Configure and Restart Server.
Use the pairing screen
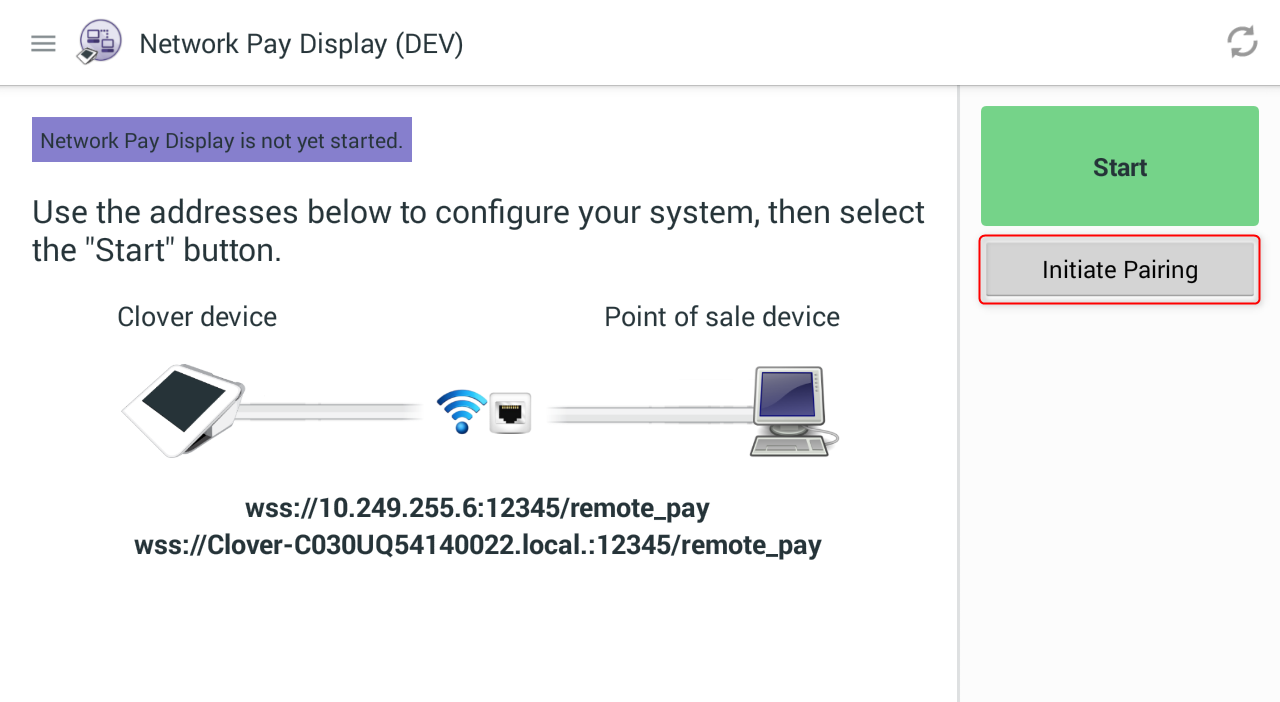
If the pairing screen is enabled, the Initiate Pairing button displays on the Network Pay Display screen.
Tap Initiate Pairing to show the pairing screen.

Initiate Pairing button
Work with device server certificates
To establish trust between the point of sale (POS) and the device server certificate issued by the Clover CA, you must install a Clover Device Server Root CA certificate on the POS. Clover provides separate certificates for development and production use.
IMPORTANT
The certificate must be installed in the Trusted Root Certification Authorities store. If the certificate is not installed in the correct store, a certificate chain error message appears when you attempt to connect.
Sandbox (development)
The device server certificate is issued by the Clover Device Server Root CA. The CA certificate is hosted at:
Certificate URLs (links) for development:
- https://sandbox.dev.clover.com/v2/device_ca_certificate
- https://sandbox.dev.clover.com/v2/device_ca_certificate.der
- https://sandbox.dev.clover.com/v2/device_ca_certificate.crt
Production
The device server certificate is issued by the Clover Prod Terminal Server Root CA. The CA certificate is hosted at different locations for each region—United States (US), Europe, and Latin America (LATAM):
Edit device certificate for development
By default, the device server certificate is issued by the Clover Prod Terminal Server Root CA. When you are working in the sandbox environment, change your CA using the following steps:
- Access Clover device server settings.
- Select the Enable Development Certificate checkbox.
- Select Configure and Restart Server. Once the server is restarted, the CA is updated.
- Select View Certificate Details and verify that the device certificate is issued by the Clover Device Server Root CA.
View the current certificate
To see the complete device certificate, tap View Certificate Details.
See the device certificates FAQ for more information.
Updated about 2 years ago
