Manage developer account roles and permissions
On the legacy Developer Dashboard
Understand developer roles
The Developer Dashboard has four standard user roles—Owner, Admin, Business, and Technical—with default permissions. The owner can:
- Invite other users to create their developer member accounts and access the Developer Dashboard. See Invite members. Members can have three roles—Admin, Business, and Technical.
- Create custom roles, such as pricing specialist, release engineer, or human resources, and assign specific permissions for controlling the custom roles. See Create a custom role.
The following table provides more information:
| Role | Description | Functions |
|---|---|---|
| Owner | The owner is a user who creates and manages the developer account. The owner can be a single developer creating apps or the leader of a team of developers and other staff within an organization. | - Owner has complete control of the account, and only they can accept the Clover developer agreement. - Owner is assigned all permissions, and these cannot be edited or removed. - Owner or Member > Admin can invite users to create their developer member accounts and access the Global Developer Dashboard. - Owner can add and manage custom roles. - Owner can initiate or request developer ownership transfer from the Global Developer Dashboard. See Transfer developer account ownership. |
| Member | A member is a user that the owner invites to create their developer member accounts and access the Global Developer Dashboard. Members are assigned to three default roles—Admin, Business, and Technical. See Invite members. - Admin—User with all owner role permissions except the permission to accept the Clover developer agreement. | - Members in the three roles are assigned specific permissions to perform limited actions. - Member roles receive tasks delegated by the owner. - Member roles cannot be deleted. |
| Custom role | Users with specific roles, such as pricing specialist, release engineer, or human resources. See Create a custom role. The owner can: - Add custom roles. |
Understand permissions for developer roles
Permissions are assigned to each developer role:
- Owner role is assigned all permissions.
- Member and custom roles are assigned specific permissions.
| Permission | Description |
|---|---|
| Accept developer agreement | View and edit account settings in Developer Settings - Account Info. |
| Access bank details | Access developer bank details. Note: Developer bank details are not needed for developers in Latin America as app pricing and billing are not available in this region. |
| Add new members and assign roles | Access the Members tab. |
| Manage merchants | Access Merchant Installs. Required to GET merchant installs data. |
| Edit app pricing | Edit App Pricing and Distribution. Note: App pricing and billing are not available for developers in Latin America. |
| Access charges | Display and hide the Billing tab. Note: App pricing and billing are not available for developers in Latin America. |
| Merchant support | Access the Merchant Help Code and reply to or report Clover App Market reviews. |
| Delete, edit, submit app | Edit App Settings. |
| Manage APKs | Edit App Releases and upload an APK. |
| View release groups | Display Release Groups to the user. |
| Edit release groups | Edit Release Groups. |
Watch video: Developer account roles and permissions
| Watch | Learn |
|---|---|
In this video, learn:
|
Invite members
As a developer with an owner role, you can invite members to join your team. The invite is sent as an email with a link to access the member developer account.
- Log in to the Developer Dashboard with your owner account details.
- From the left navigation menu, click Developer Settings > Members. The Members page appears.
- Click Invite Members. The Invite Members To Your Developer Account pop-up appears.
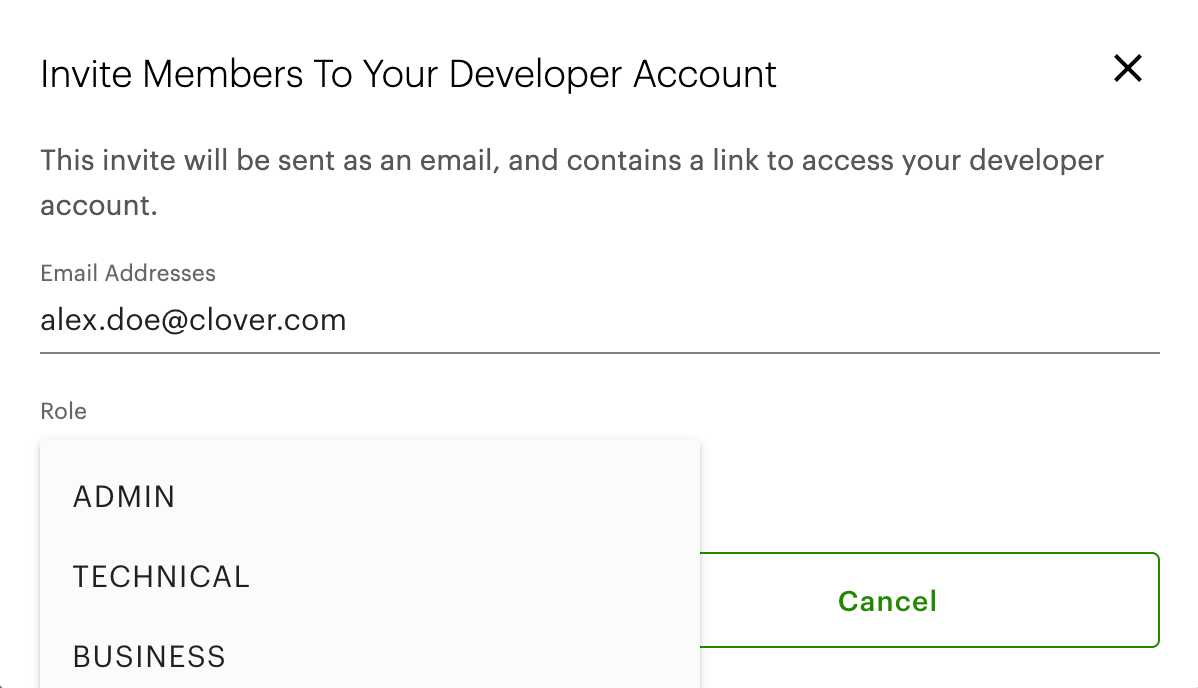
Invite Members To Your Developer Account pop-up
- Enter the email address of the user you want to invite as a member. If needed, enter a list of email addresses separated by commas.
- From the Role drop-down list, select a member role—Admin, Business, or Technical.
- Click Invite. The invited member receives an email with instructions to access their developer account.
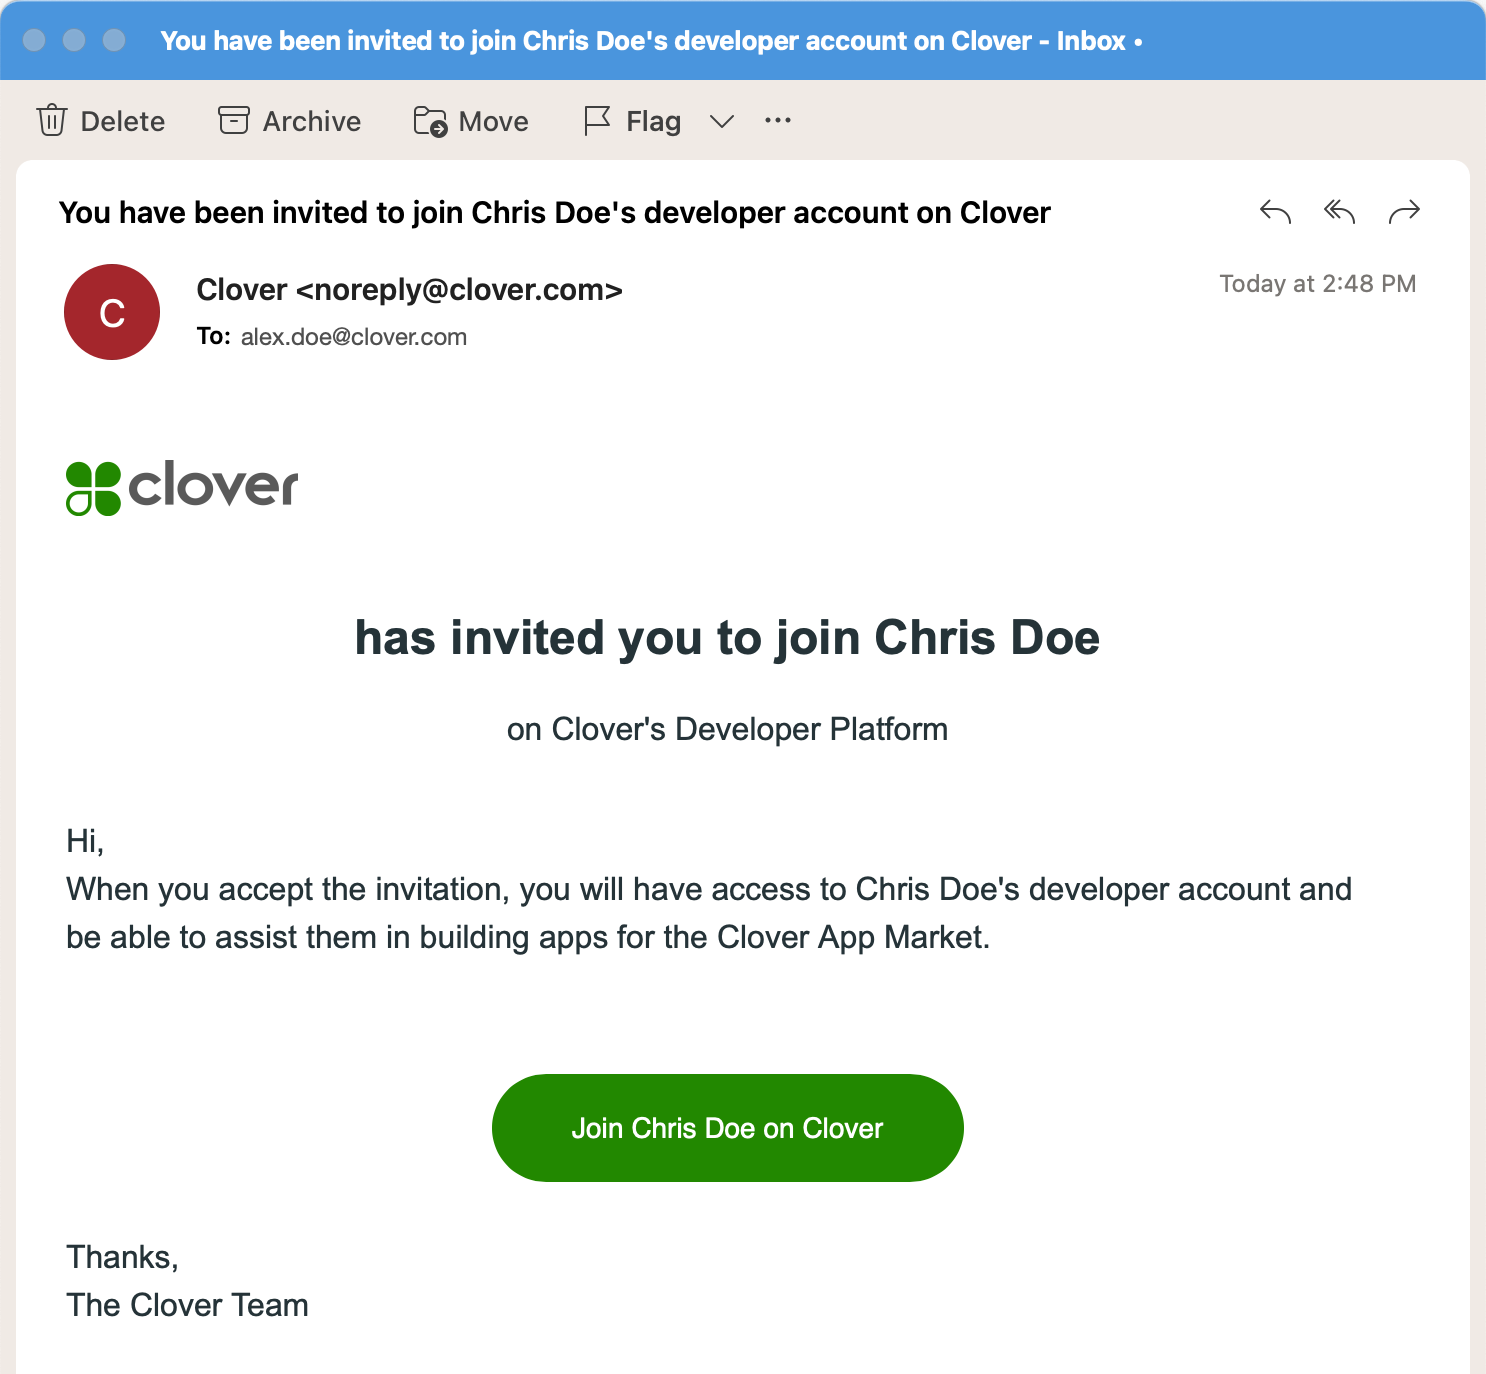
Email invitation to join as a member
Information for all invited members and members who accept the invite to join the owner’s developer account displays on the Members page with email address, role, and status details.
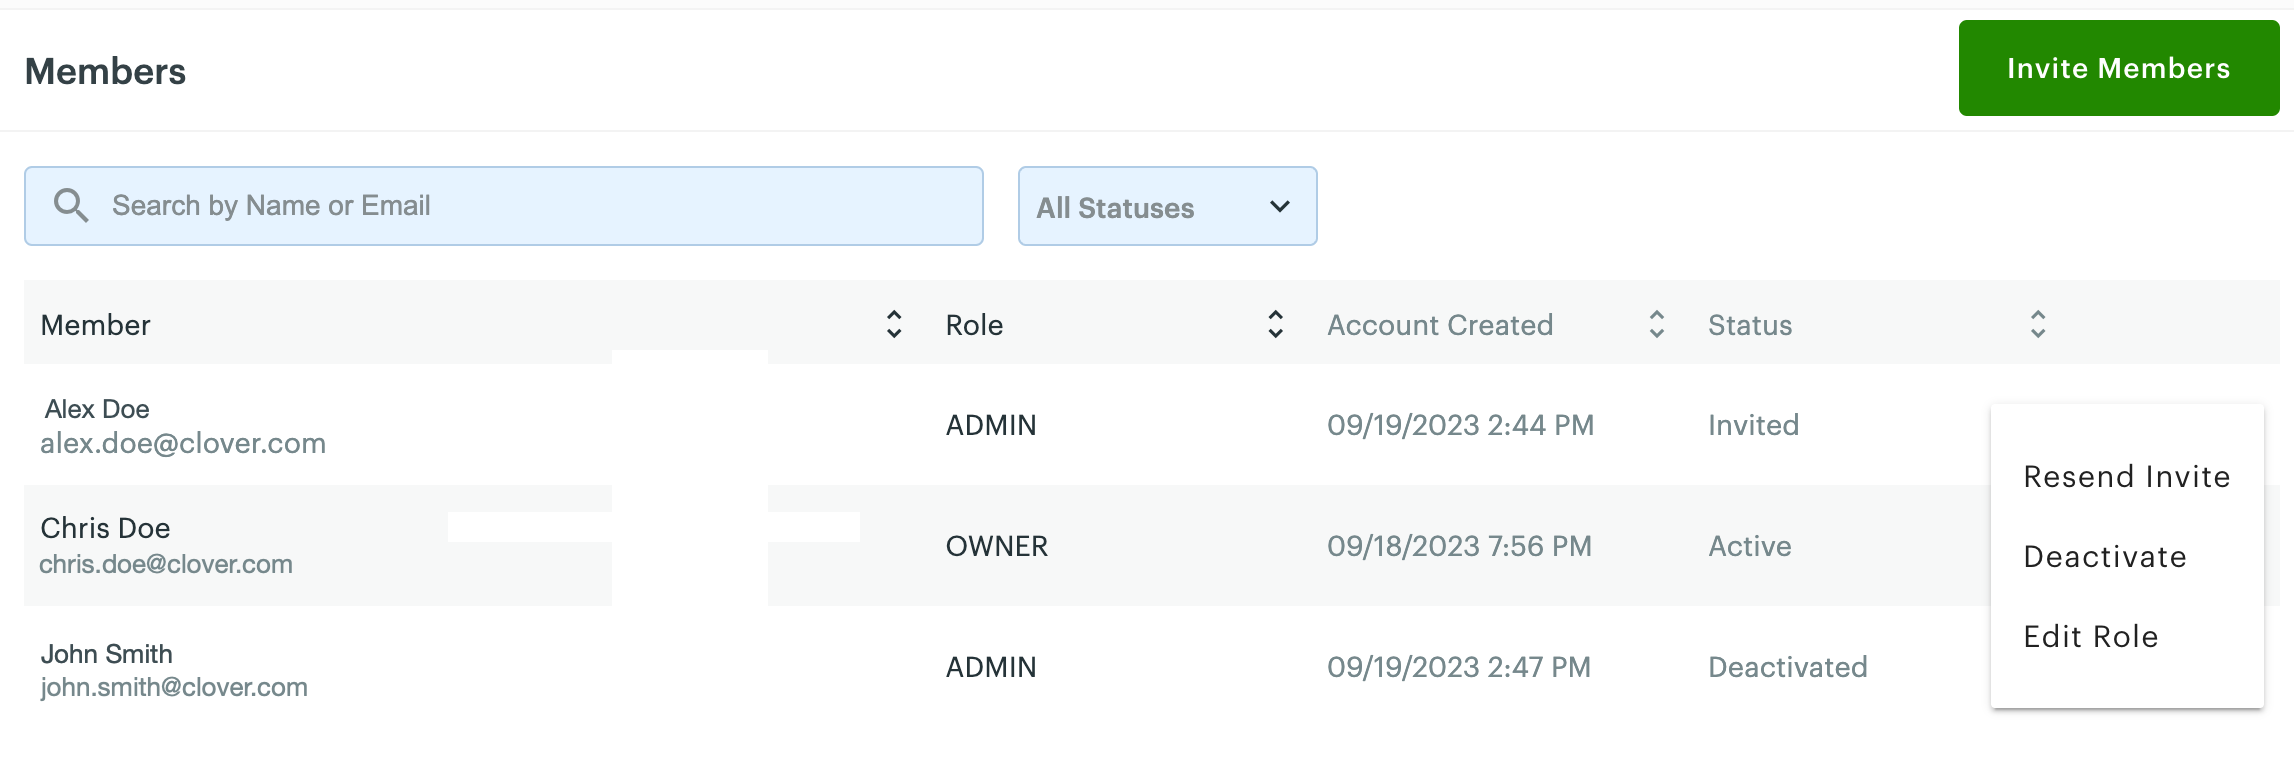
Members page with submenu to perform actions on roles
- Click the ellipsis icon next to a member’s name to:
- Resend the invite.
- Deactivate a member account.
- Edit the role assigned to the member.
For any member or custom role, you can manage assigned default permissions. See Manage default permissions.
Create a custom role
The owner can create custom roles for members to perform custom tasks and assign relevant permissions, such as in the beta tester team, production testers team, customer support team, and so on.
- Log in to the Developer Dashboard with your owner account details.
- From the left navigation menu, click Developer Settings > Roles. The Roles page appears.
- Click Add Role. The Add New Role window appears.
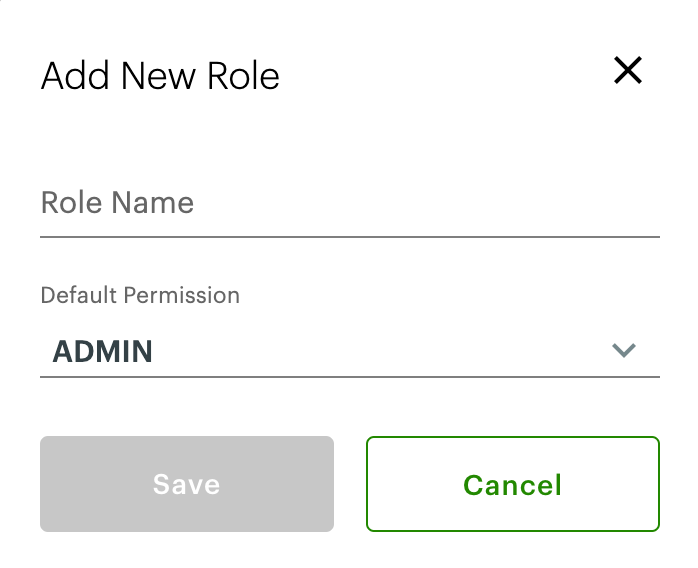
Add New Role pop-up
- Enter the custom role name.
- From the Default Permission drop-down list, select permission to assign to the custom role. For example, for a Customer Support custom role, you can select default permissions for the Business role.
- Click Save. The custom role displays on the Roles page.
- From the Actions column for a custom role, click an icon to edit the name of the role or delete the custom role.
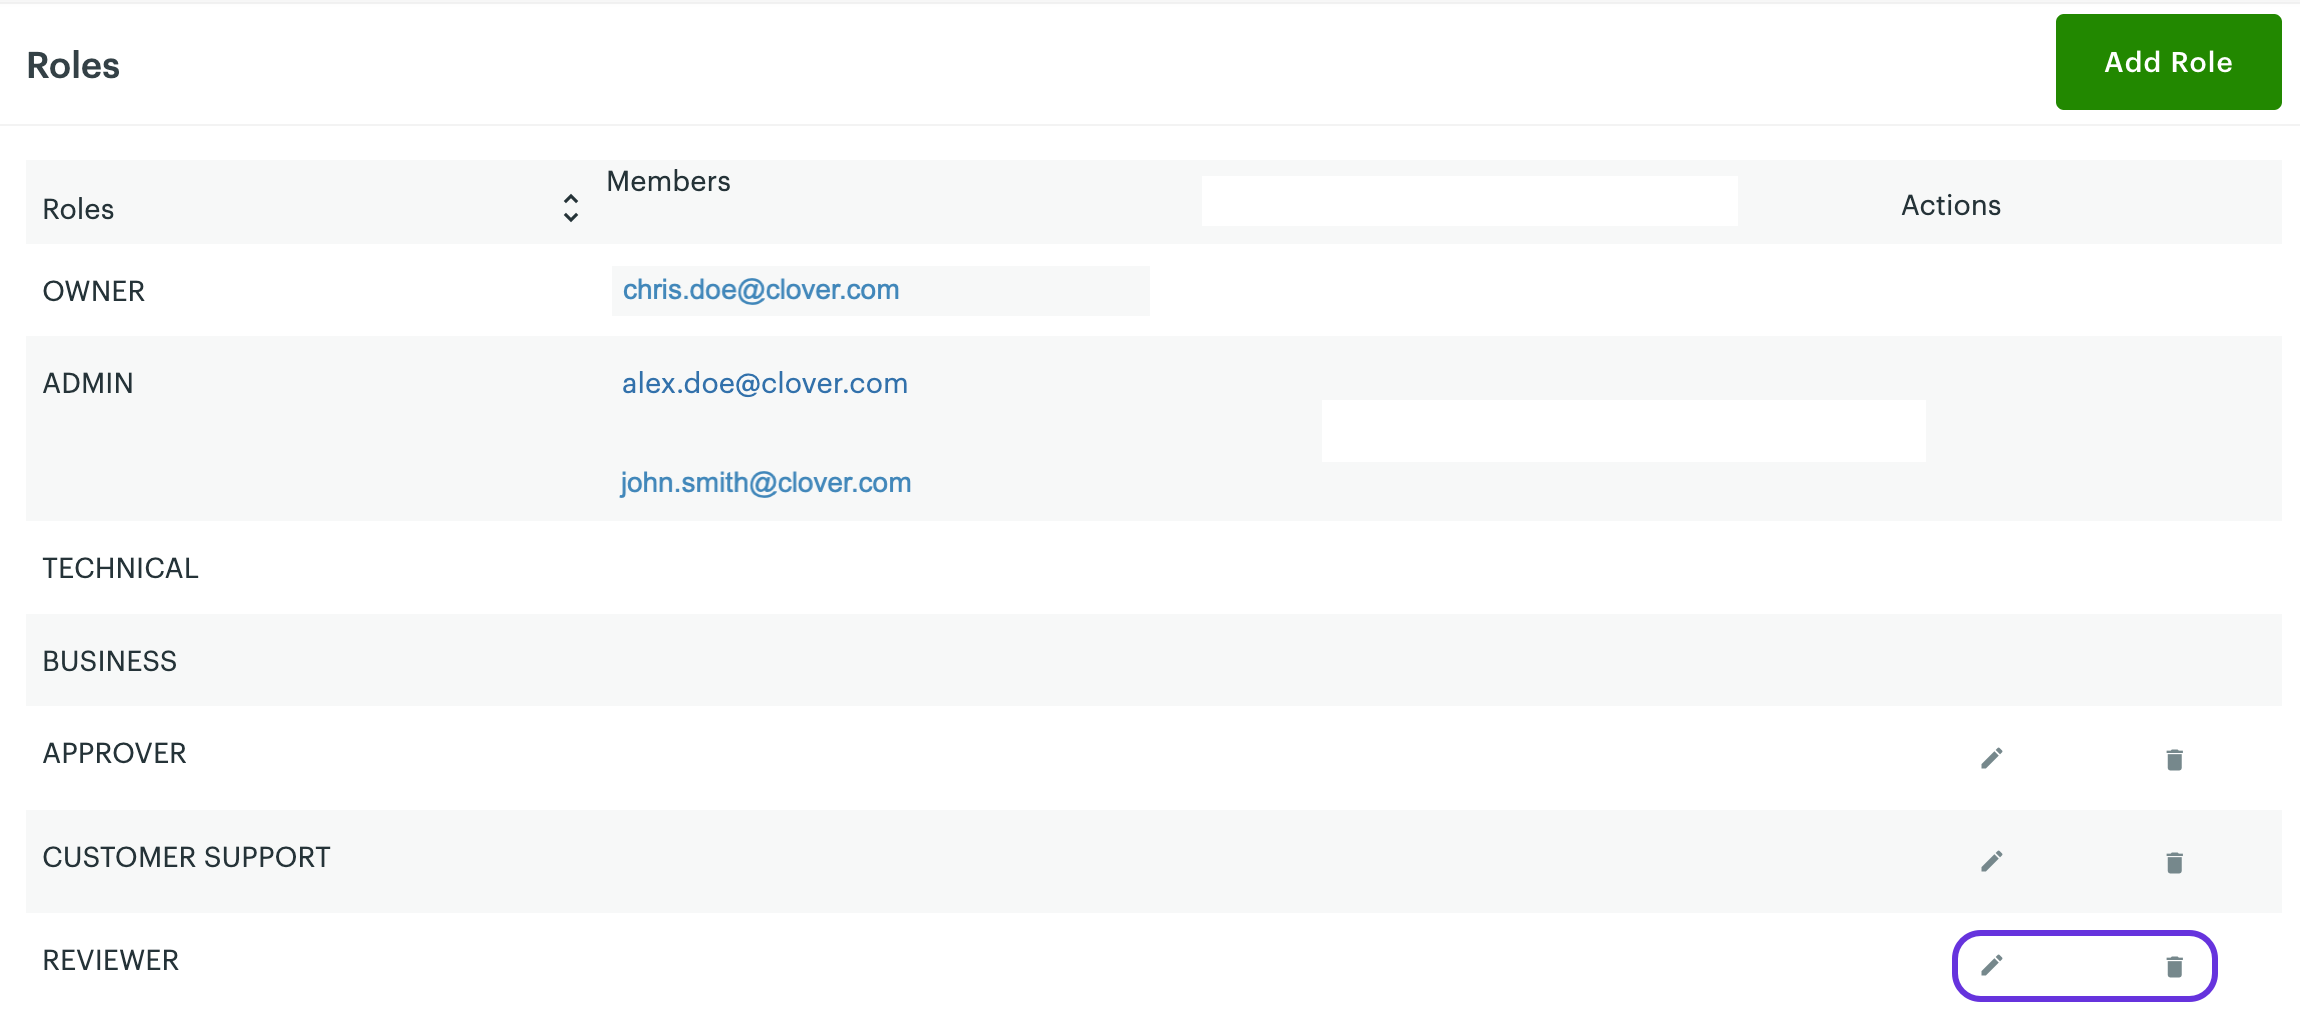
Roles page with edit and delete icons for custom roles
For any member or custom role, you can manage assigned default permissions. See Manage default permissions.
Manage default permissions
To review the default permissions assigned to each role:
- Log in to the Developer Dashboard with your owner account details.
- From the left navigation menu, click Developer Settings > Permissions. The Permissions page appears.

Permissions for developer account roles
- Review the list of permissions assigned to each member and custom role.
- For any role, select or clear checkboxes to assign or remove permissions as needed. Your changes are saved automatically.
Updated 8 days ago