Take a payment with Payment Connector
Android Payments API
The Clover Payment Connector is an interface that enables your Android app to interact with Clover devices for processing payments and related actions such as voids, refunds, and pre-authorizations. It acts as a bridge between your app and Clover payment infrastructure, allowing you to build anything from a full-featured POS system to a lightweight app that performs a single sale.
The Payment Connector leverages Clover Android APIs to initiate and manage payment flows. These APIs provide structured request builders while the connector handles the communication with the Clover device and returns results through callbacks such as onSaleResponse() or onActivityResult().
IMPORTANT
Always wait for the
onDeviceConnectedevent before initiating any actions with the Payment Connector. This ensures the connector is fully initialized and ready to process requests.
NOTE
The Payment Connector always launches the payment flow on the merchant-facing Clover device, regardless of whether the device is tethered to a customer-facing screen.
Step 1: Configure Android permissions
Payment Connector requires Android-level permissions to access the internet and retrieve the Clover account on the device. To add these permissions to your app, do the following:
- Open your app's
AndroidManifest.xmlfile. - Add the following permissions elements as children of the
<manifest>:
<manifest xmlns:android="http://schemas.android.com/apk/res/android"
          package="my.app.paymentconnectorexample">

  <uses-permission android:name="android.permission.GET_ACCOUNTS" />
  <uses-permission android:name="android.permission.INTERNET" />

  ...
</manifest>
Step 2: Add the Payment Connector dependencies
The Payment Connector libraries are published on Maven Central, so you must add that repository and the dependencies to your build configuration.
- Open your project's
build.gradlefile. - In the
repositoriesblock, addmavenCentral()as the first repository.
repositories {
  mavenCentral()
  google()
  jcenter()
}
- Open your module's
build.gradlefile. - In the dependencies block, add the following
implementationstatements:
dependencies {
  ...
  implementation 'com.clover.sdk:clover-android-sdk:262.2'
  implementation 'com.clover.sdk:clover-android-connector-sdk:262.2'
}
Step 3: Create the listener
Your app must initialize the Payment Connector with the required parameters. To do this, you first get the current account (CloverAccount.getAccount), set the remote application ID, and construct the listener which acts as the client. This listener implements the IPaymentConnectorListener interface. The following example also shows the implementation of the onSaleResponse method to receive messages from the device and give a visual indication (using Toast) of whether the sale succeeds.
private PaymentConnector initializePaymentConnector() {
  // Get the Clover account that will be used with the service; uses the GET_ACCOUNTS permission
  Account cloverAccount = CloverAccount.getAccount(this);
  // Set your RAID as the remoteApplicationId
  String remoteApplicationId = "SWDEFOTWBD7XT.6W3D67YDX8GN3";

  //Implement the interface
  IPaymentConnectorListener paymentConnectorListener = new IPaymentConnectorListener() {
   @Override
   public void onSaleResponse(SaleResponse response) {
     	String result;
        if(response.getSuccess()) {
          result = "Sale was successful";
        } else {
          result = "Sale was unsuccessful" + response.getReason() + ":" + response.getMessage();
        }
        Toast.makeText(getApplication().getApplicationContext(), result, Toast.LENGTH_LONG).show();
   }
  };

  // Implement the other IPaymentConnector listener methods

 // Create the PaymentConnector with the context, account, listener, and RAID
 return new PaymentConnector(this, cloverAccount, paymentConnectorListener, remoteApplicationId);
}
Step 4: Create the SaleRequest
Next, create a simple SaleRequest to be passed to the PaymentConnector when the button is tapped. For testing purposes, the sale amount is set to $10.00.
private SaleRequest setupSaleRequest() {
    // Create a new SaleRequest and populate the required request fields
    SaleRequest saleRequest = new SaleRequest();
    saleRequest.setExternalId(ExternalIdUtils.generateNewID()); //required, but can be any string
    saleRequest.setAmount(1000L);

    return saleRequest;
}
Step 5: Create the activity
In your activity, add code to do the following:
- Set the layout to use the
activity_simple_example.xmlfile (line 5) (see Payment Connector Example Activity to download the file) - Start the connector (line 8)
- Add the button widget that can be tapped to initiate the sale (lines 10–16).
public class ExampleActivity extends AppCompatActivity {
	@Override
  protected void onCreate(Bundle savedInstanceState) {
    super.onCreate(savedInstanceState);
    setContentView(R.layout.activity_simple_example);

  // Initialize the PaymentConnector with a listener
  final PaymentConnector paymentConnector = initializePaymentConnector();

  Button saleButton = findViewById(R.id.saleButton);
  saleButton.setOnClickListener(new View.OnClickListener() {
    @Override
    public void onClick(View v) {
      // Set up a SaleRequest
      SaleRequest saleRequest = setupSaleRequest();
      paymentConnector.sale(saleRequest);
    }
  });
Screen flow
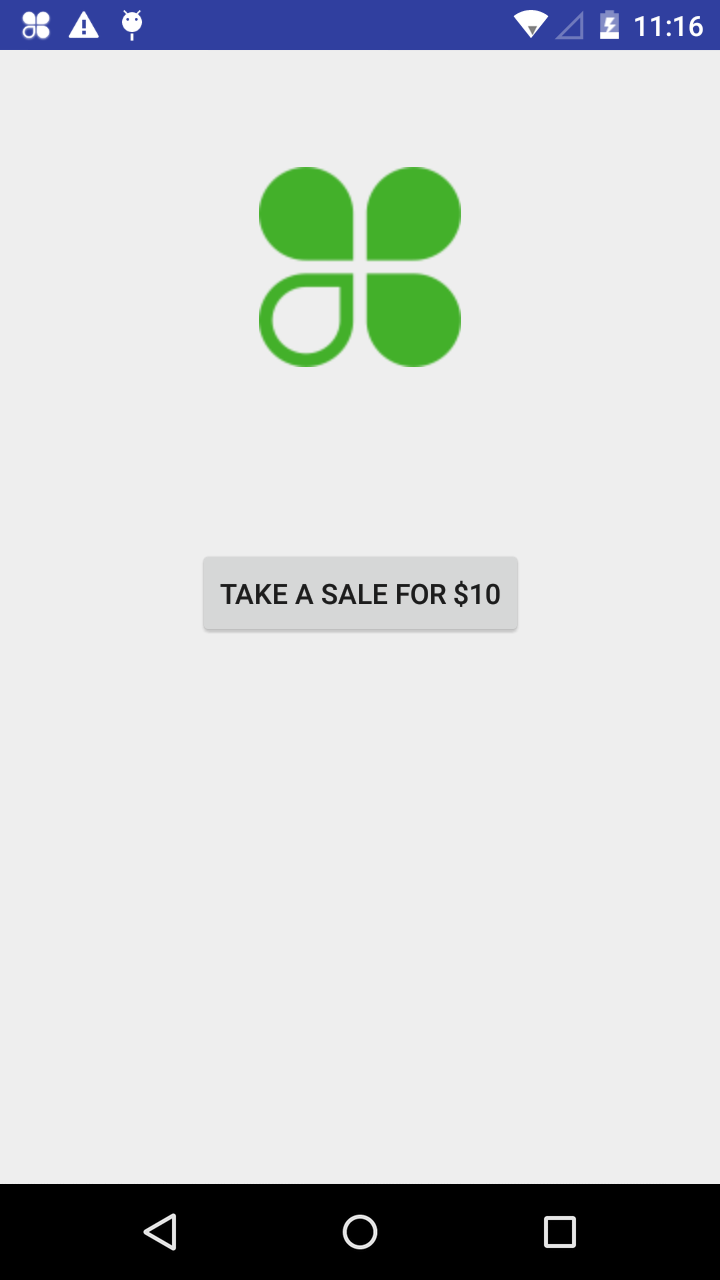
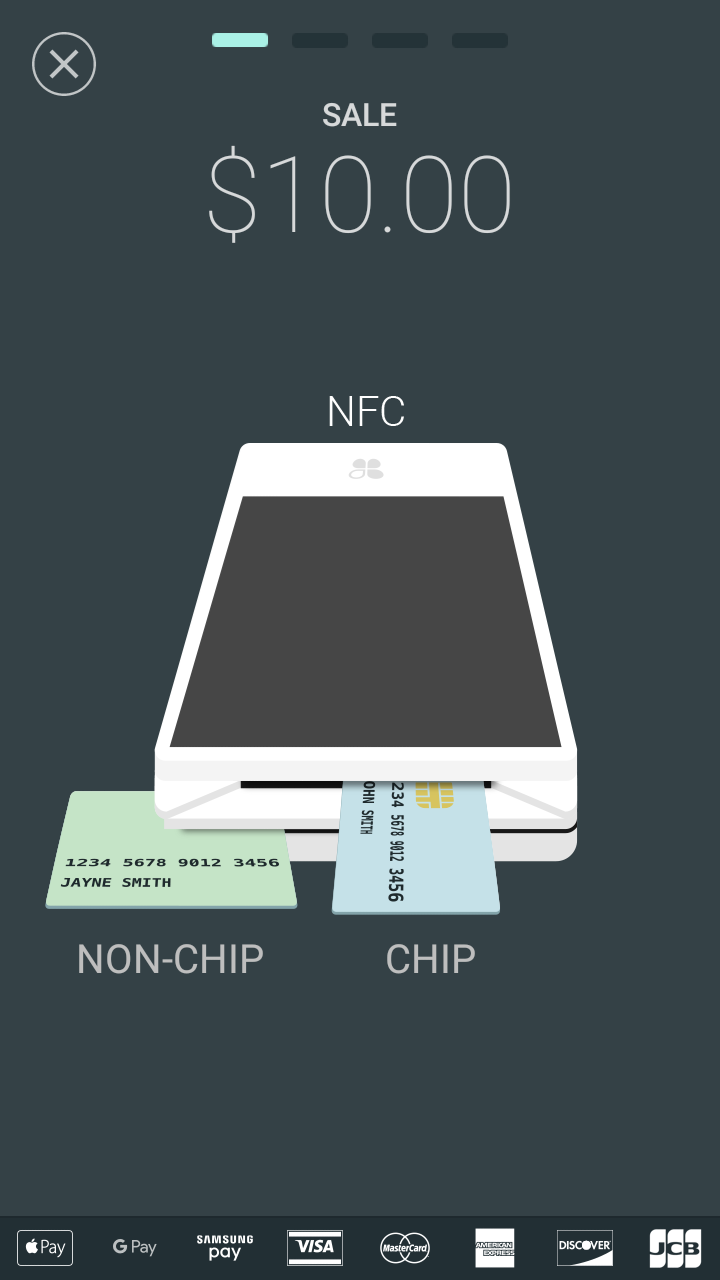
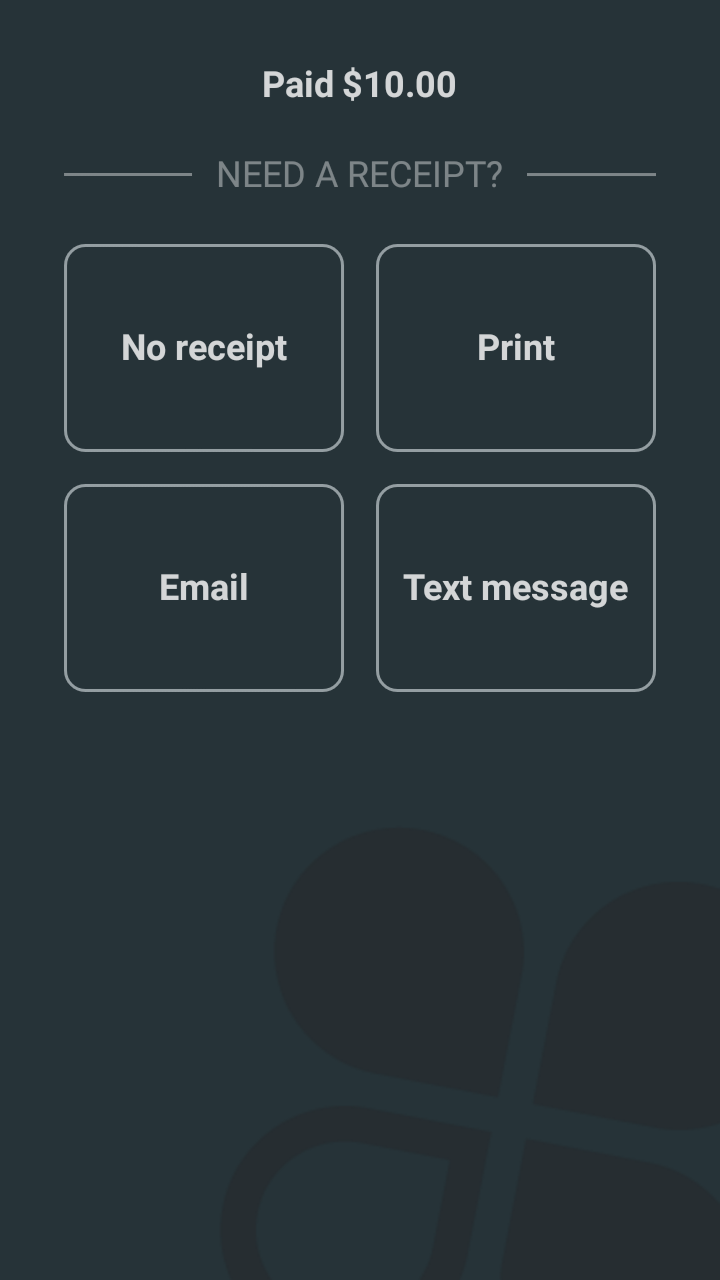
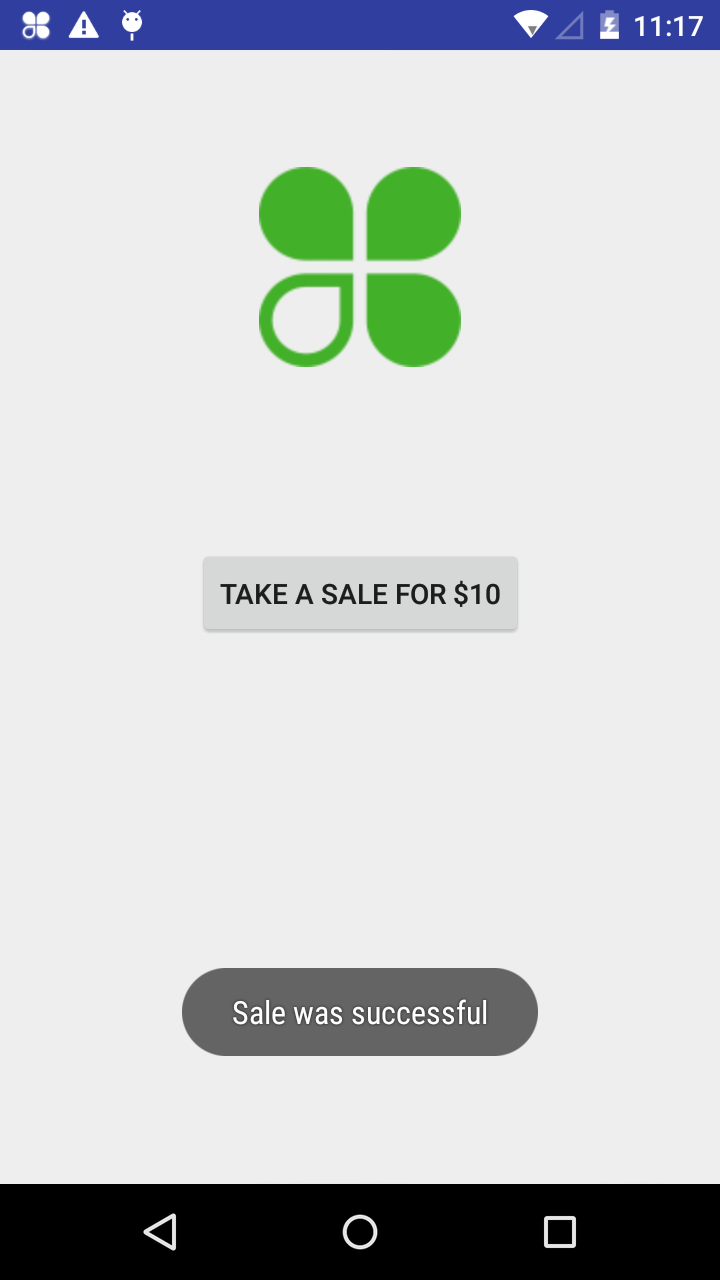
When the app is run, you should see the following screens as you progress through the app. Additional screens may appear during the payment flow depending on your merchant and device configuration.
- Your app's screen with a button for starting the sale.

- The Clover payments screen showing that you are processing a sale for $10.00.

- The Clover payments screen asking you to choose a receipt for the sale.

- Your app's screen displaying a success message.

Updated 7 months ago
